Carbon Transfer Printing
Truly One of a Kind
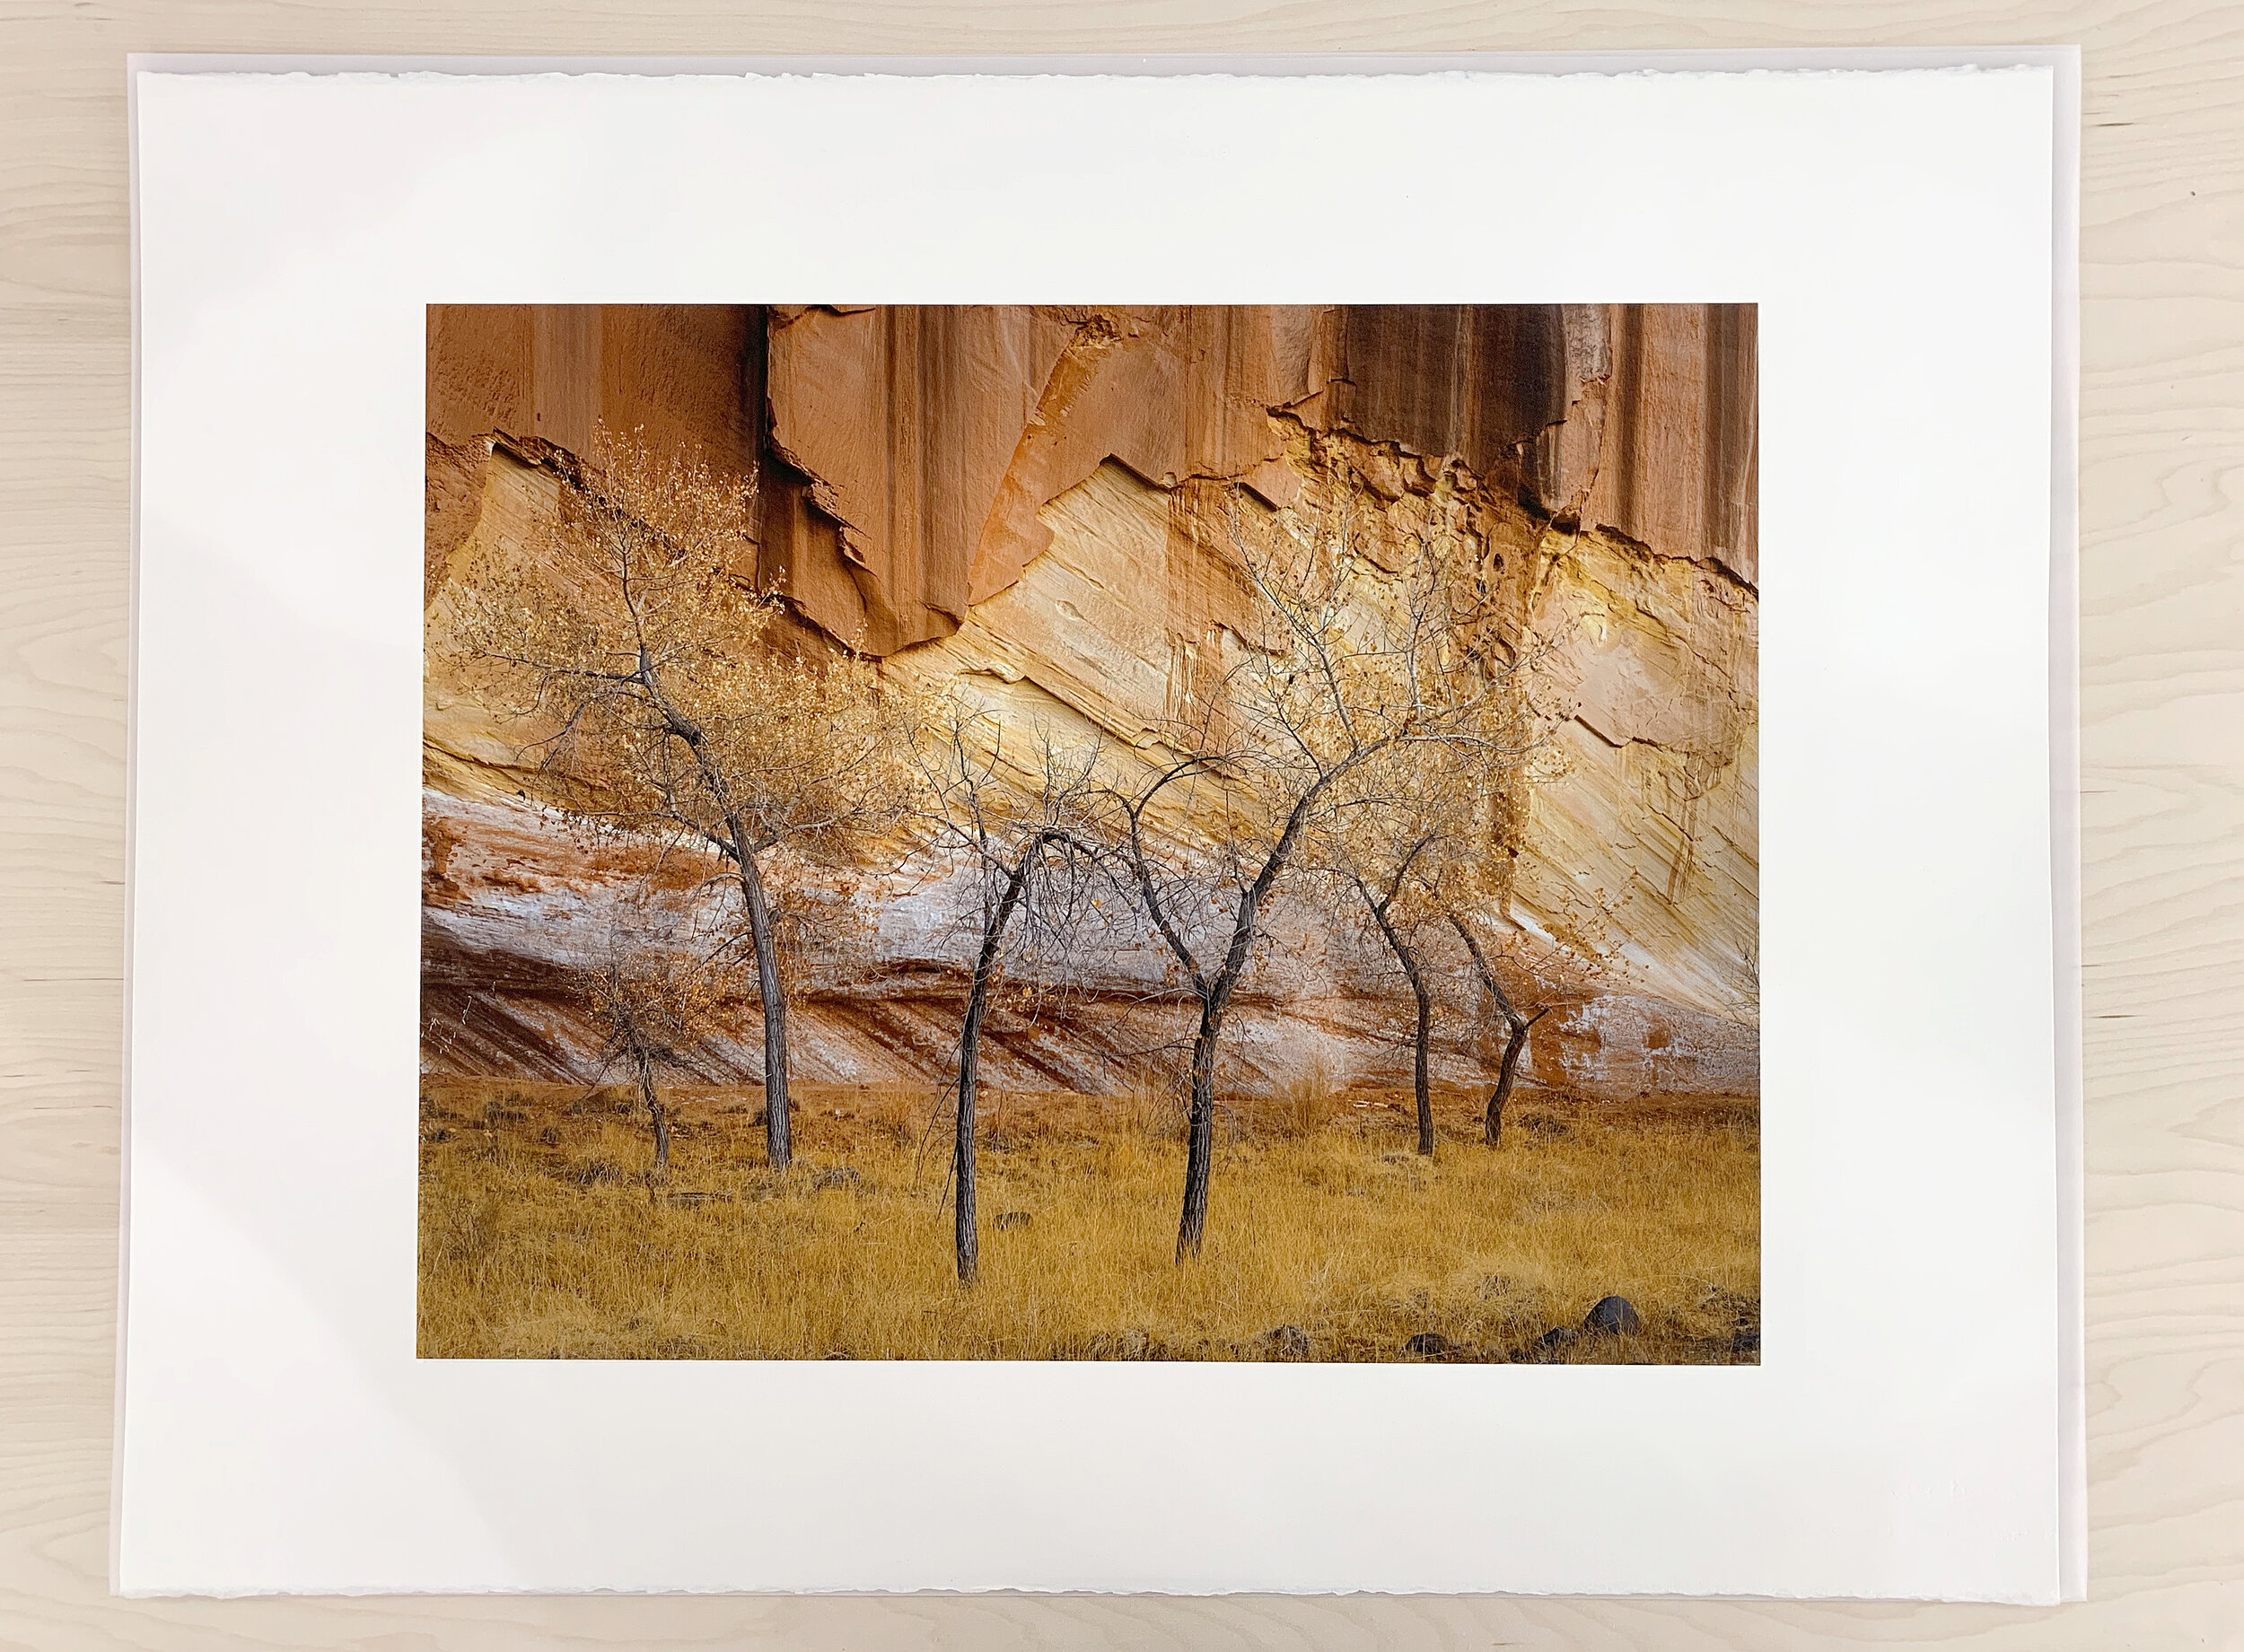
A perfectly crafted carbon transfer print is perhaps the pinnacle of photographic printmaking. Perfecting the process of carbon transfer printmaking takes years to master and, as such, has limited the printmakers of this craft to only a mere handful worldwide. Because of the lack of demand for carbon printmaking materials, I have to make all the materials myself in my studio and darkroom. Each sheet of watercolor paper has to be gelatin sized, I have to mix and pour every photographic emulsion and, as such, every single print has its own characteristics, depth, and soul.
Archival Stability
Unlike other digital inkjet and dye-based photographic techniques of today, carbon transfer prints are extremely lightfast and will resist fading under UV light for many hundreds or thousands of years. This is due to the pigments I have chosen for both my color and monochromatic images. In most of my editions, synthetic cyan, magenta, yellow, and orange are used, each of which have Lightfastness values of Excellent+ and Blue Wool values of 8, ensuring there will be no fading for many generations, even when exposed to direct, intense UV light. I also only use the highest quality, thick, pH neutral watercolor papers to ensure the longevity for the final support of the print.
Exclusivity
Being that there are a handful of carbon transfer printmakers worldwide, and even fewer color carbon printmakers, purchasing one of my carbon prints guarantees uniqueness amongst other photographs available. Even more so than other alternative processes such as my collection of platinum palladium prints, carbon transfer prints are enormously challenging and expensive to make.
A Work of Art
Today, a photograph can be replicated time and time again at the press of a button with an inkjet printer. A carbon transfer print is not just a photograph - it’s a work of art. Each one of my prints takes weeks or months to create. Every image you see in my collection is a film exposure that I develop, drum scan, post process, proof, and print. My hand is involved in every single step, and because it is a handmade process, every print will have its own unique soul and character that is unlike any other photographic print on earth.
Carbon Printing Service
Due to the difficulty and time to produce materials, I will be opening my services a few times a year for short periods of time. Please sign up using the form below to be updated on upcoming group orders and information. If you have a large project in mind and would like more immediate attention, please contact me for more information.
Options and Surface Finishes
Carbon prints can be customized to just about any surface finish and aesthetic the artist wishes to achieve. Here are a few “standard” options available:
Matte
This is the most natural finish of a carbon print, where the characteristics of the pigments are most prominent. The color pigments are quite matte, while the blacks have a slight gloss to them, giving them a bit of definition and depth.
Flat Matte
This option looks most like a platinum print. A matting agent or a specific pigment can be used to achieve this look.
Luster
This finish is the natural appearance of a double transfer print, where all relief and gloss differential is eliminated. This looks similar to a silver print on a baryta or semi-gloss paper.
Glossy
More gloss can be added to a double transfer print, giving it a higher gloss.
Super Glossy
This can be achieved by treating the gelatin a bit differently than a standard double transfer print. This looks most like a high-gloss silver print or a glossy inkjet print.
Matte with Glossy Blacks
Unpigmented targeted gloss can be added to some images, producing more physical relief and adding depth to the final print. This is a truly stunning and unique option, but doesn’t work with all images.
Gilded Surface
Gold, silver, platinum, or copper leaf can be added to the surface of the final support, where the carbon image is then transferred on top of the gilded area.
The Printmaking Process
Creating Emulsions
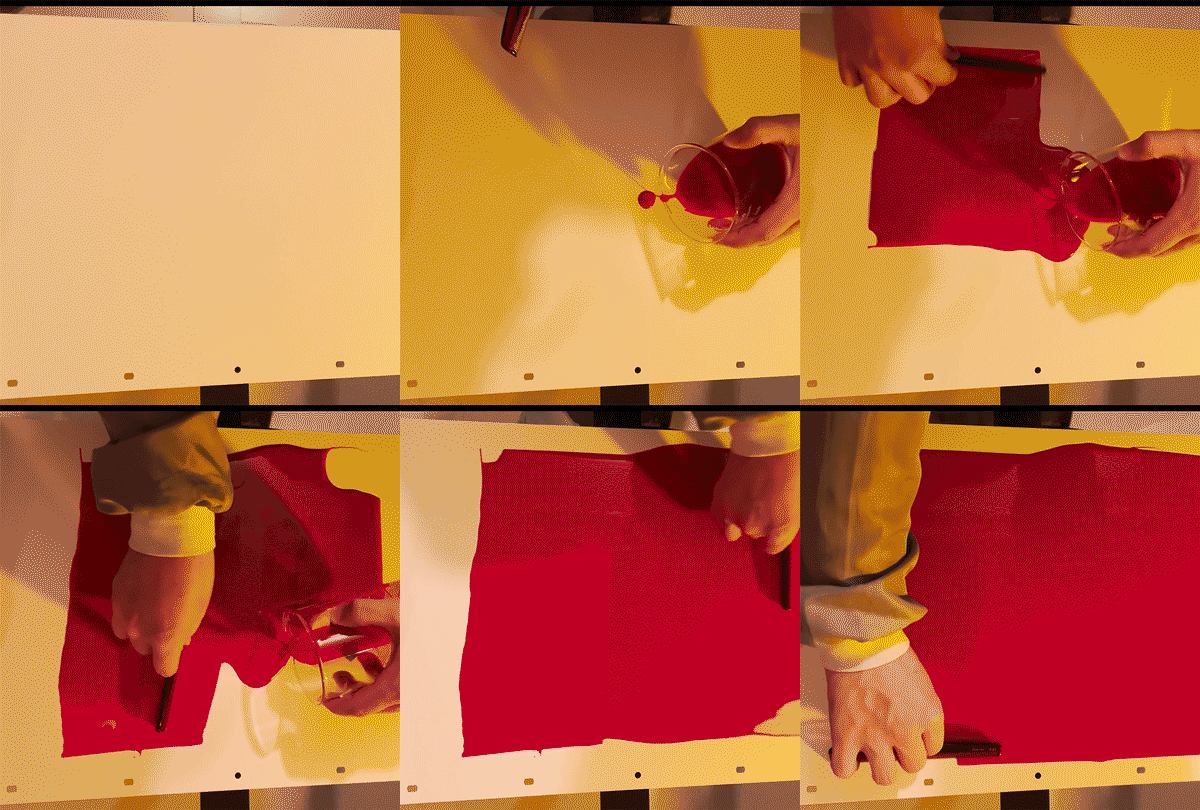
Traditionally known as carbon “tissue,” these photographic emulsions are only sensitive to ultraviolet light. Rather than working in pure darkness or under red light, as you would see in a traditional gelatin silver darkroom, I work under dim amber light. Each emulsion is a mixture of gelatin, sugar, and pigment, which has to be heated and carefully poured onto a sheet of synthetic paper and dried before it can be exposed and developed. To ensure color replication from my film transparencies, I work in a five-color system, versus the traditional four colors. By adding a layer of orange to my prints, I can extend the amount of replicable color tenfold and ensure the accuracy of the final print.
Making Temporary and Final Supports
Watercolor paper off the shelf doesn’t have the ability to support the carbon print on its own. Because of that, I have to use varying recipes of gelatin, matting agents, acrylic, and albumen to prepare the supports for the carbon print. Each sheet of watercolor is individually selected for its weight, whiteness, and texture to support the image. Too much texture or too smooth of a texture can make or break the final image. For most prints, I use hot pressed 300lb Fabriano Artistico, Arches Aquarelle, Saunders Waterford, or Lanaquarelle paper for their unique and individual characteristics.
Printing and Exposing the Negatives
Depending on the complexity of the print, I use between 4 and 12 halftone screened imagesetter film negatives. These negatives allow me to perfectly control the tonality of each layer and allows me to print beautifully smooth gradients. Each negative is individually visually registered on my vacuum table to ensure they are perfectly aligned to the width of a pixel on the digital file. Each emulsion is individually exposed to ultraviolet light. As the UV light passes through the transparent portions of the negative, it hardens the sensitized gelatin, making it insoluble in water.
Mating the Emulsion to Temporary Support
After a layer has been exposed, it is soaked in water, allowed to rest, and rolled onto the first support, a clear plastic sheet. The mate is allowed to sit for some time to allow the hardened gelatin to adhere to the first transfer material.
Developing
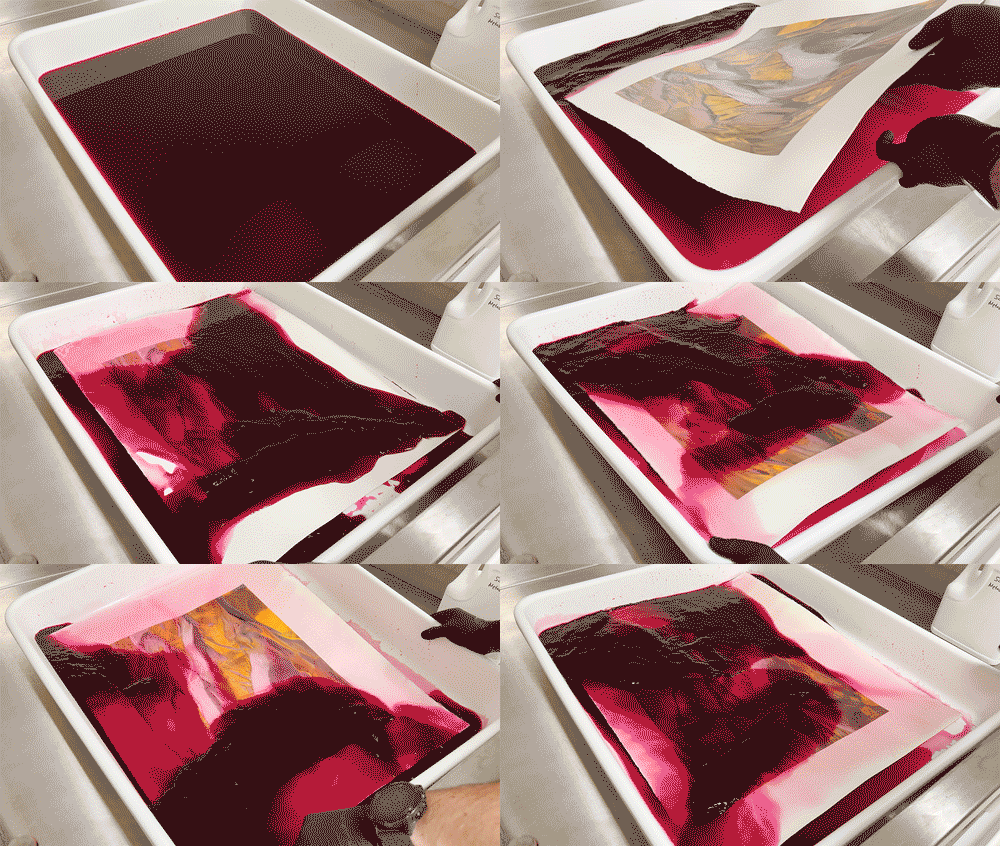
The mated sheets are submerged in hot water, which melts the unexposed gelatin and allows the plastic backing to be peeled away from the emulsion, transferring the image to the plastic support. After some rinsing in the hot water, when the image is eventually visible on the plastic sheet, the development is finished. Once this is dry, this is repeated for any additional layers.
Mating the Double Transfer
After all the layers have been transferred and developed, it is transferred to the first paper support. The plastic support and the first paper support are joined together underwater and hung to dry. After a day or so of drying, the plastic slowly peels away and the image is left on the paper support. If I desire to have a glossier final print, this could be the final step in the process.
Mating the Triple Transfer
In order to achieve a matte print, or have selective gloss differential in the final print, a third transfer is required. The image on the paper temporary support is joined together underwater with the final paper support. Then, the sandwich is developed in hot water. After the print has developed, it’s my first visualization of the print in its final resting place. While the carbon transfer process requires utmost care and perfection throughout the process, this step is the most difficult and has the largest room for error. If this transfer isn’t completed properly, I would have to scratch the print and start over.
Clearing and Retouching
Once the final print is dry, it must be cleared of any remaining sensitizer trapped in the gelatin. It is bathed in a chemical mixture to remove any remaining sensitizer, washed, dried, and flattened. Because this is a handmade process, it is natural for there to be some defects in the final print. These defects are retouched by mixing watercolor pigments and blending the affected areas with their surroundings using a very fine brush. After complete, the print is finished and is visually inspected for any other defects, signed, numbered, and shipped to its new home.


