
As with many small business owners around the world, COVID-19 has wreaked havoc on my livelihood. In early March of 2020, pleasure travel, which was where the majority of my income was derived from, essentially ceased to exist. Since late 2016, I have slowly been building out studio space in a building in the town where my wife and I live, but really hadn’t had much time to devote to it besides finishing up the drum scanning studio. So I decided to devote all my time and energy in 2020 to finishing the construction and design of the space.
Design
Ample space is never much of an issue in the flyover states, and I am fortunate to have quite a bit to work with. The building where my studio is located is about a 7,000 square foot former hardware store that I share with my father. He’s in IT, and has the majority of the building devoted to his needs, but was kind enough to let me use about 1,000 square feet in the back of the building.
I had planned on three areas for my use - the scanning area, which would be climate and dust controlled, a dry area for paper handling, inkjet printing, and print finishing, and a full darkroom designed around alternative process printing.
The darkroom was the biggest hurdle. I had done a fair amount of alternative process printing, and a ton of research, but all with platinum palladium. Since the majority of my work is in color, there are very few darkroom printing options these days.
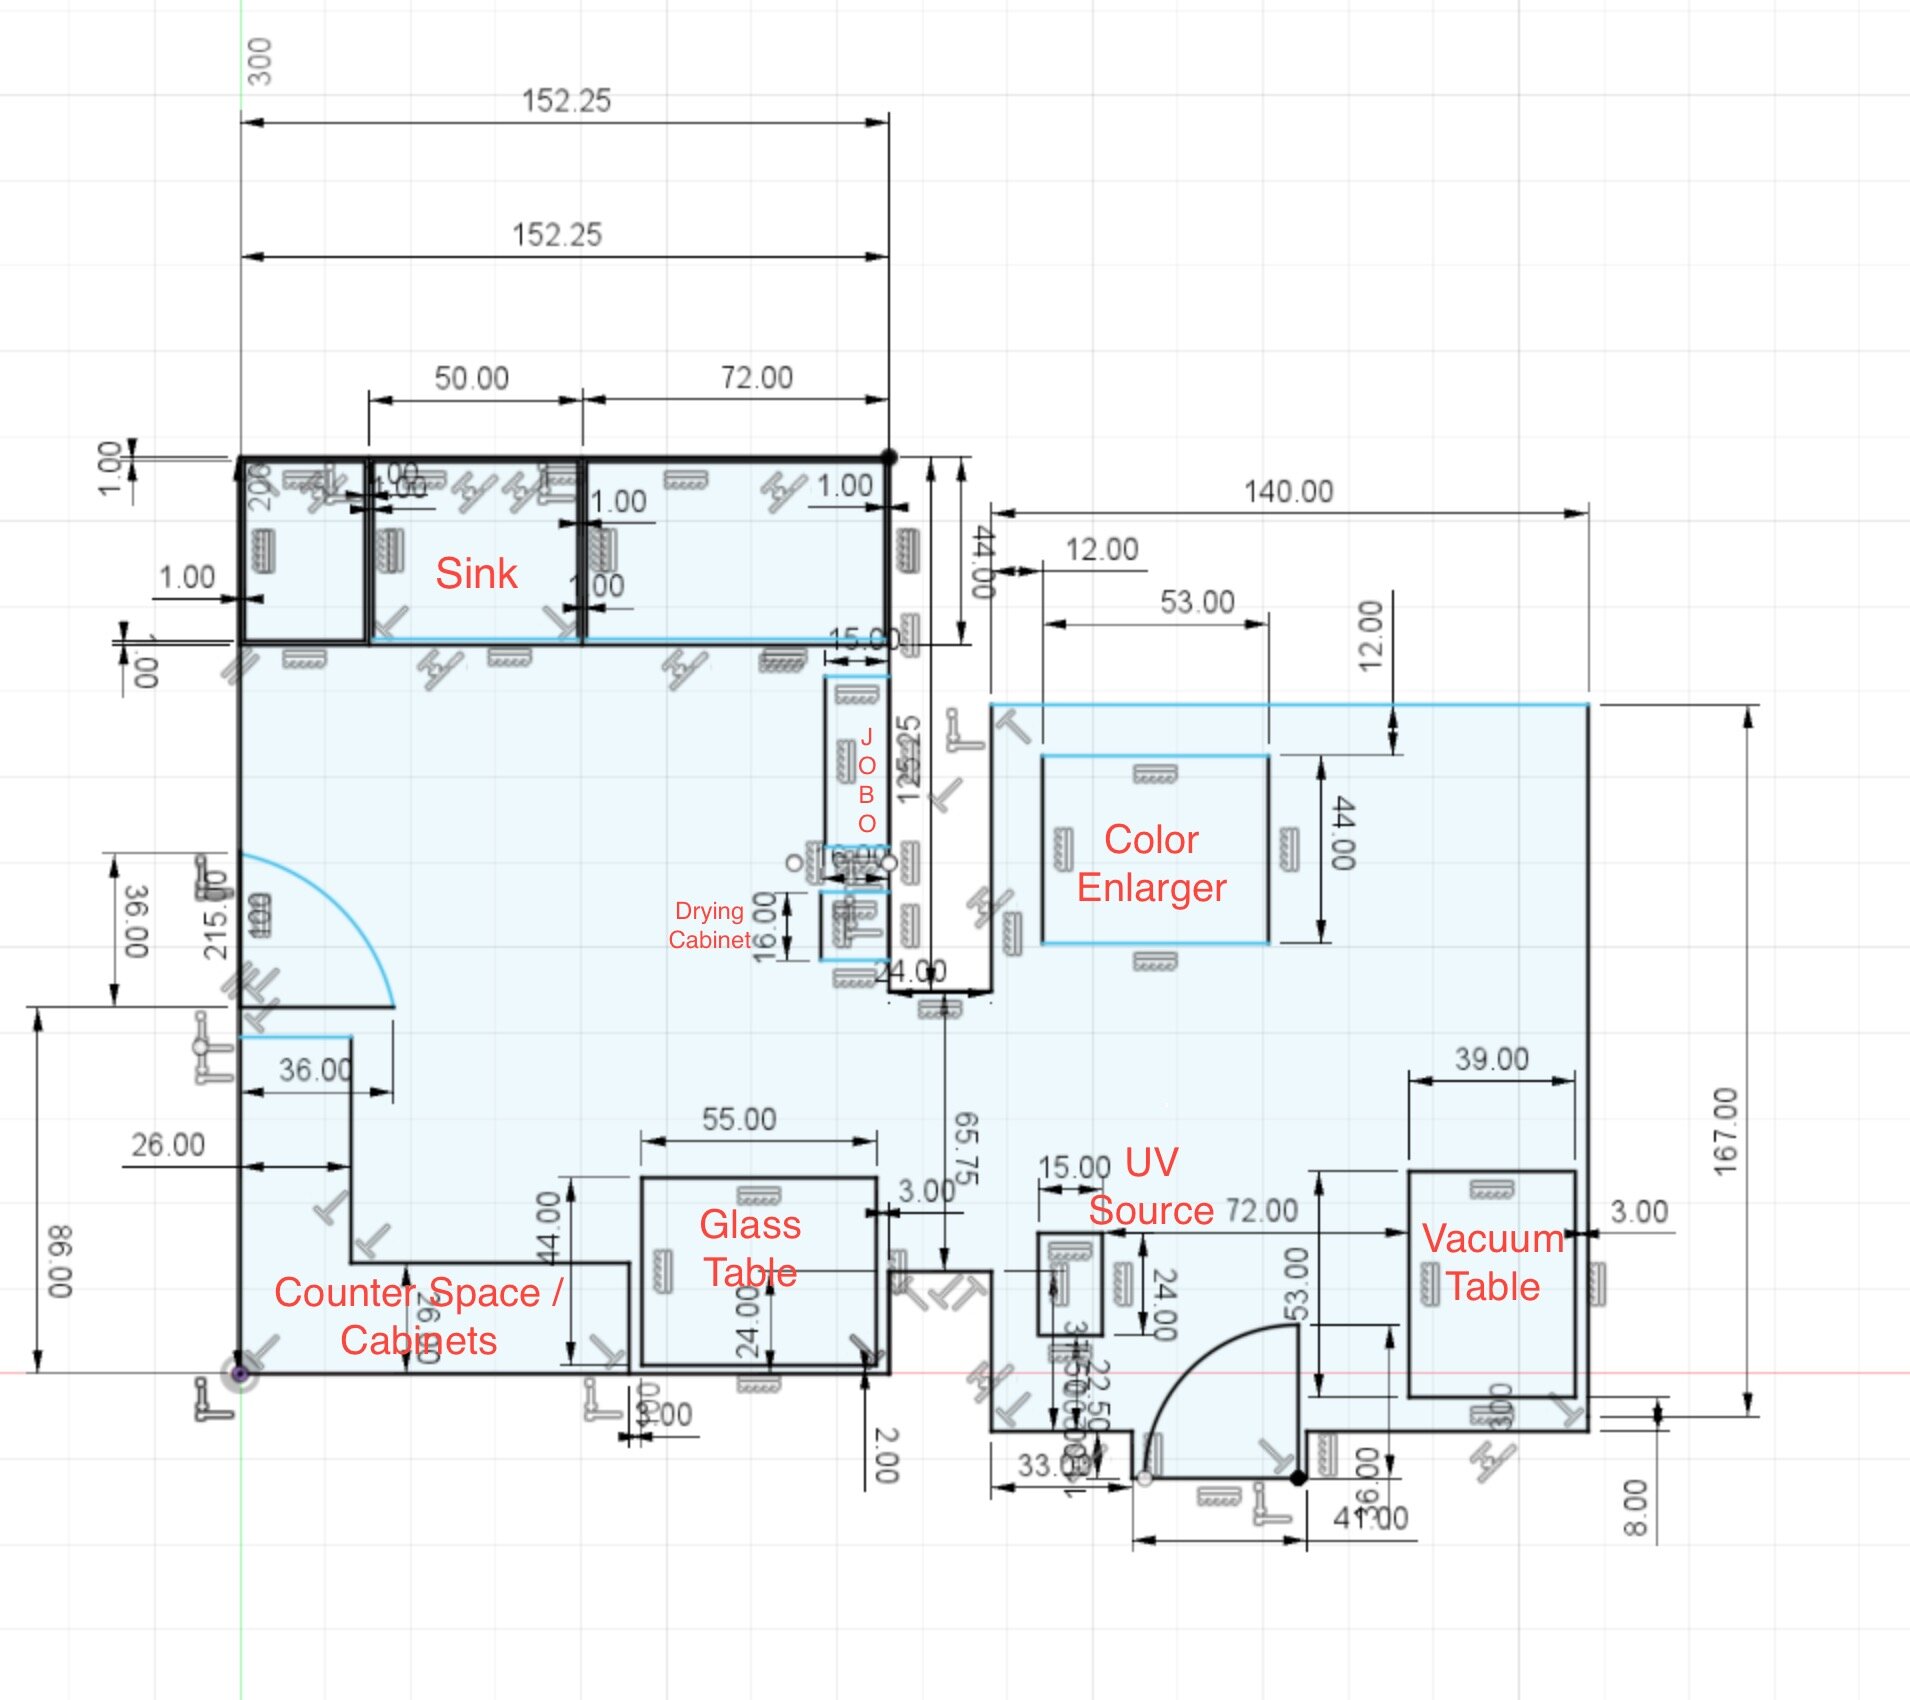
While the overall design of the darkroom changed through out the building process, this was the preliminary space I designed for work with carbon transfer and other alternative processes.
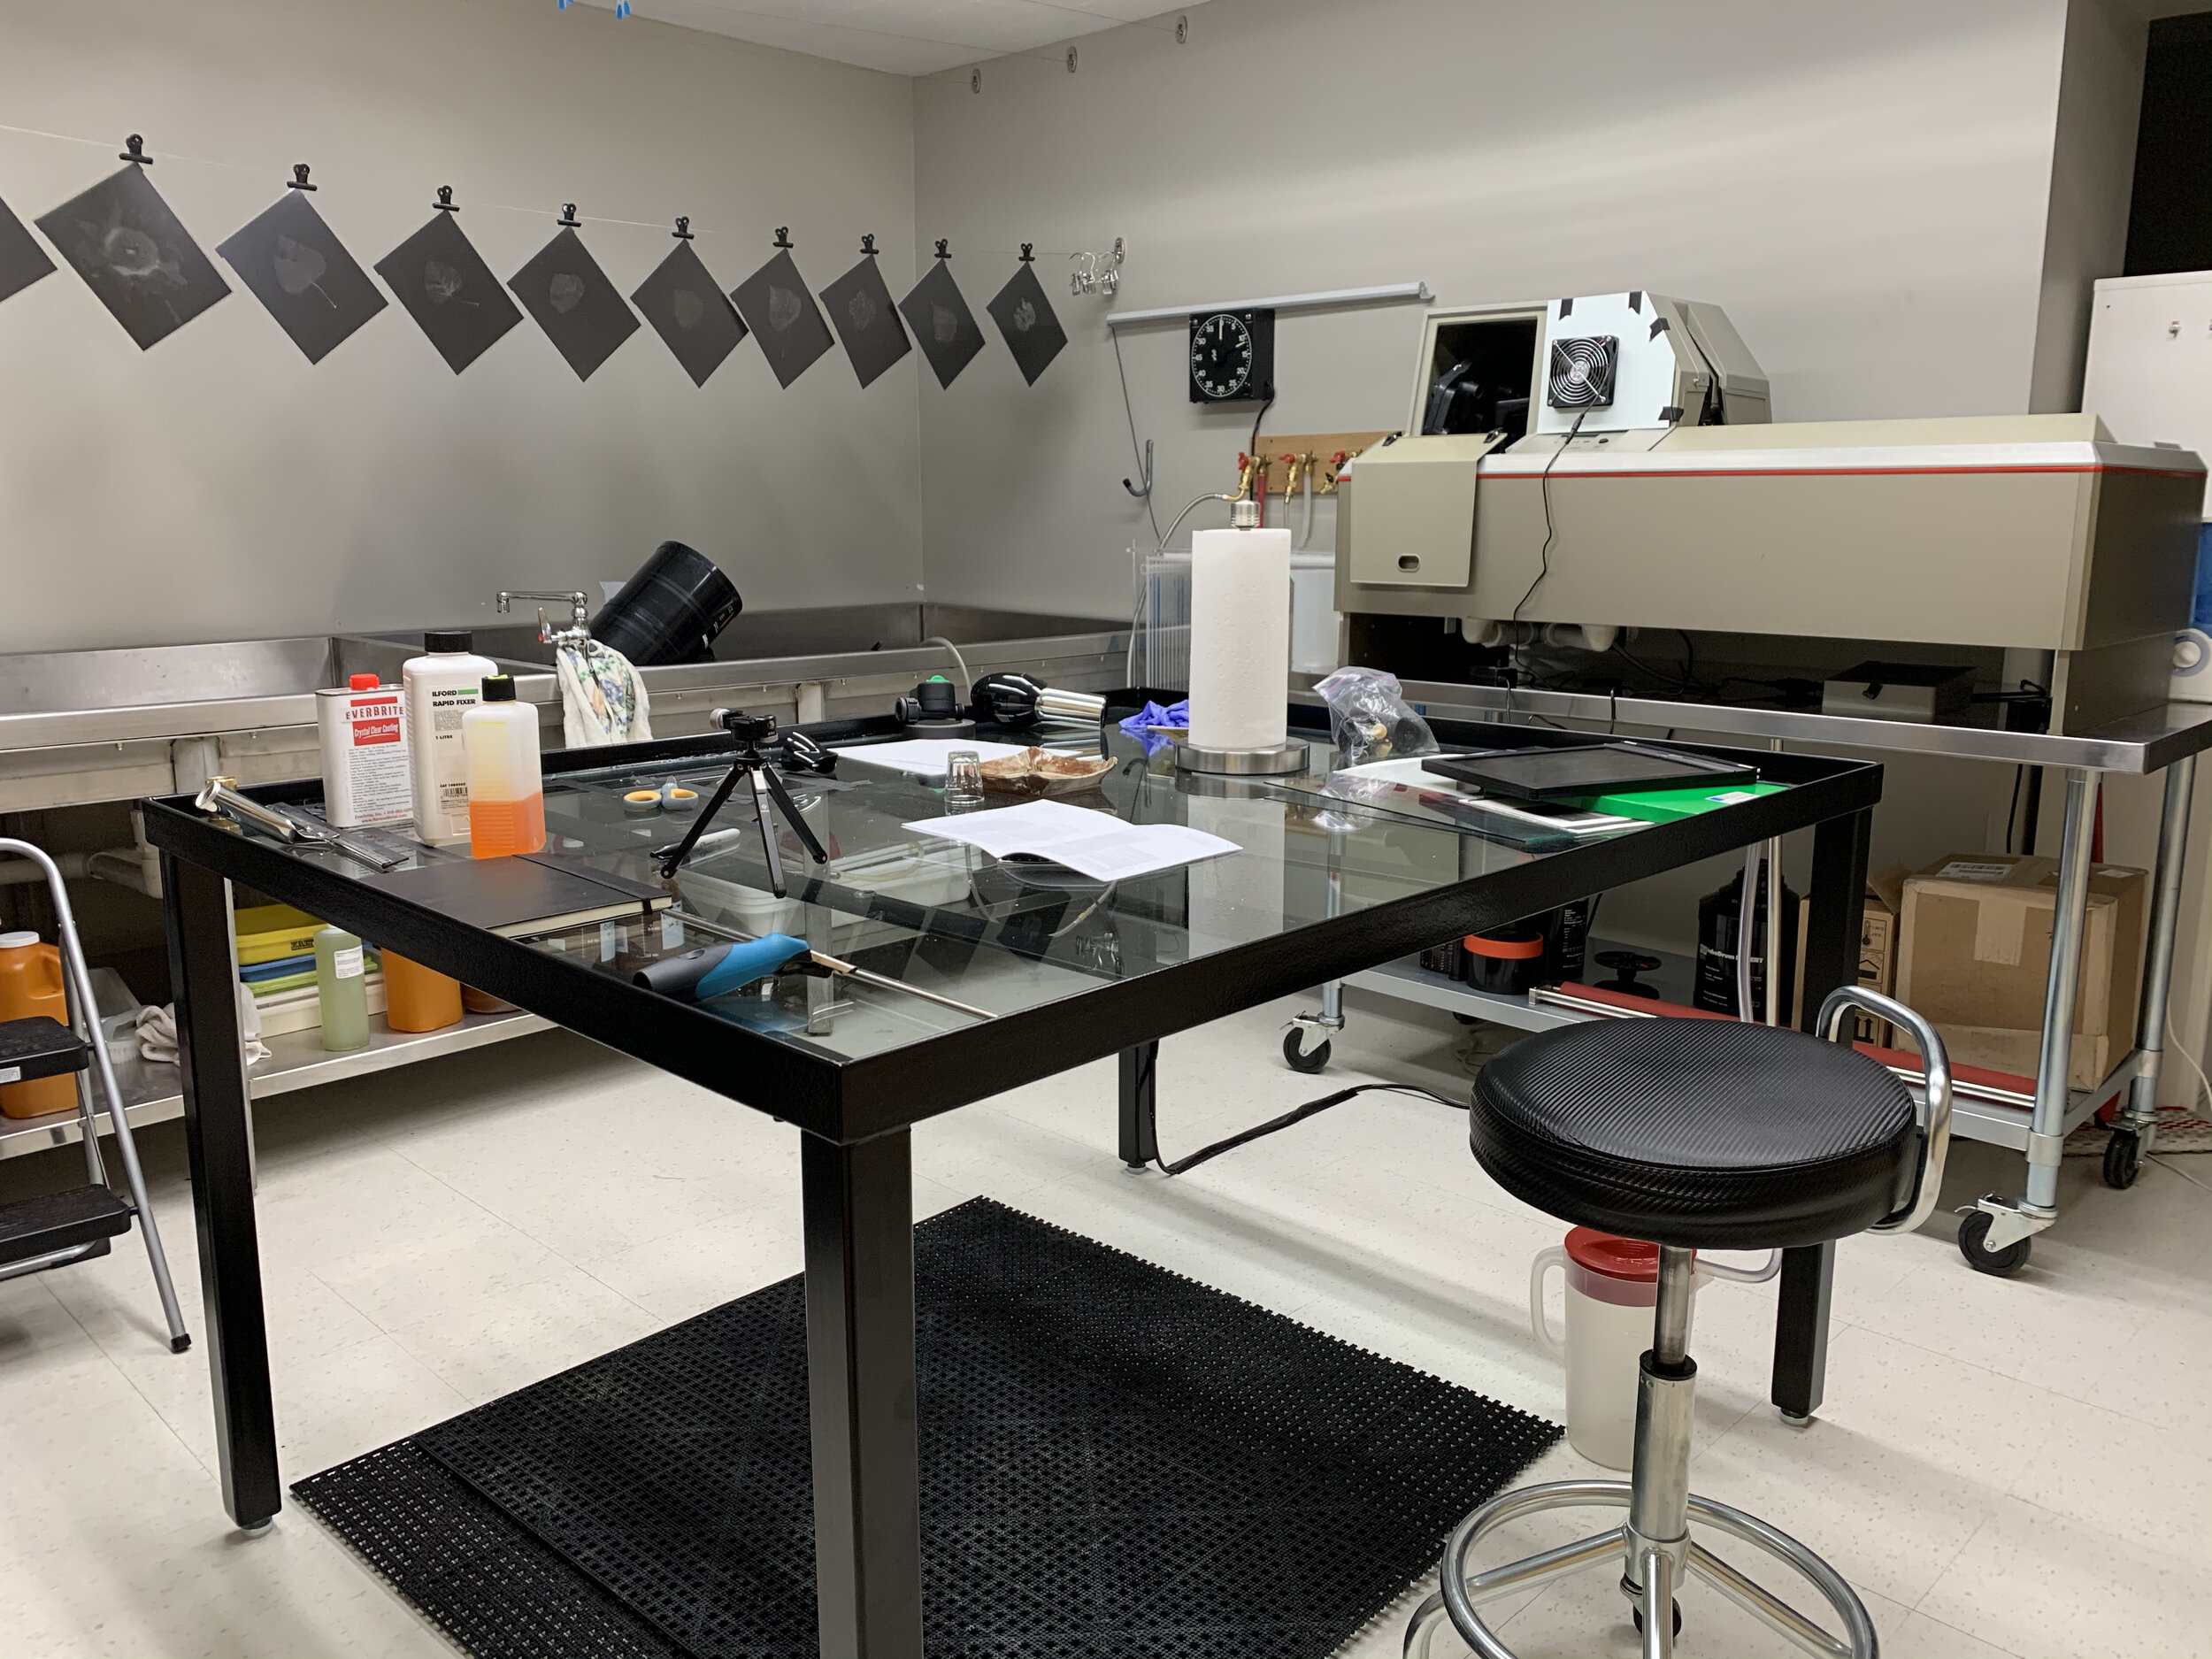
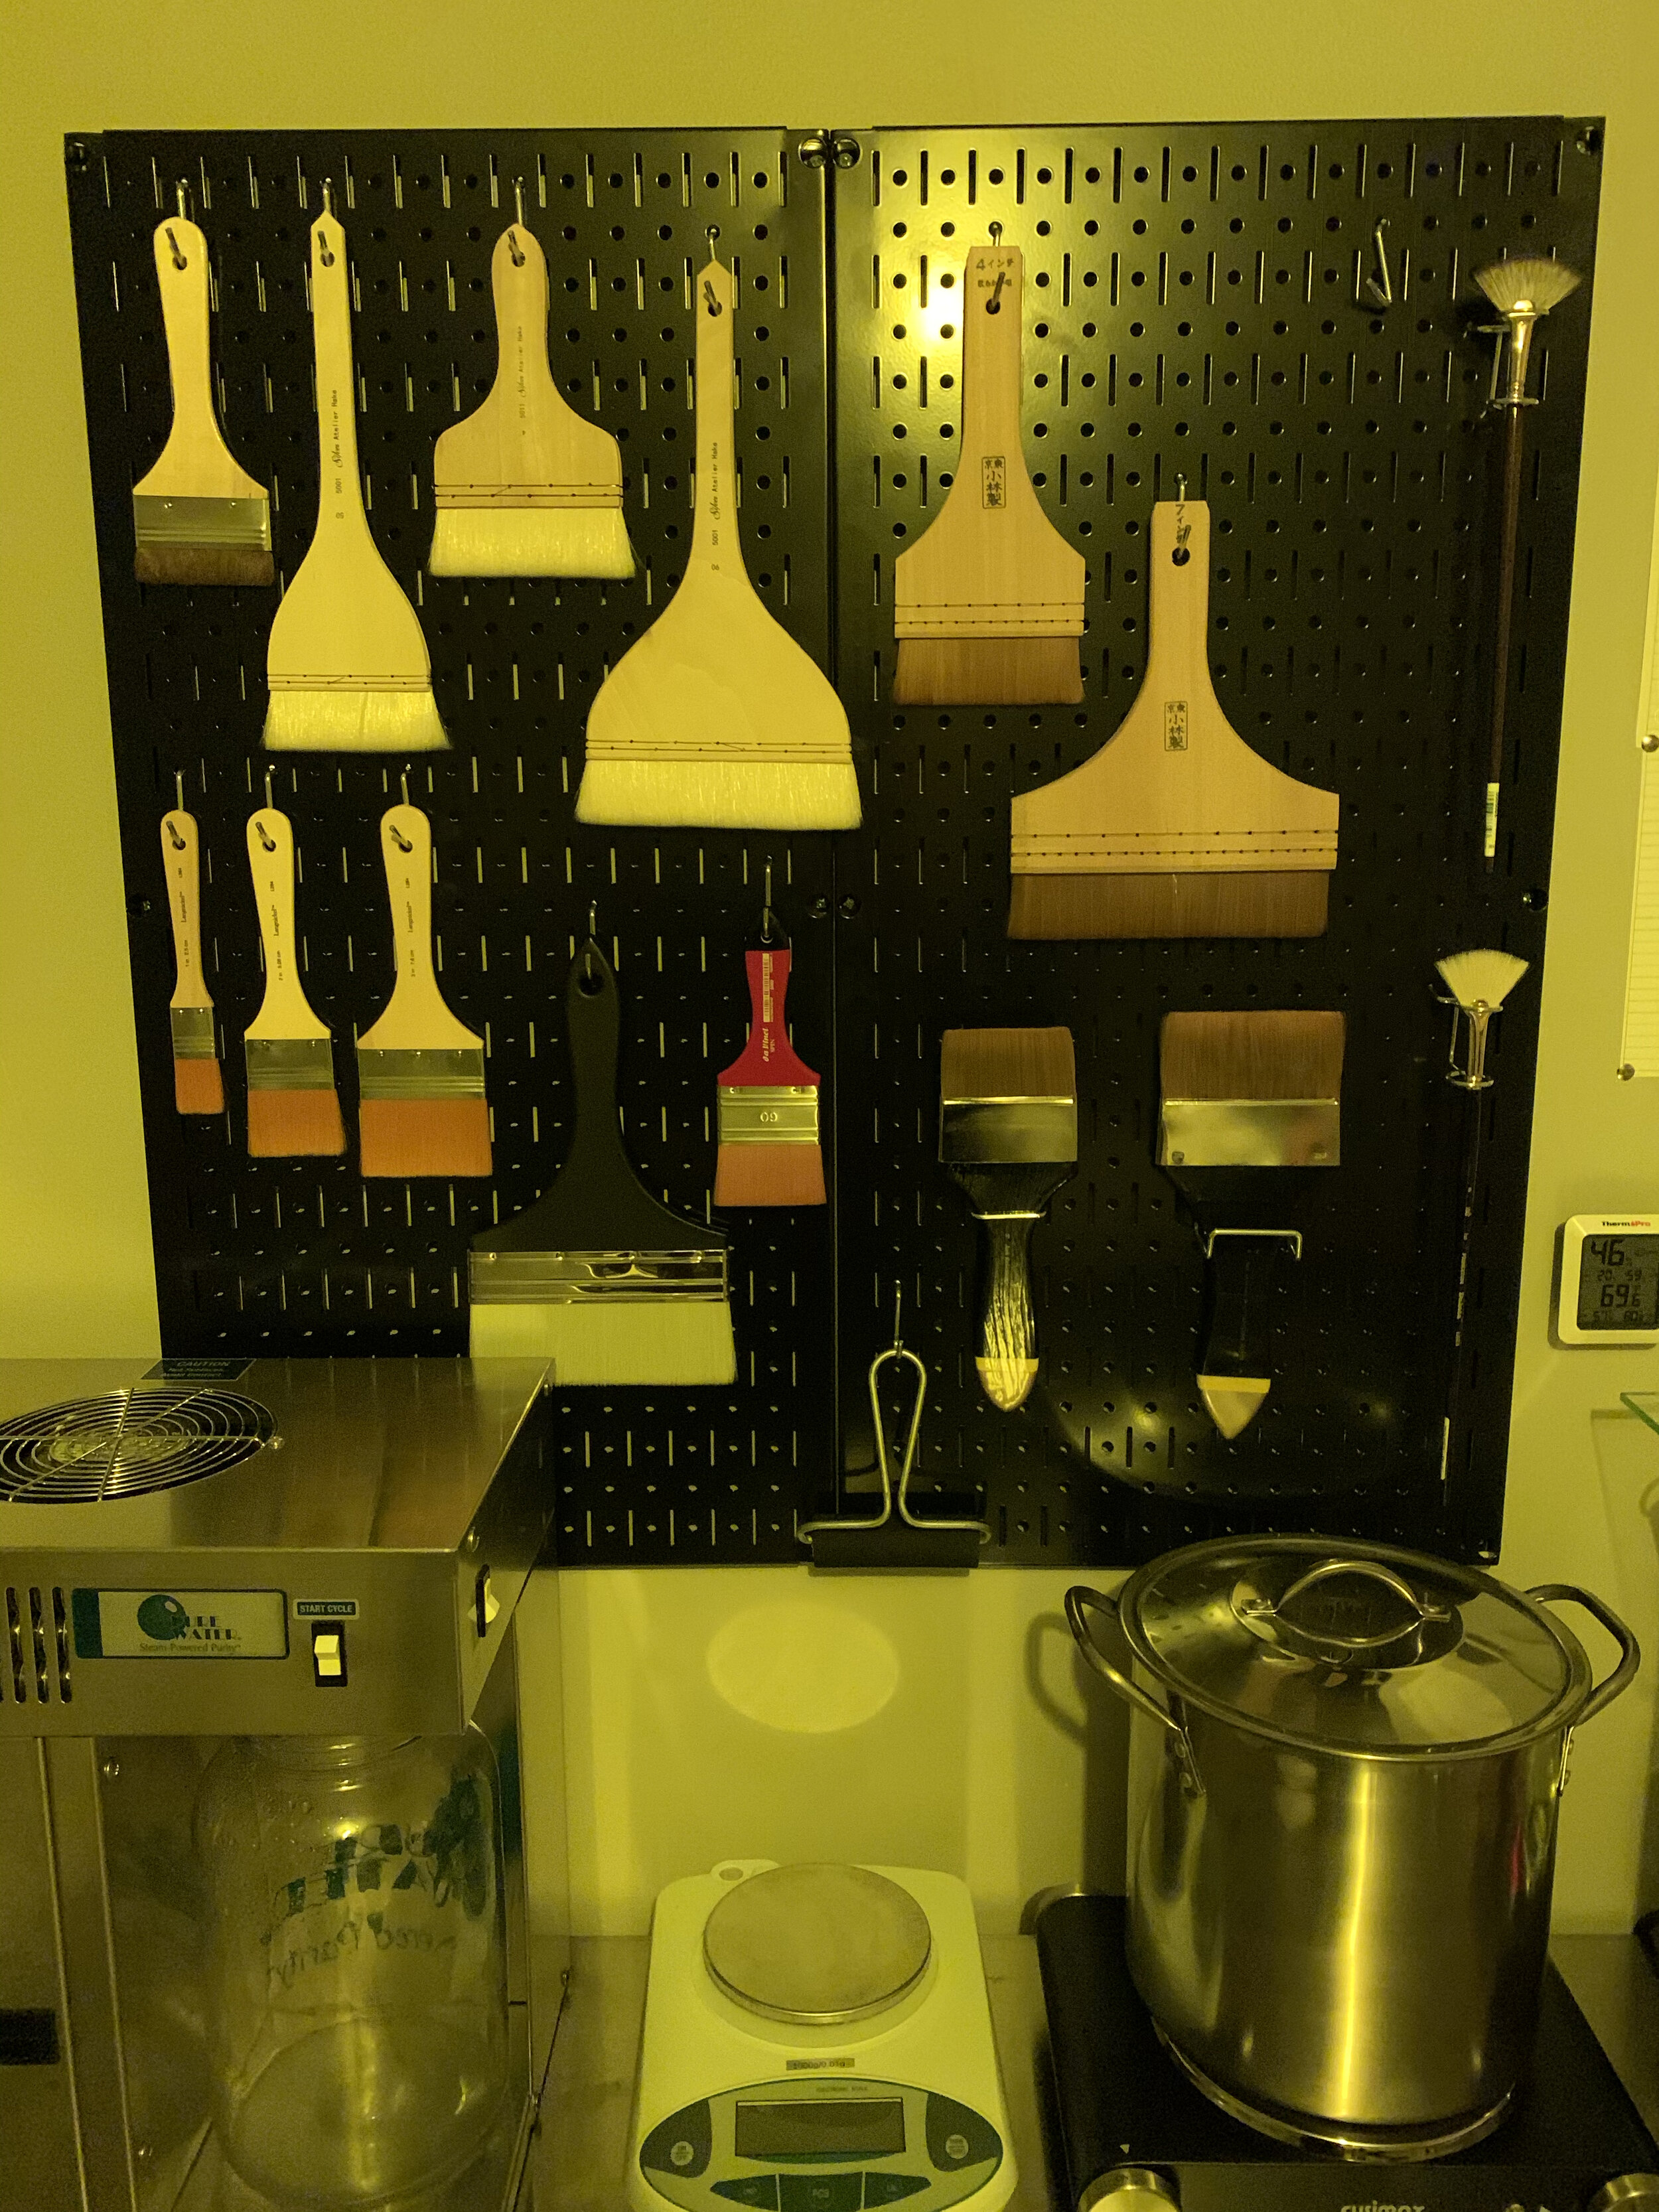
The sink was one of the more fun design elements. I ended up going to a local stainless steel welding shop to have it custom made to fit the dimensions of the room. The three basins essentially act as large trays, as carbon transfer and gum bichromate printing is all water developed.
I set my focus on designing the darkroom for carbon transfer printing, which can be printed in color. With the guidance of Calvin Grier, a master color carbon printer and now friend of mine, I planned the space around a large stainless steel sink, a wall mounted vacuum table, and a large glass coating table.
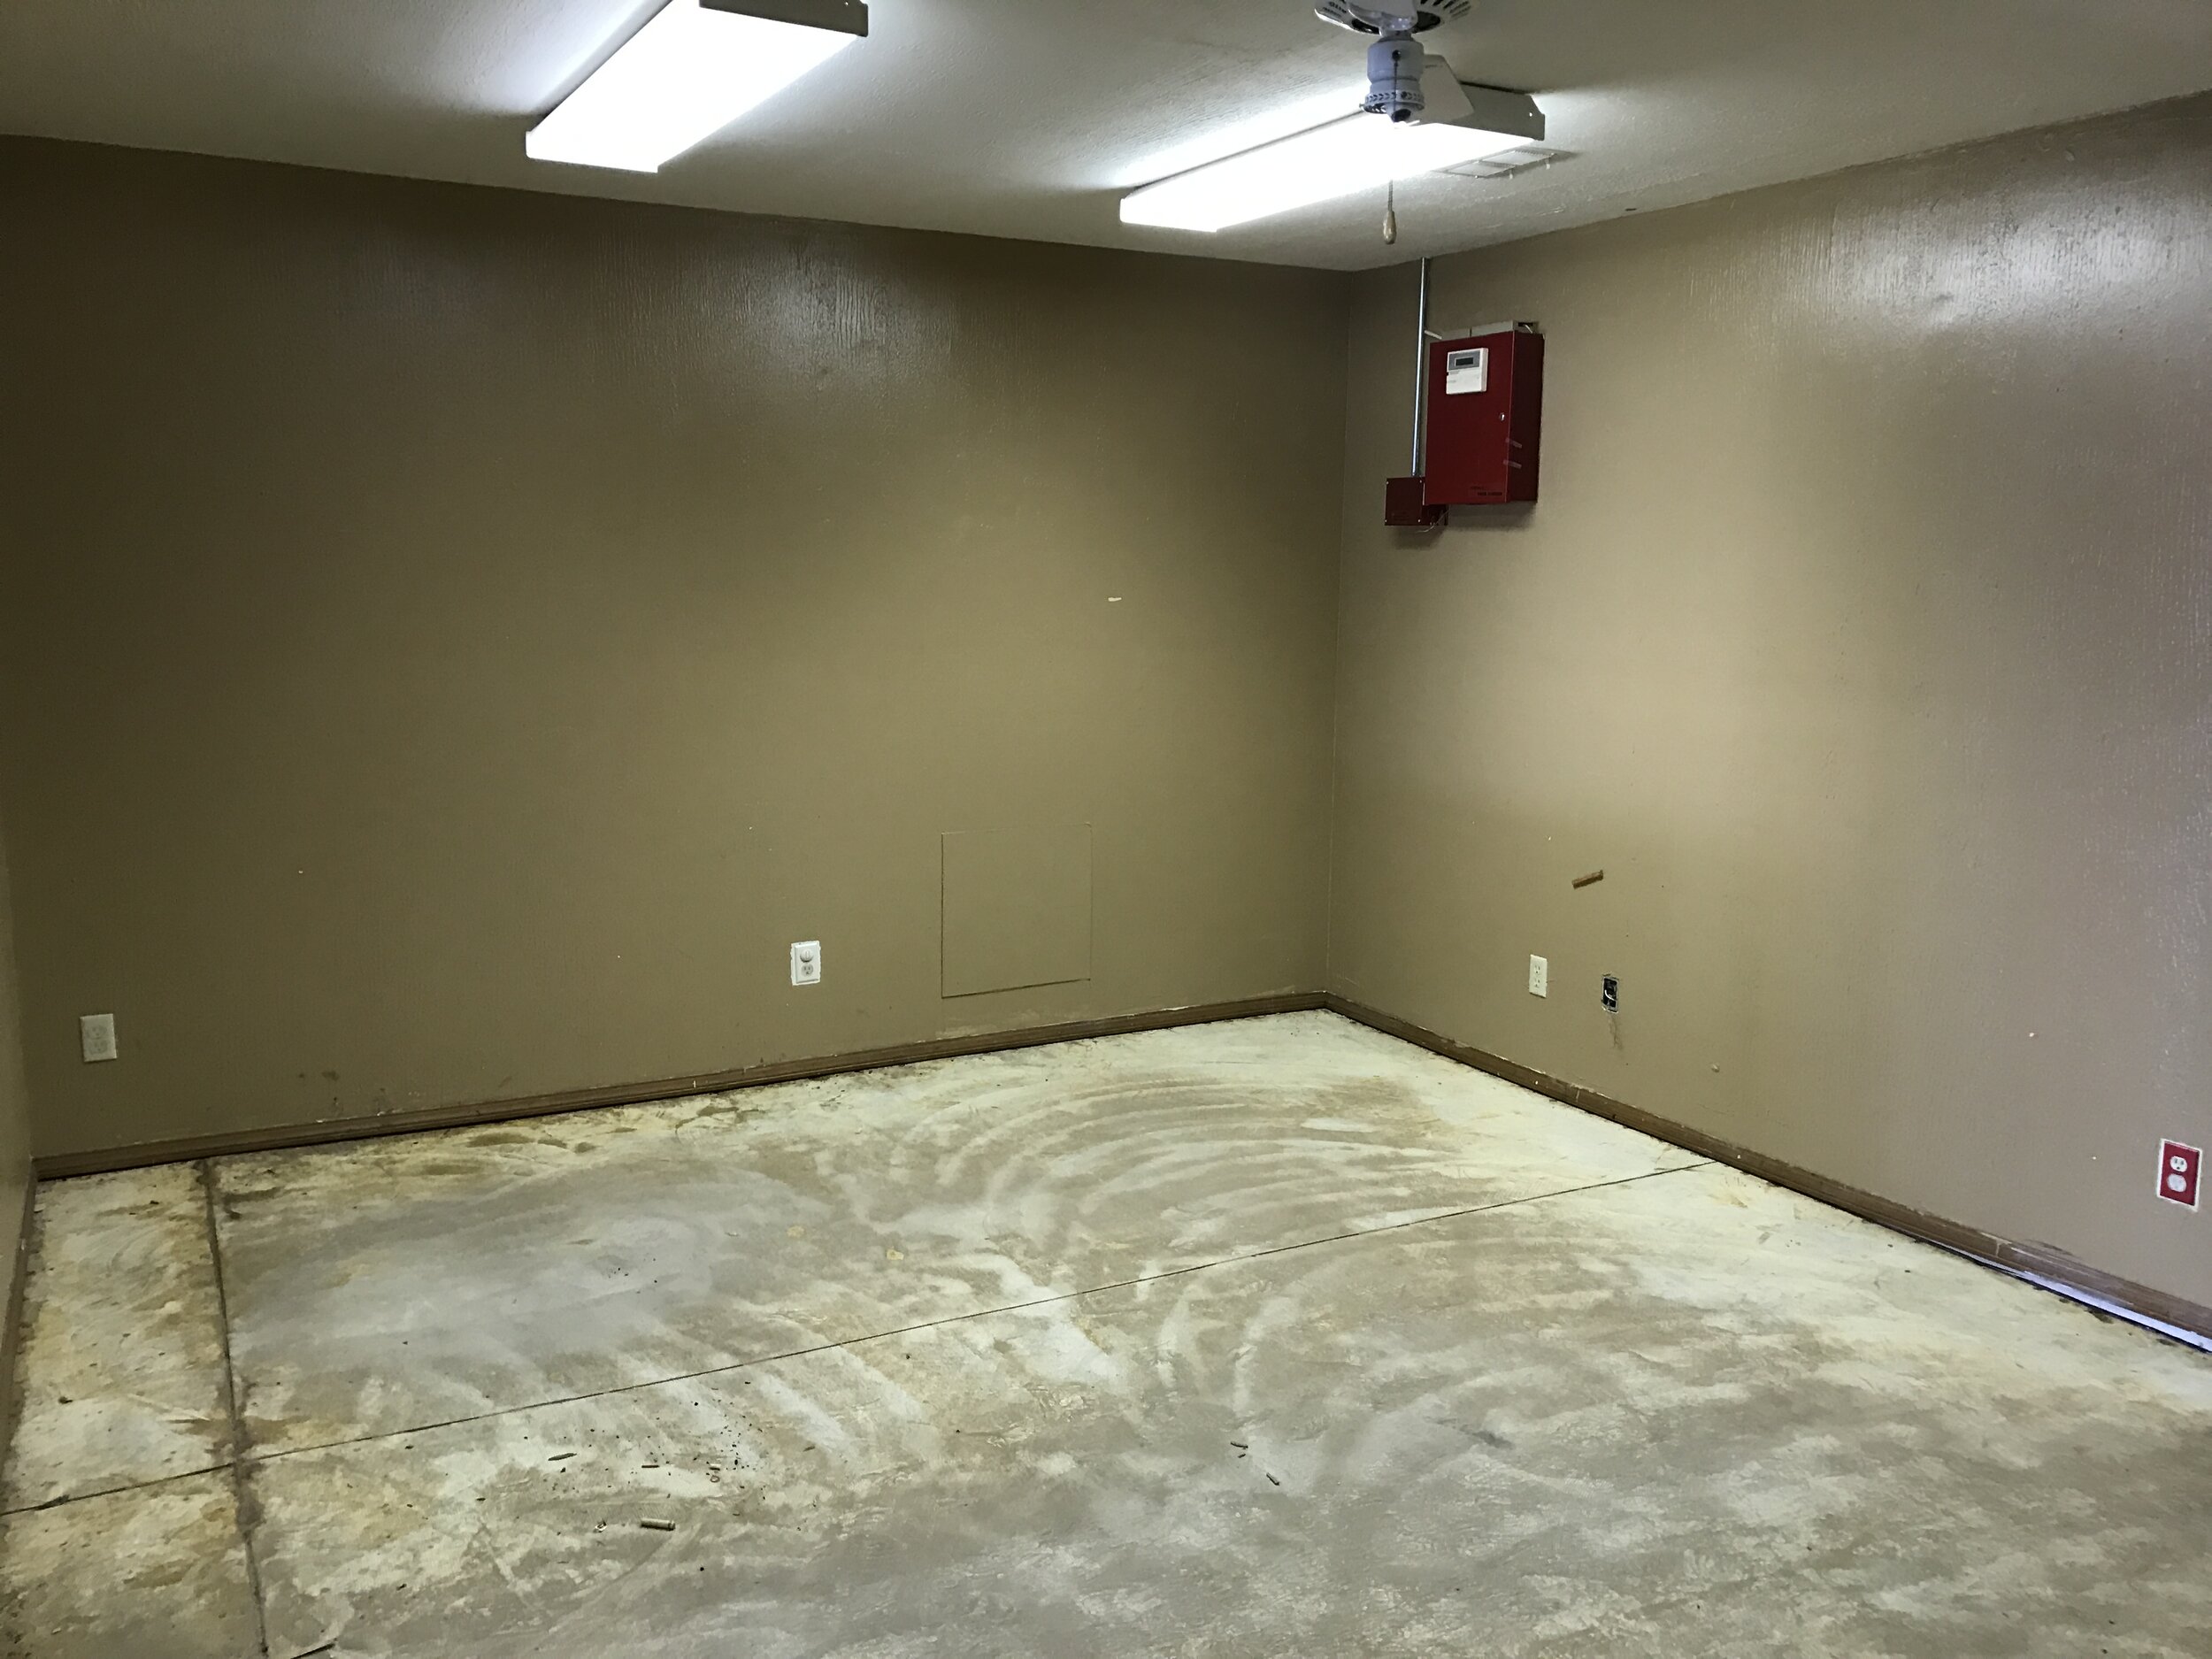
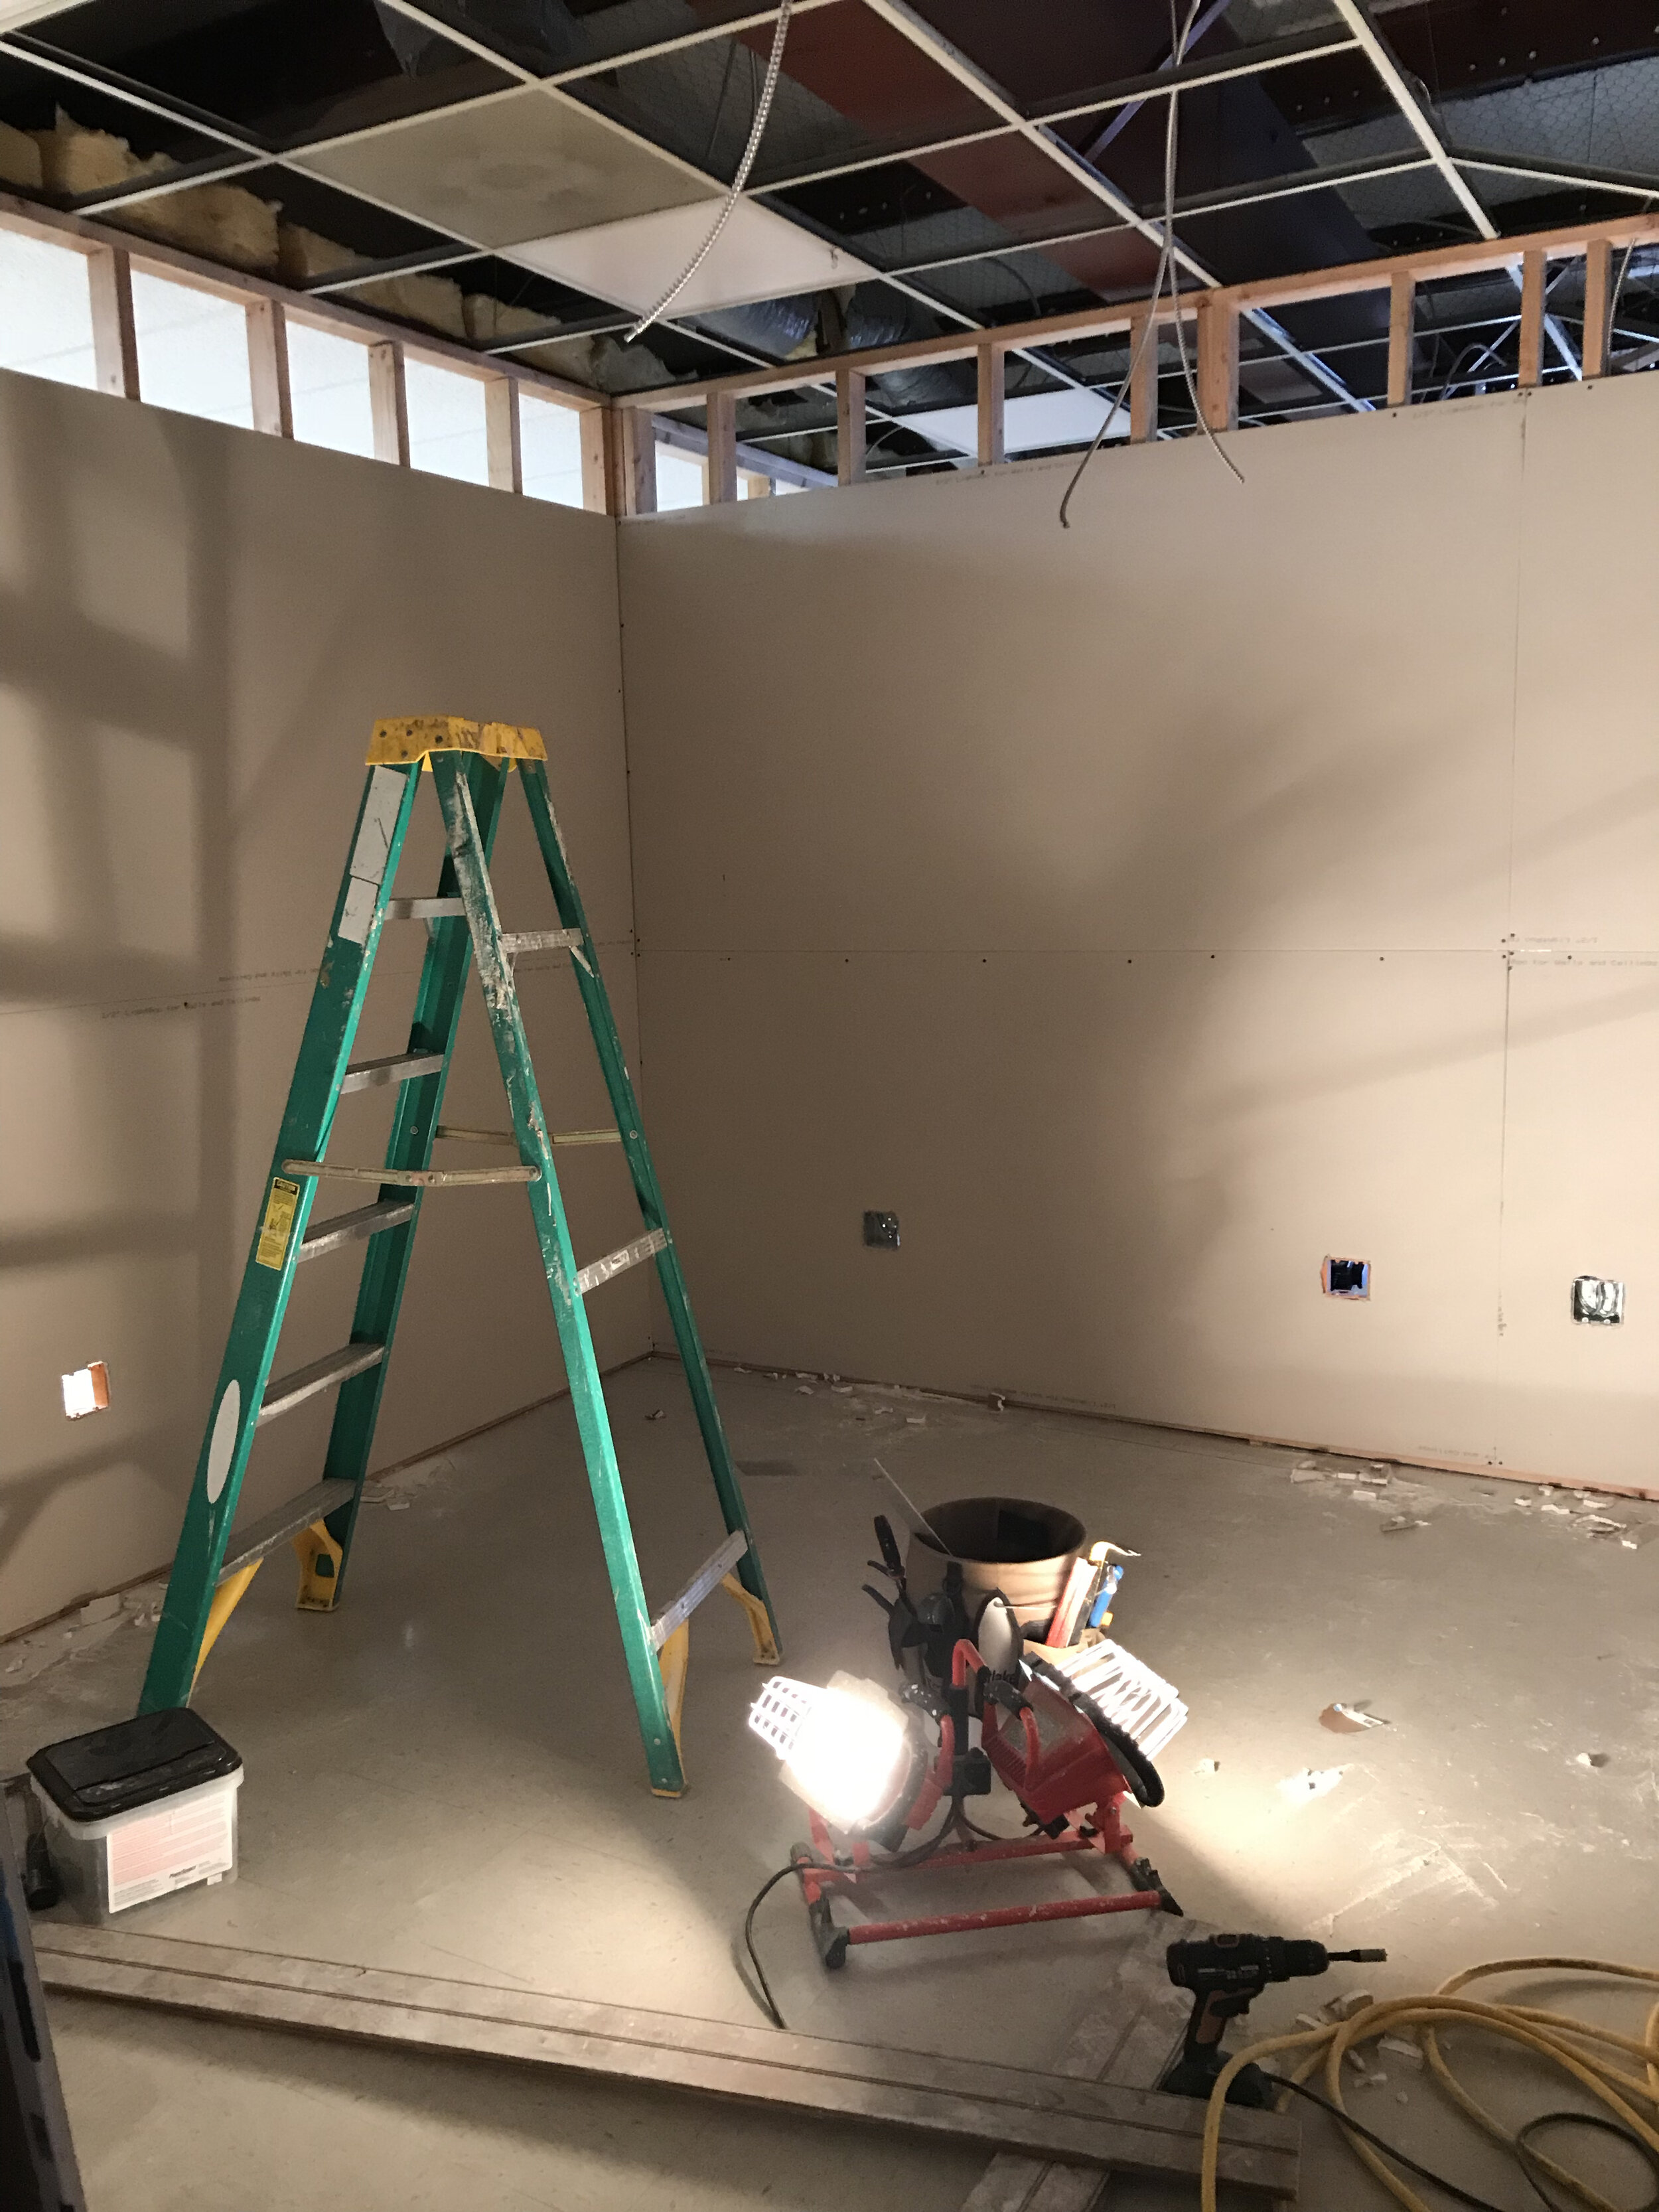
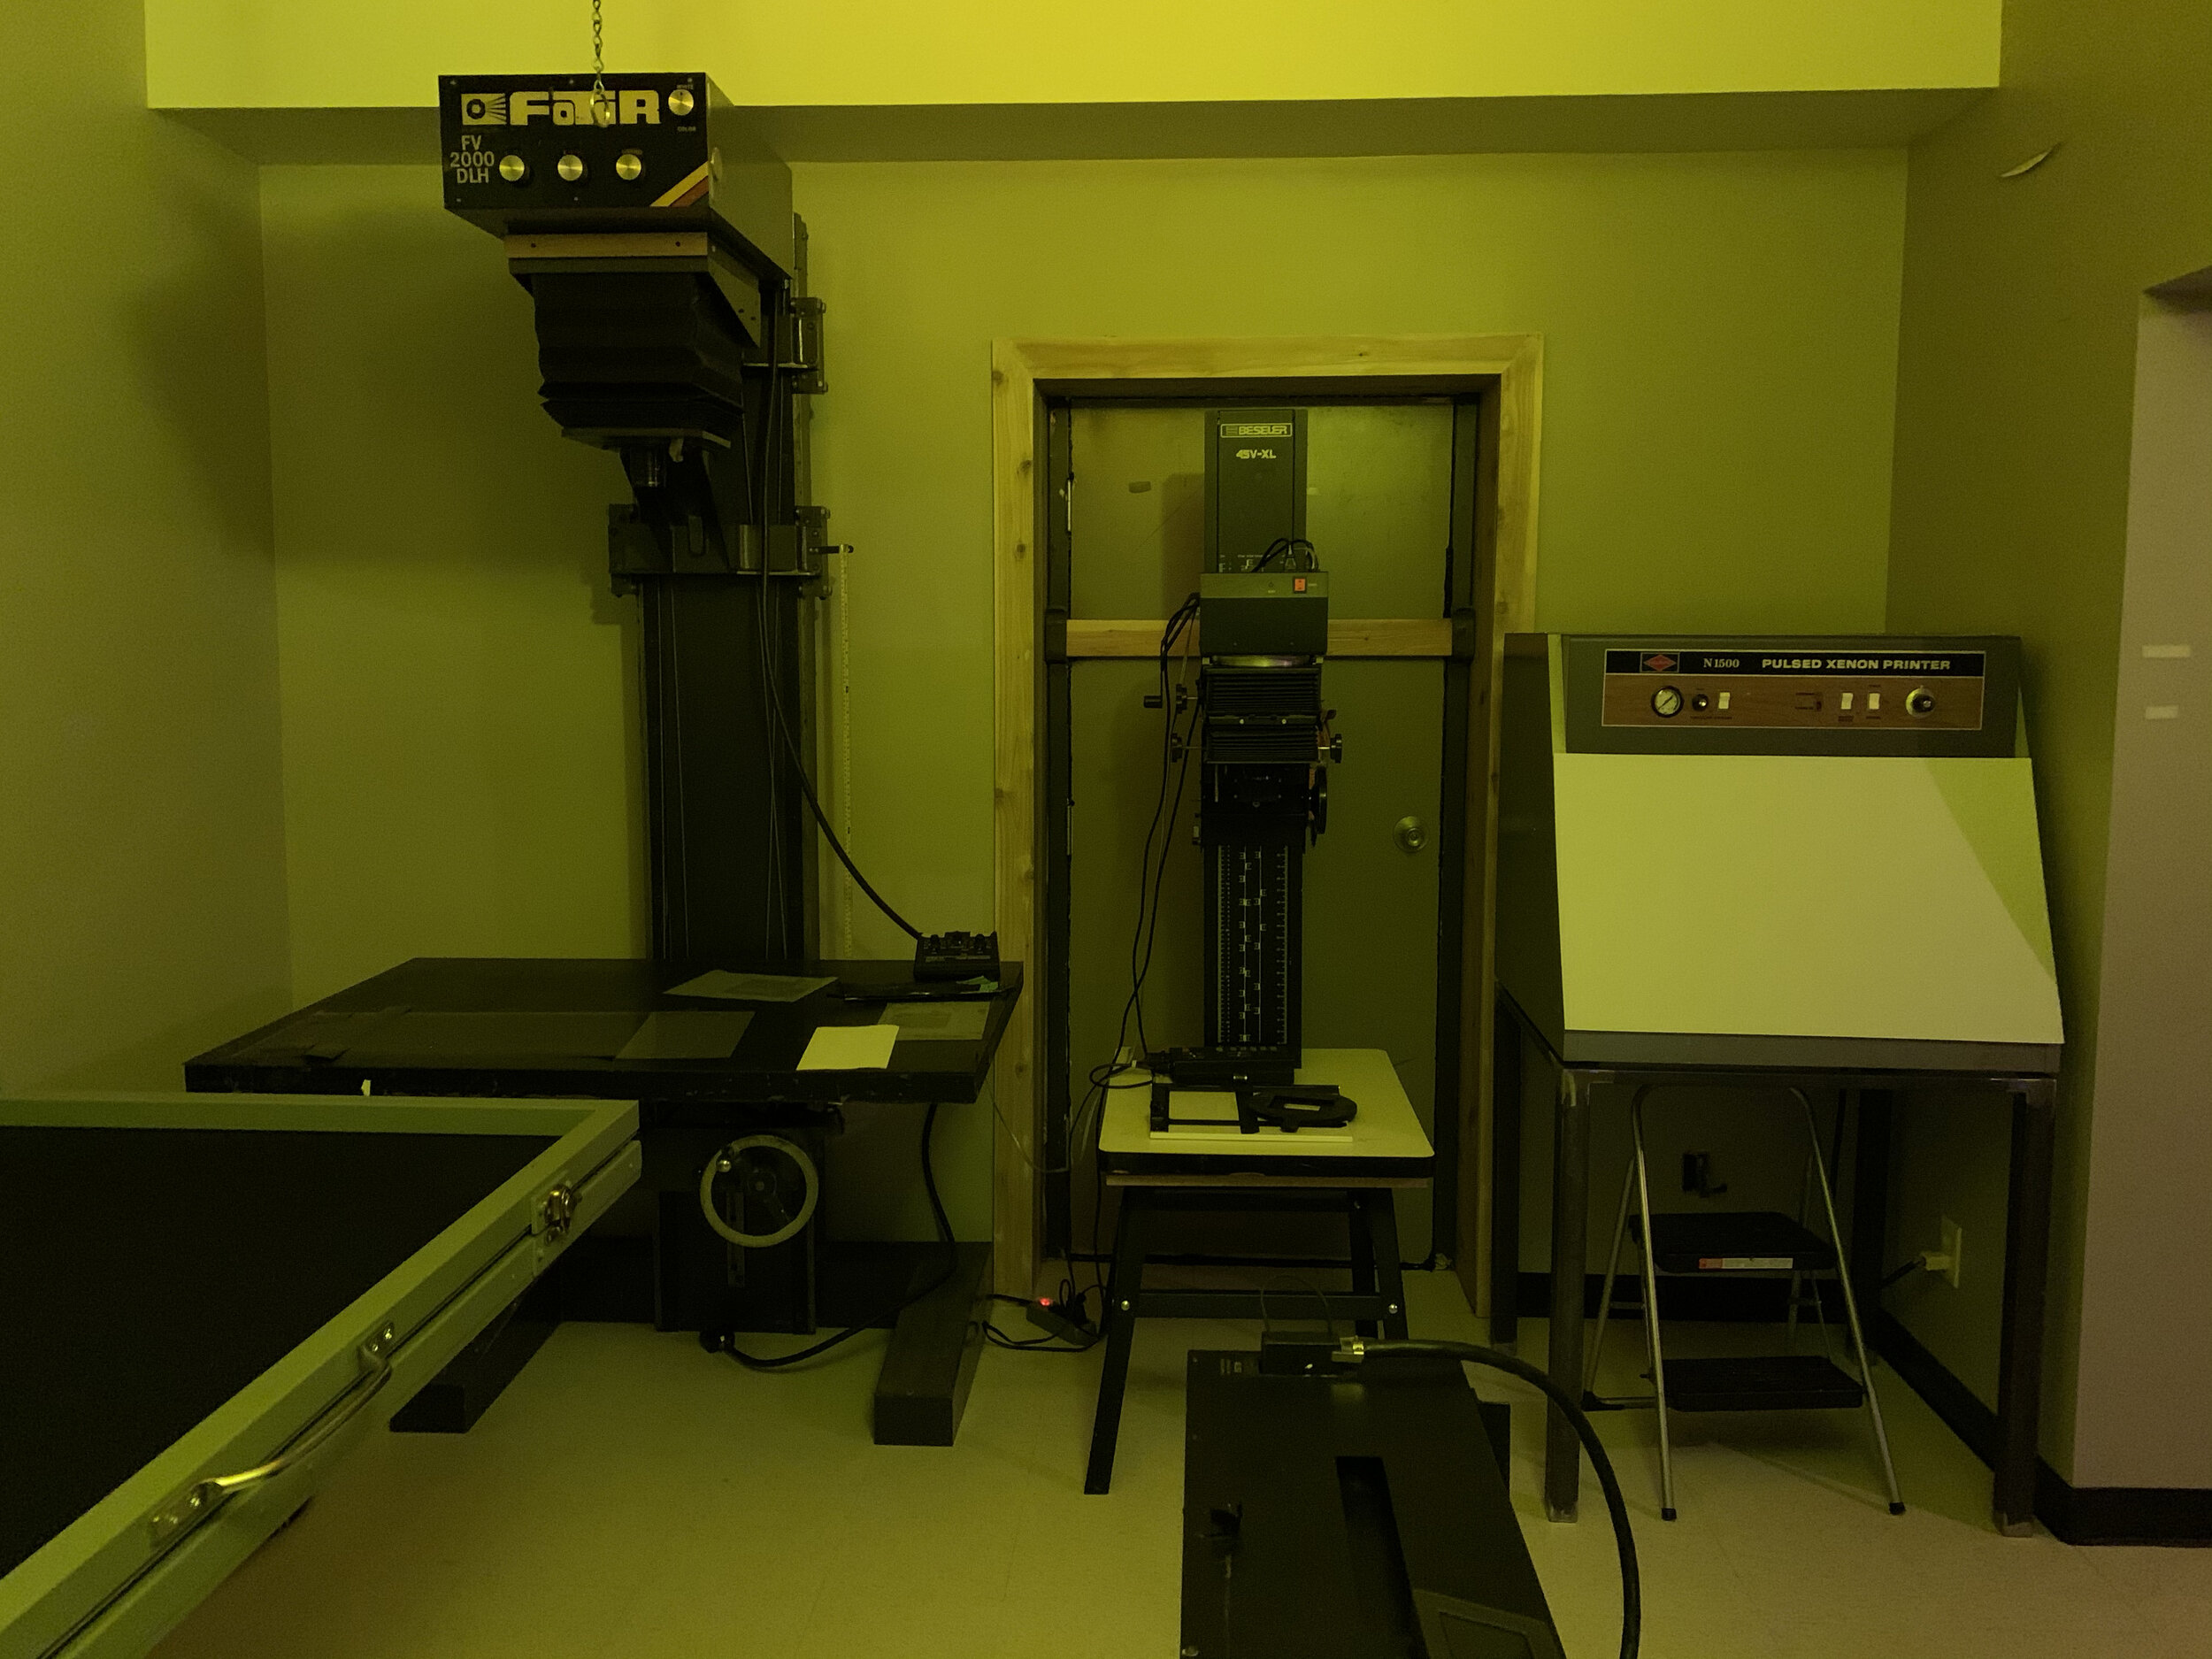
The scanning room was mostly easy - it just needed to be big enough for the scanner and some table space and be climate and dust controlled.
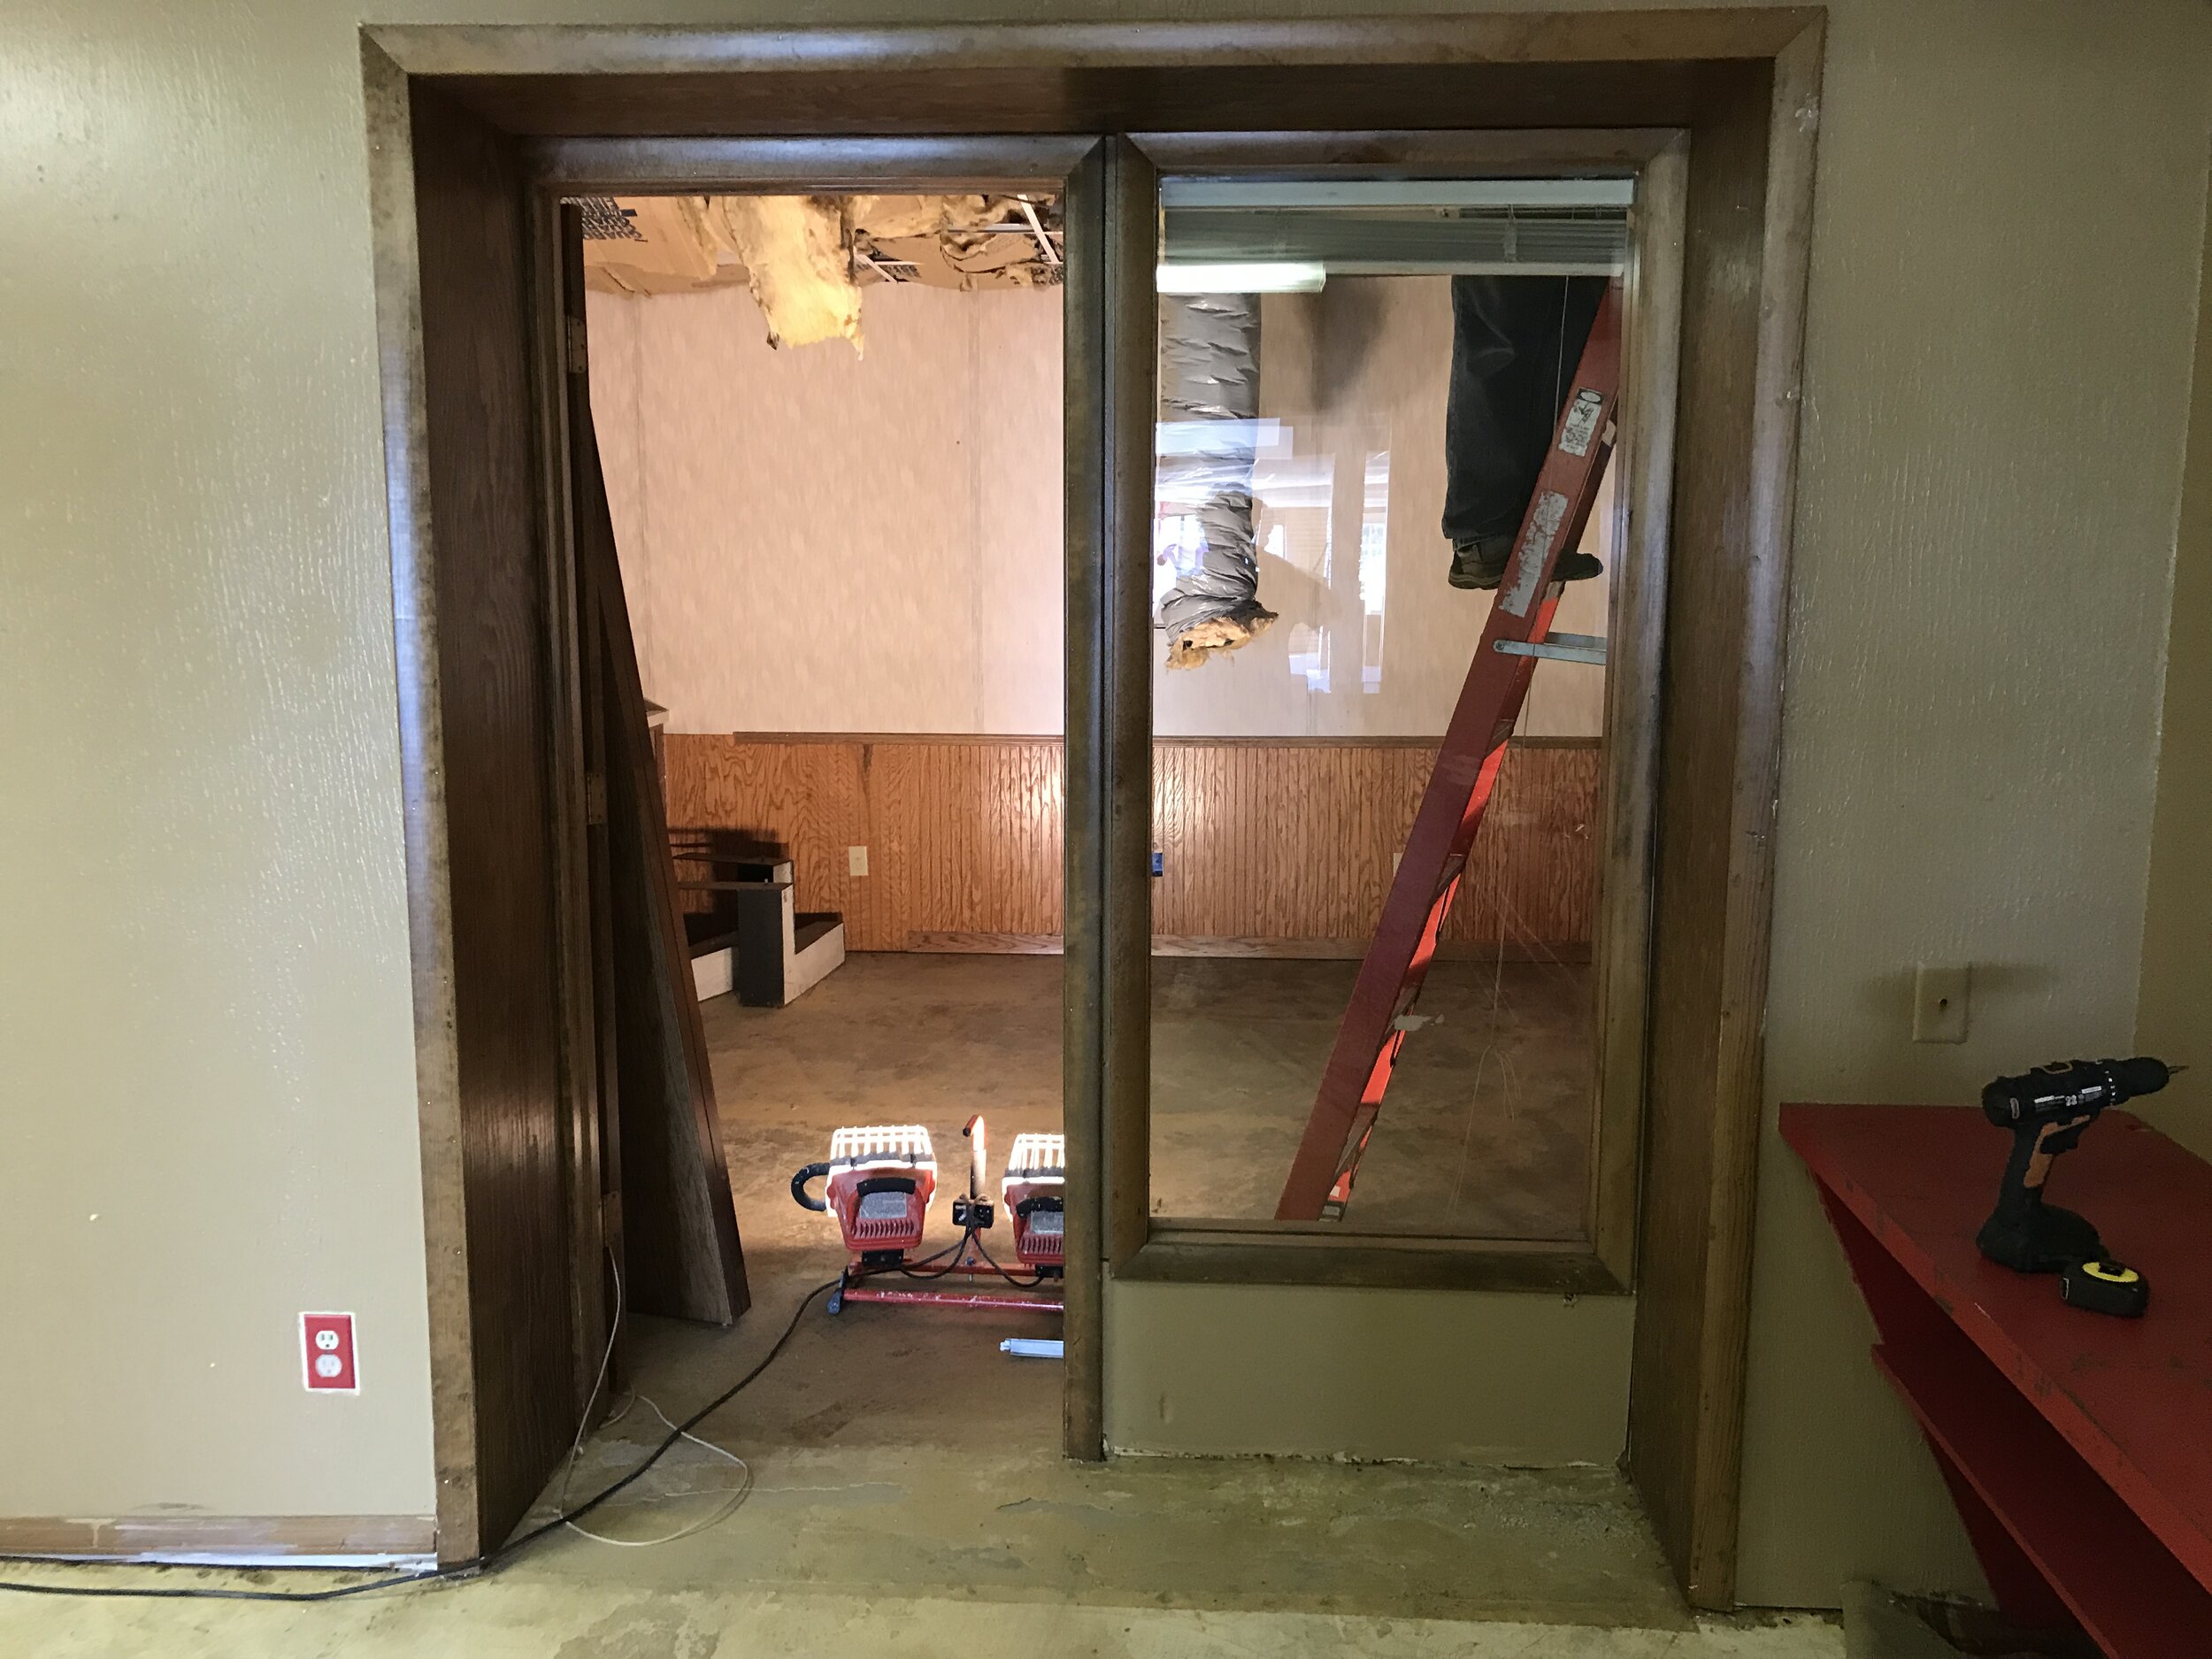
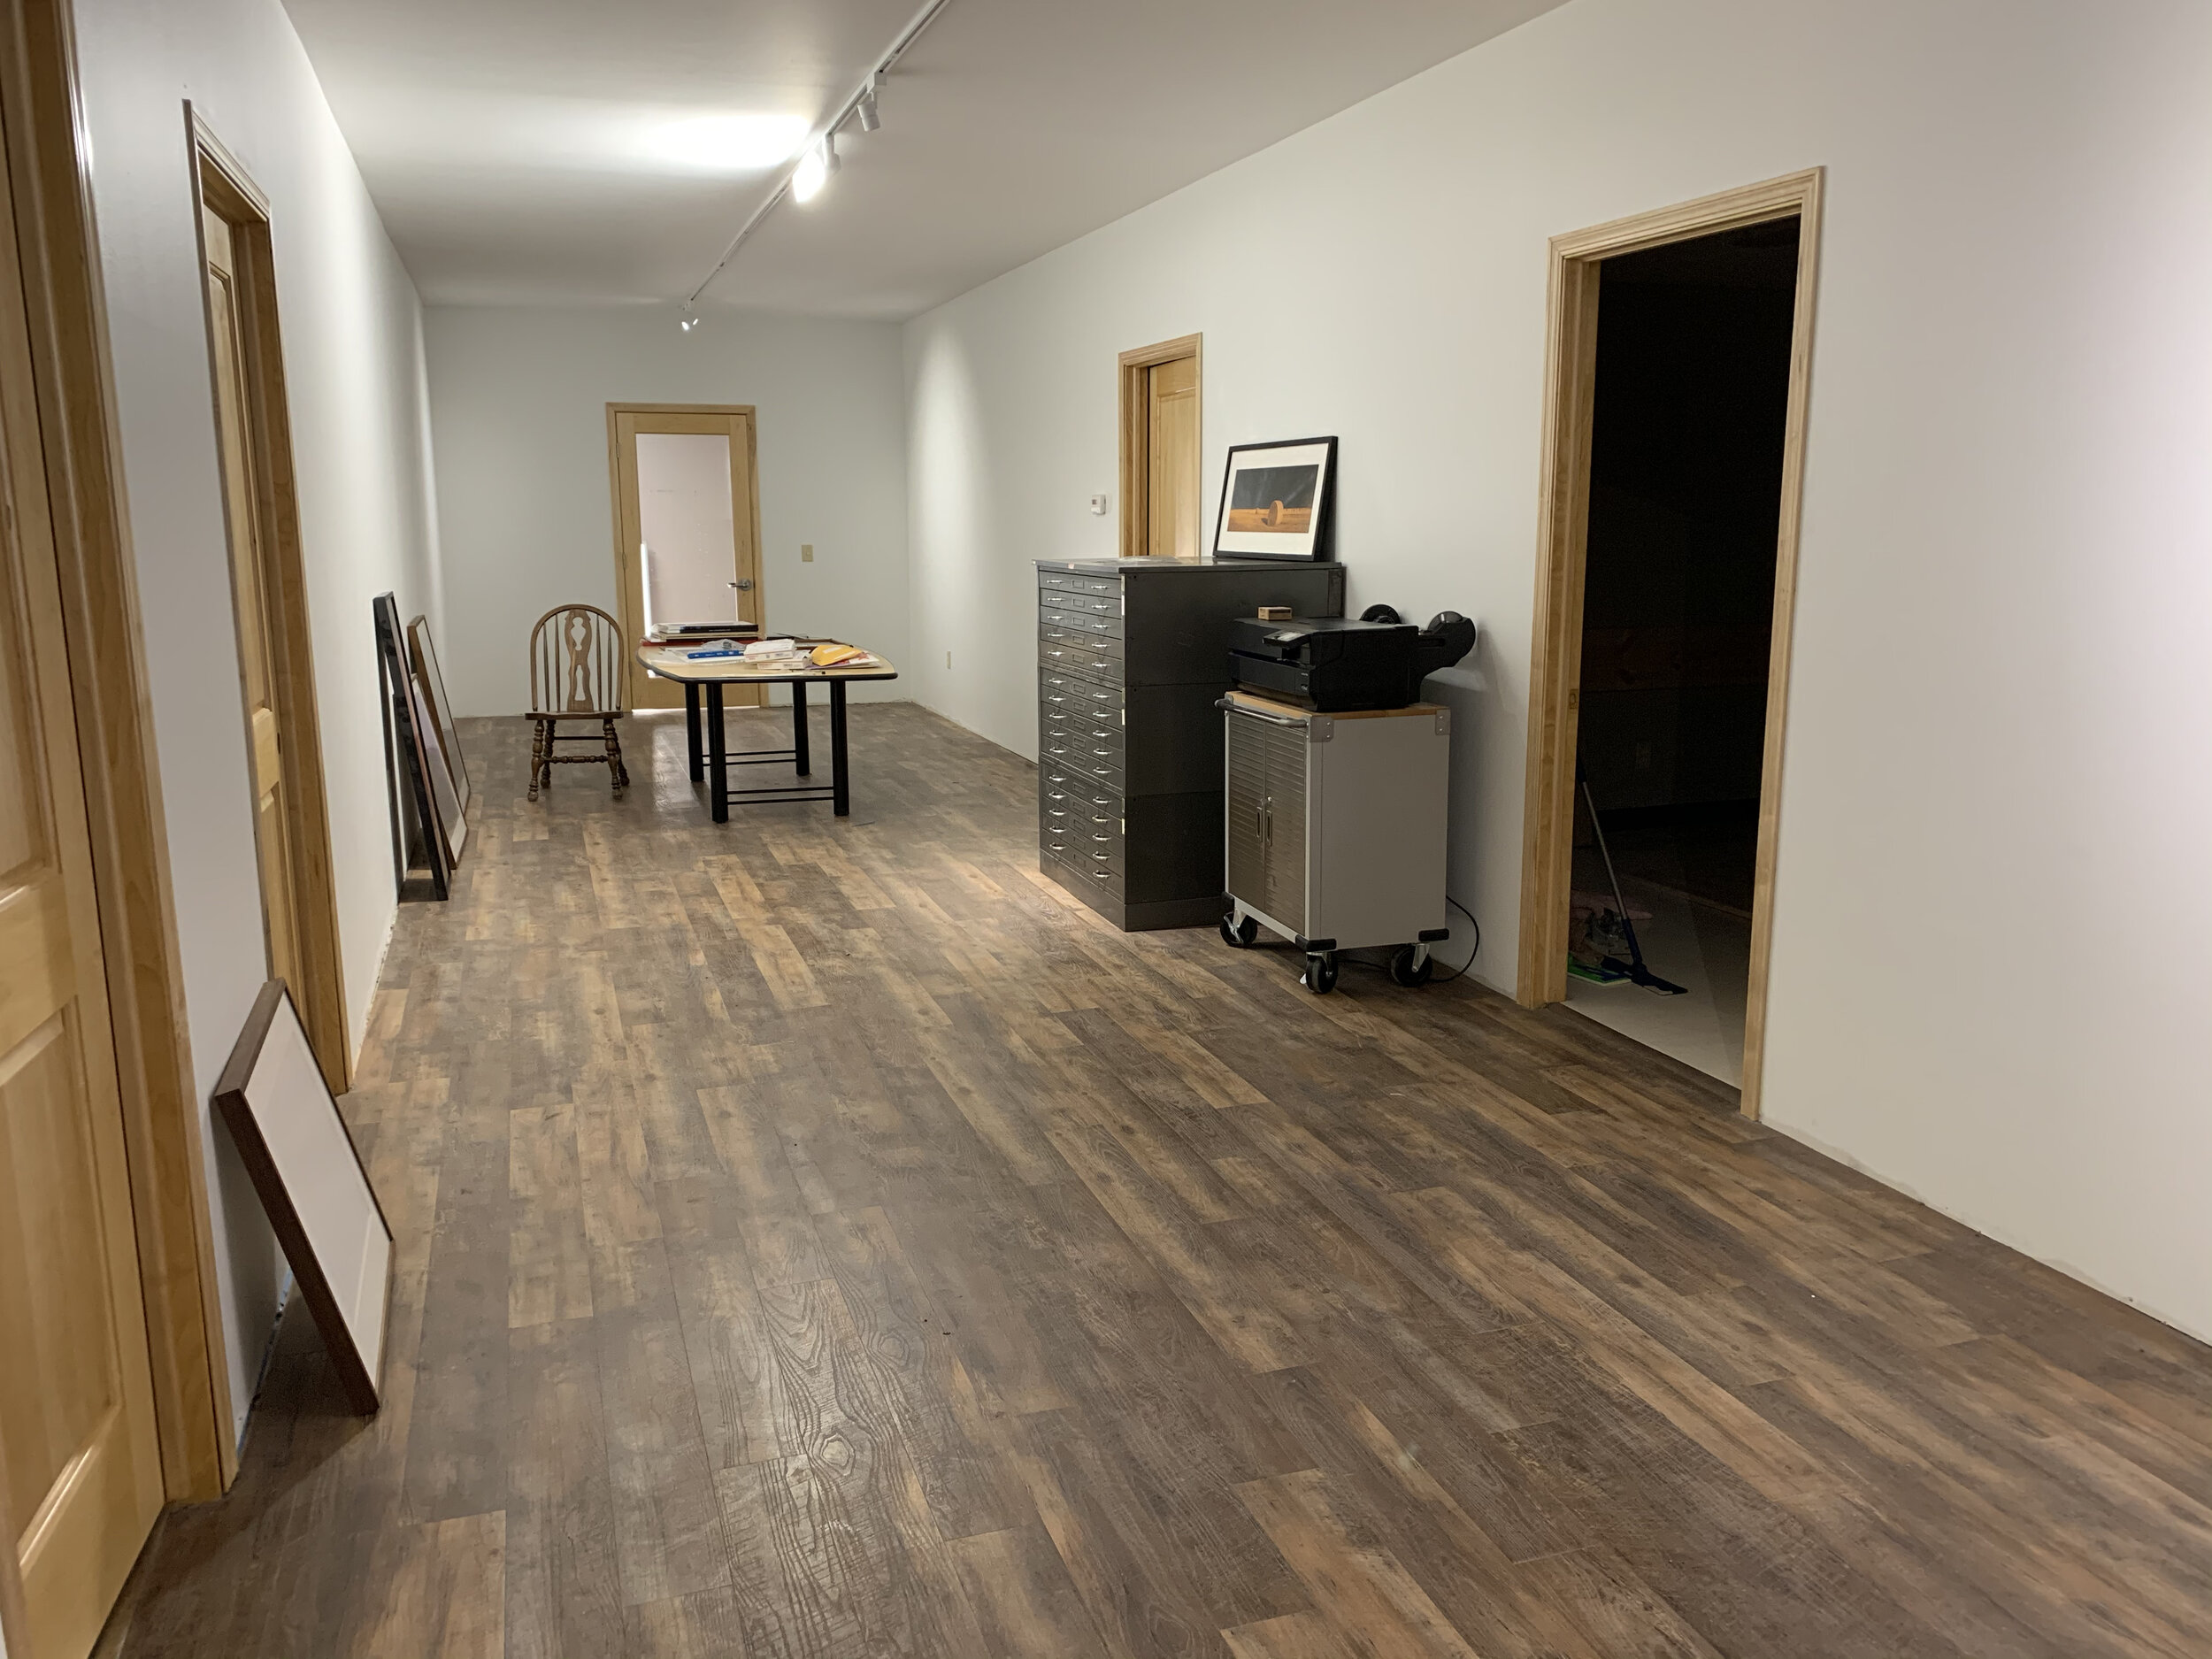
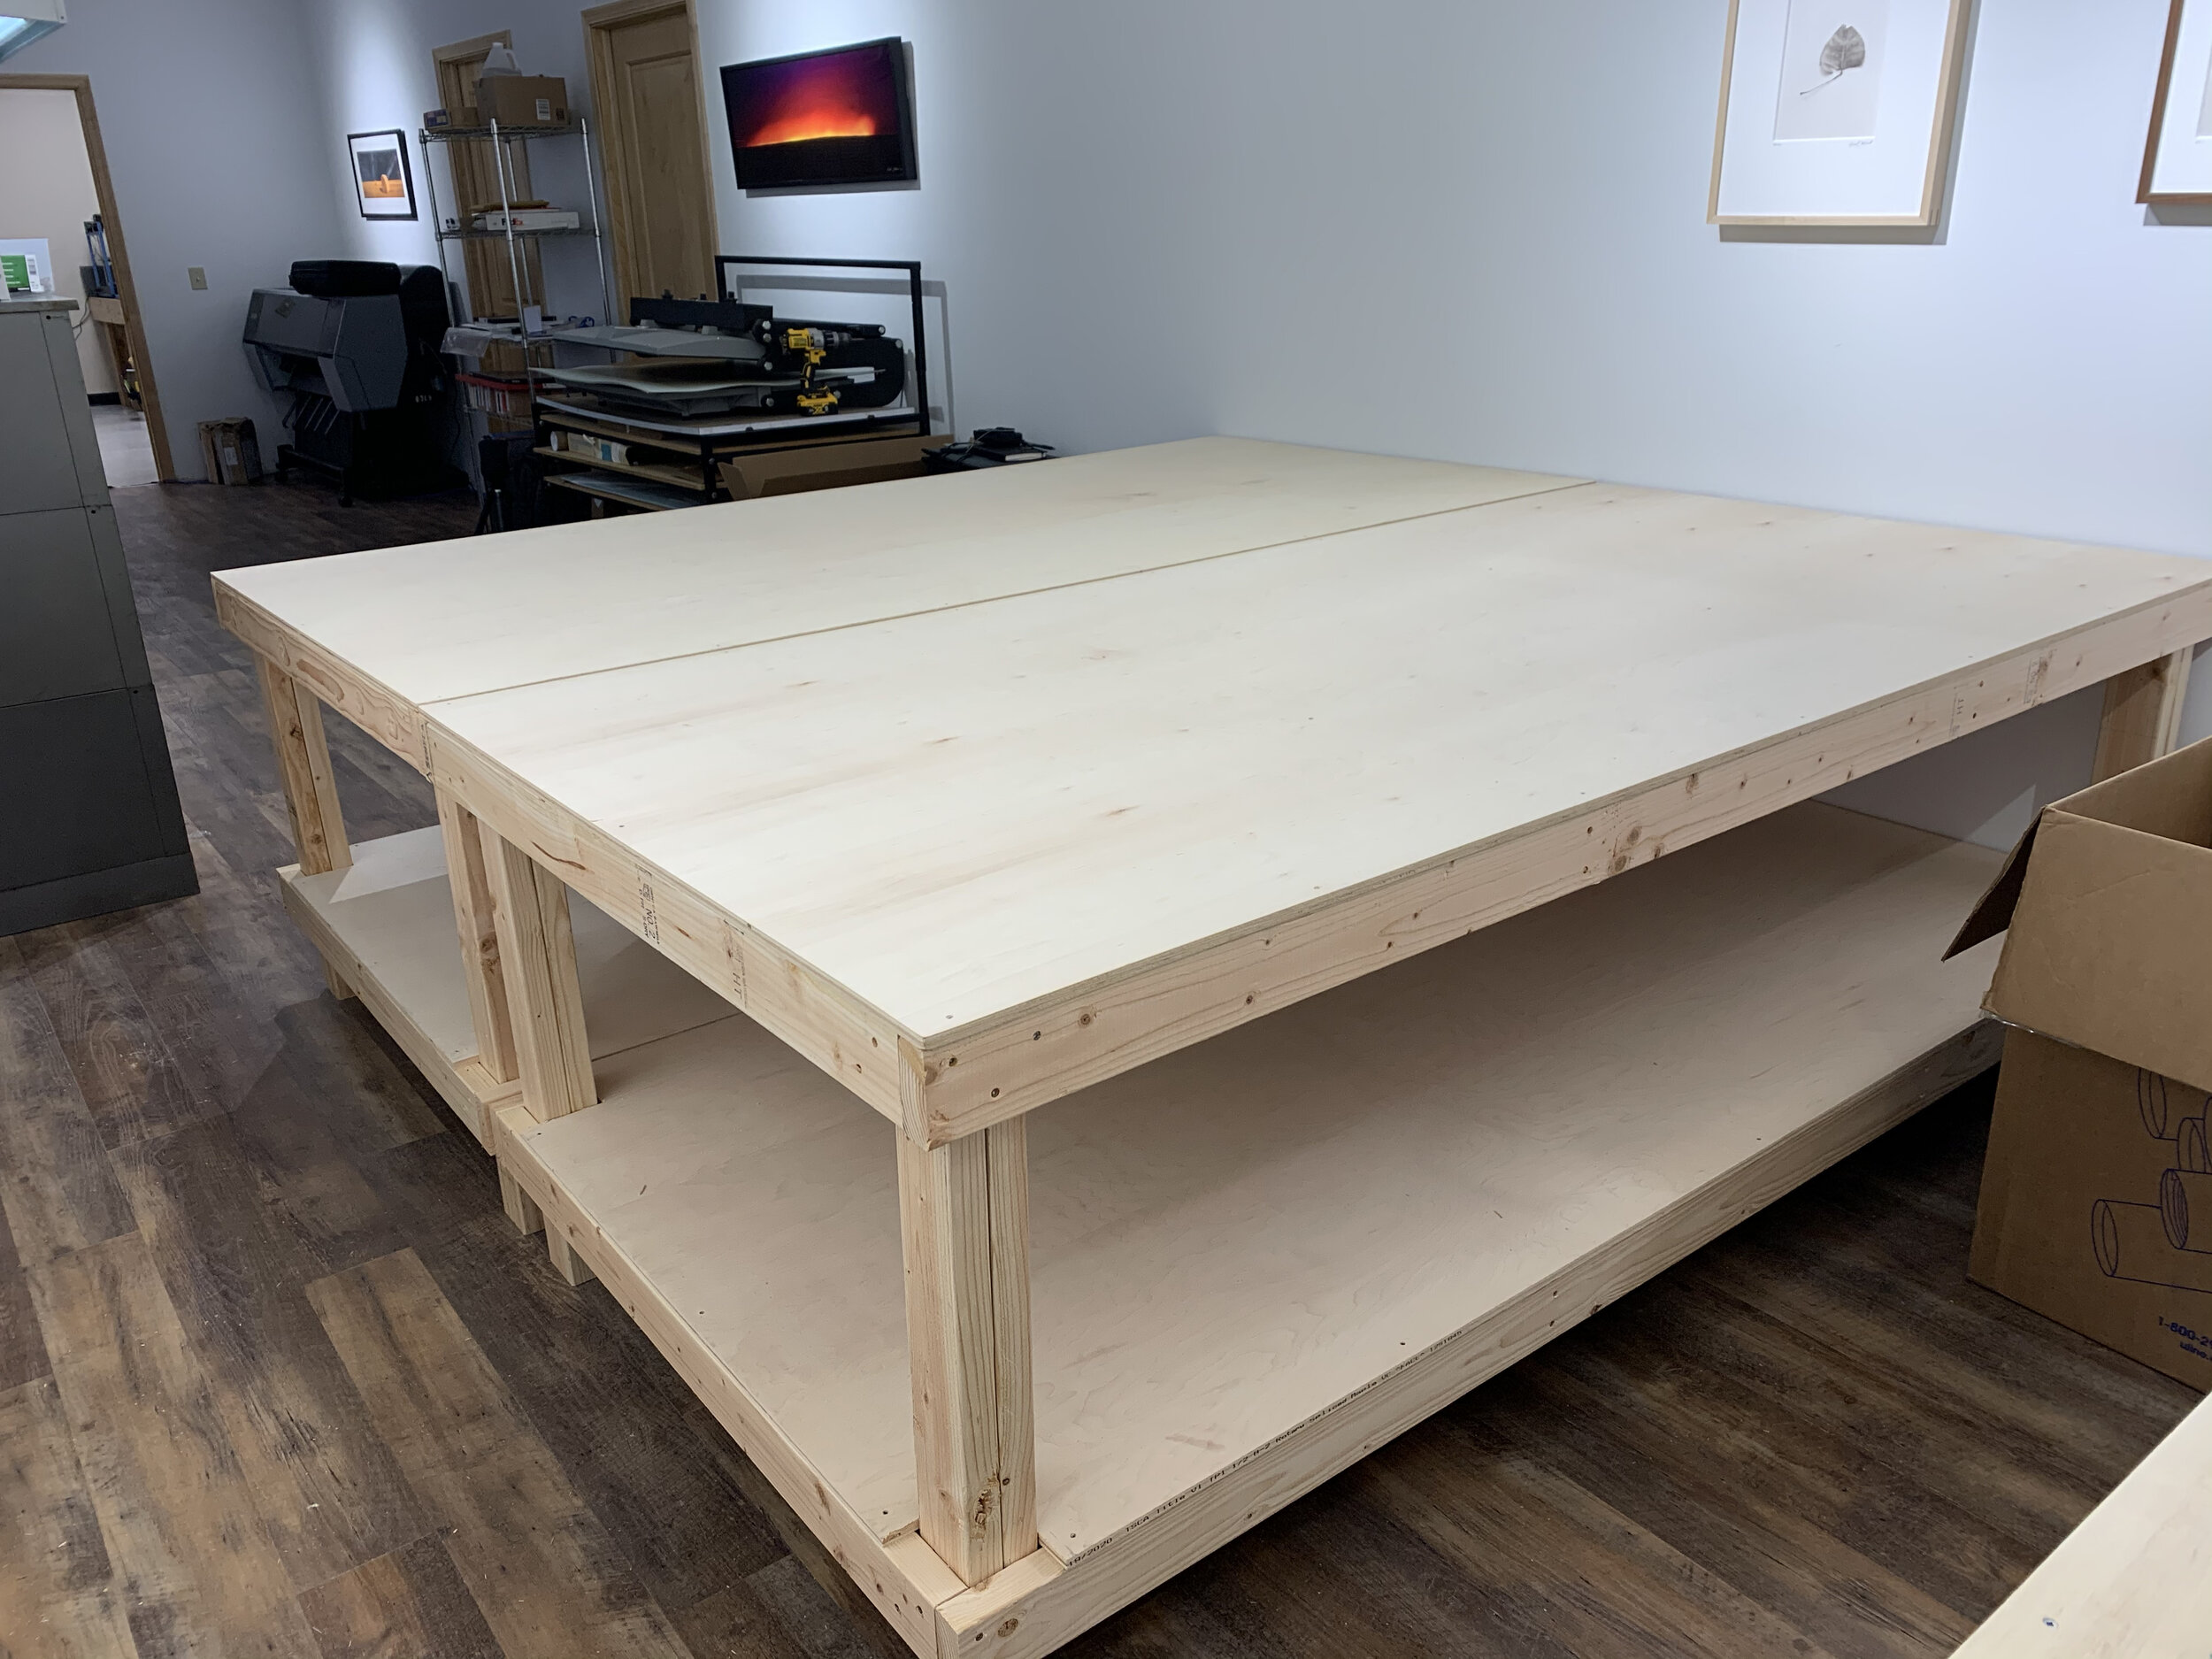
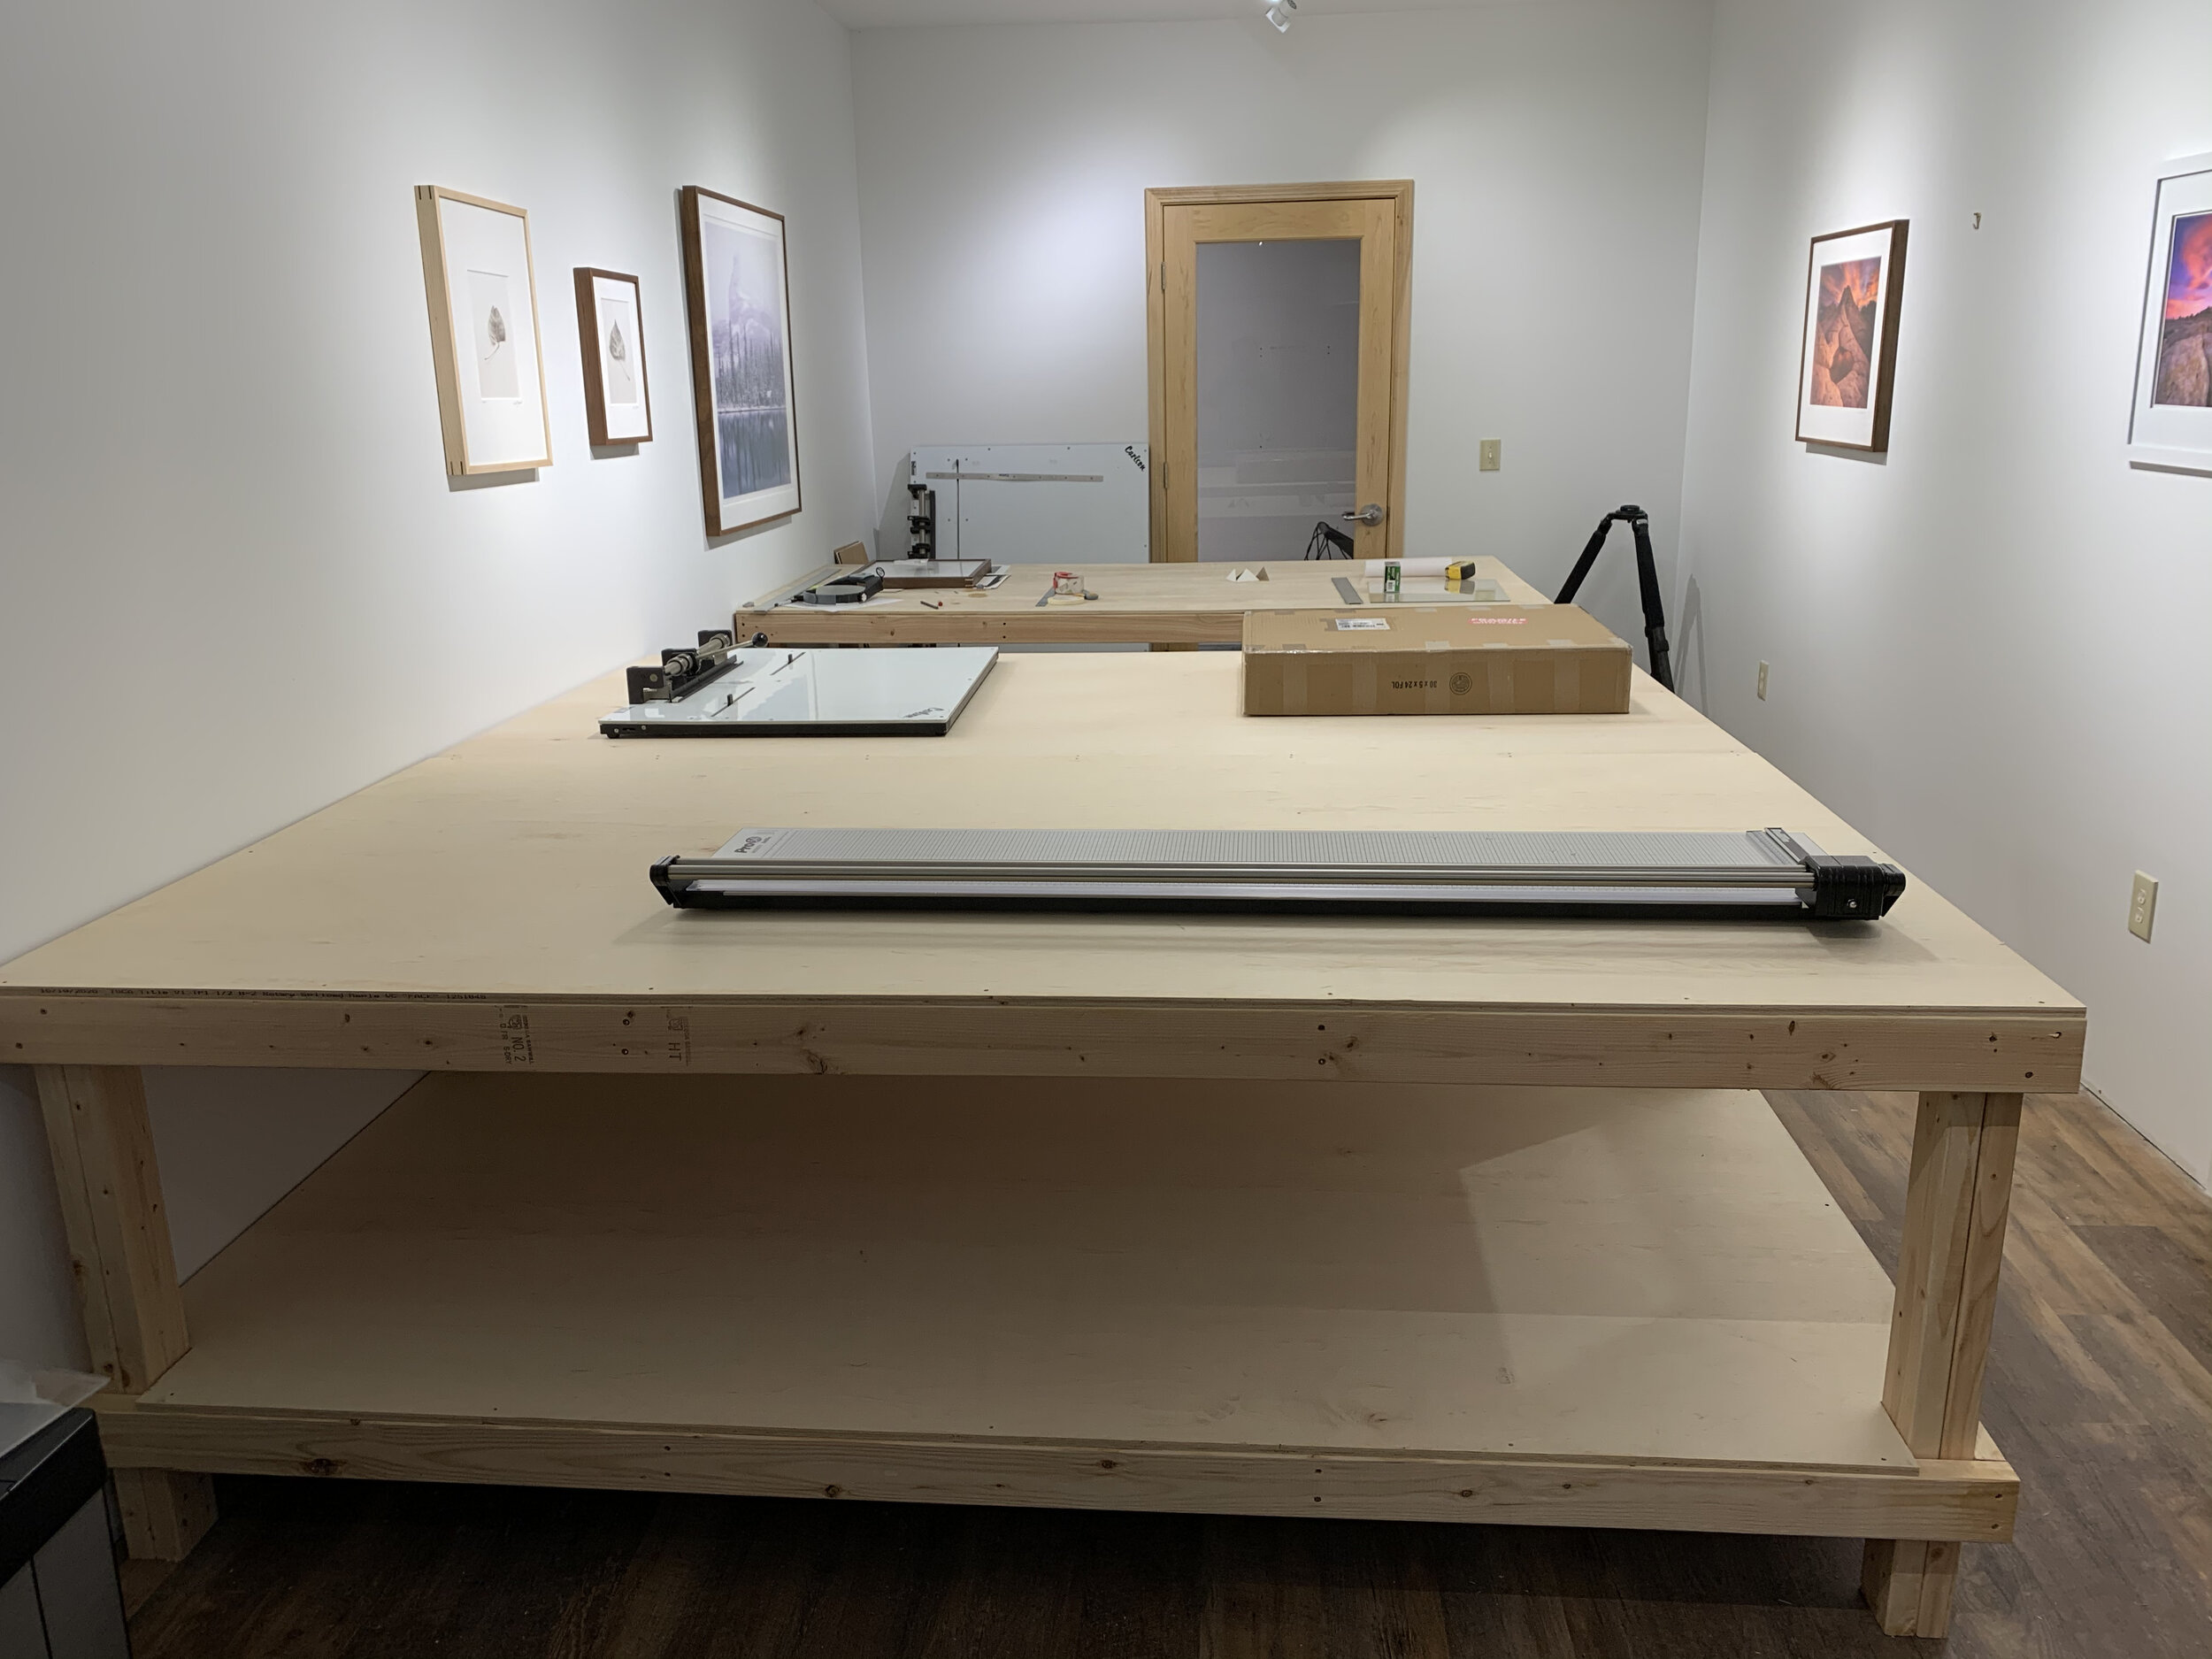
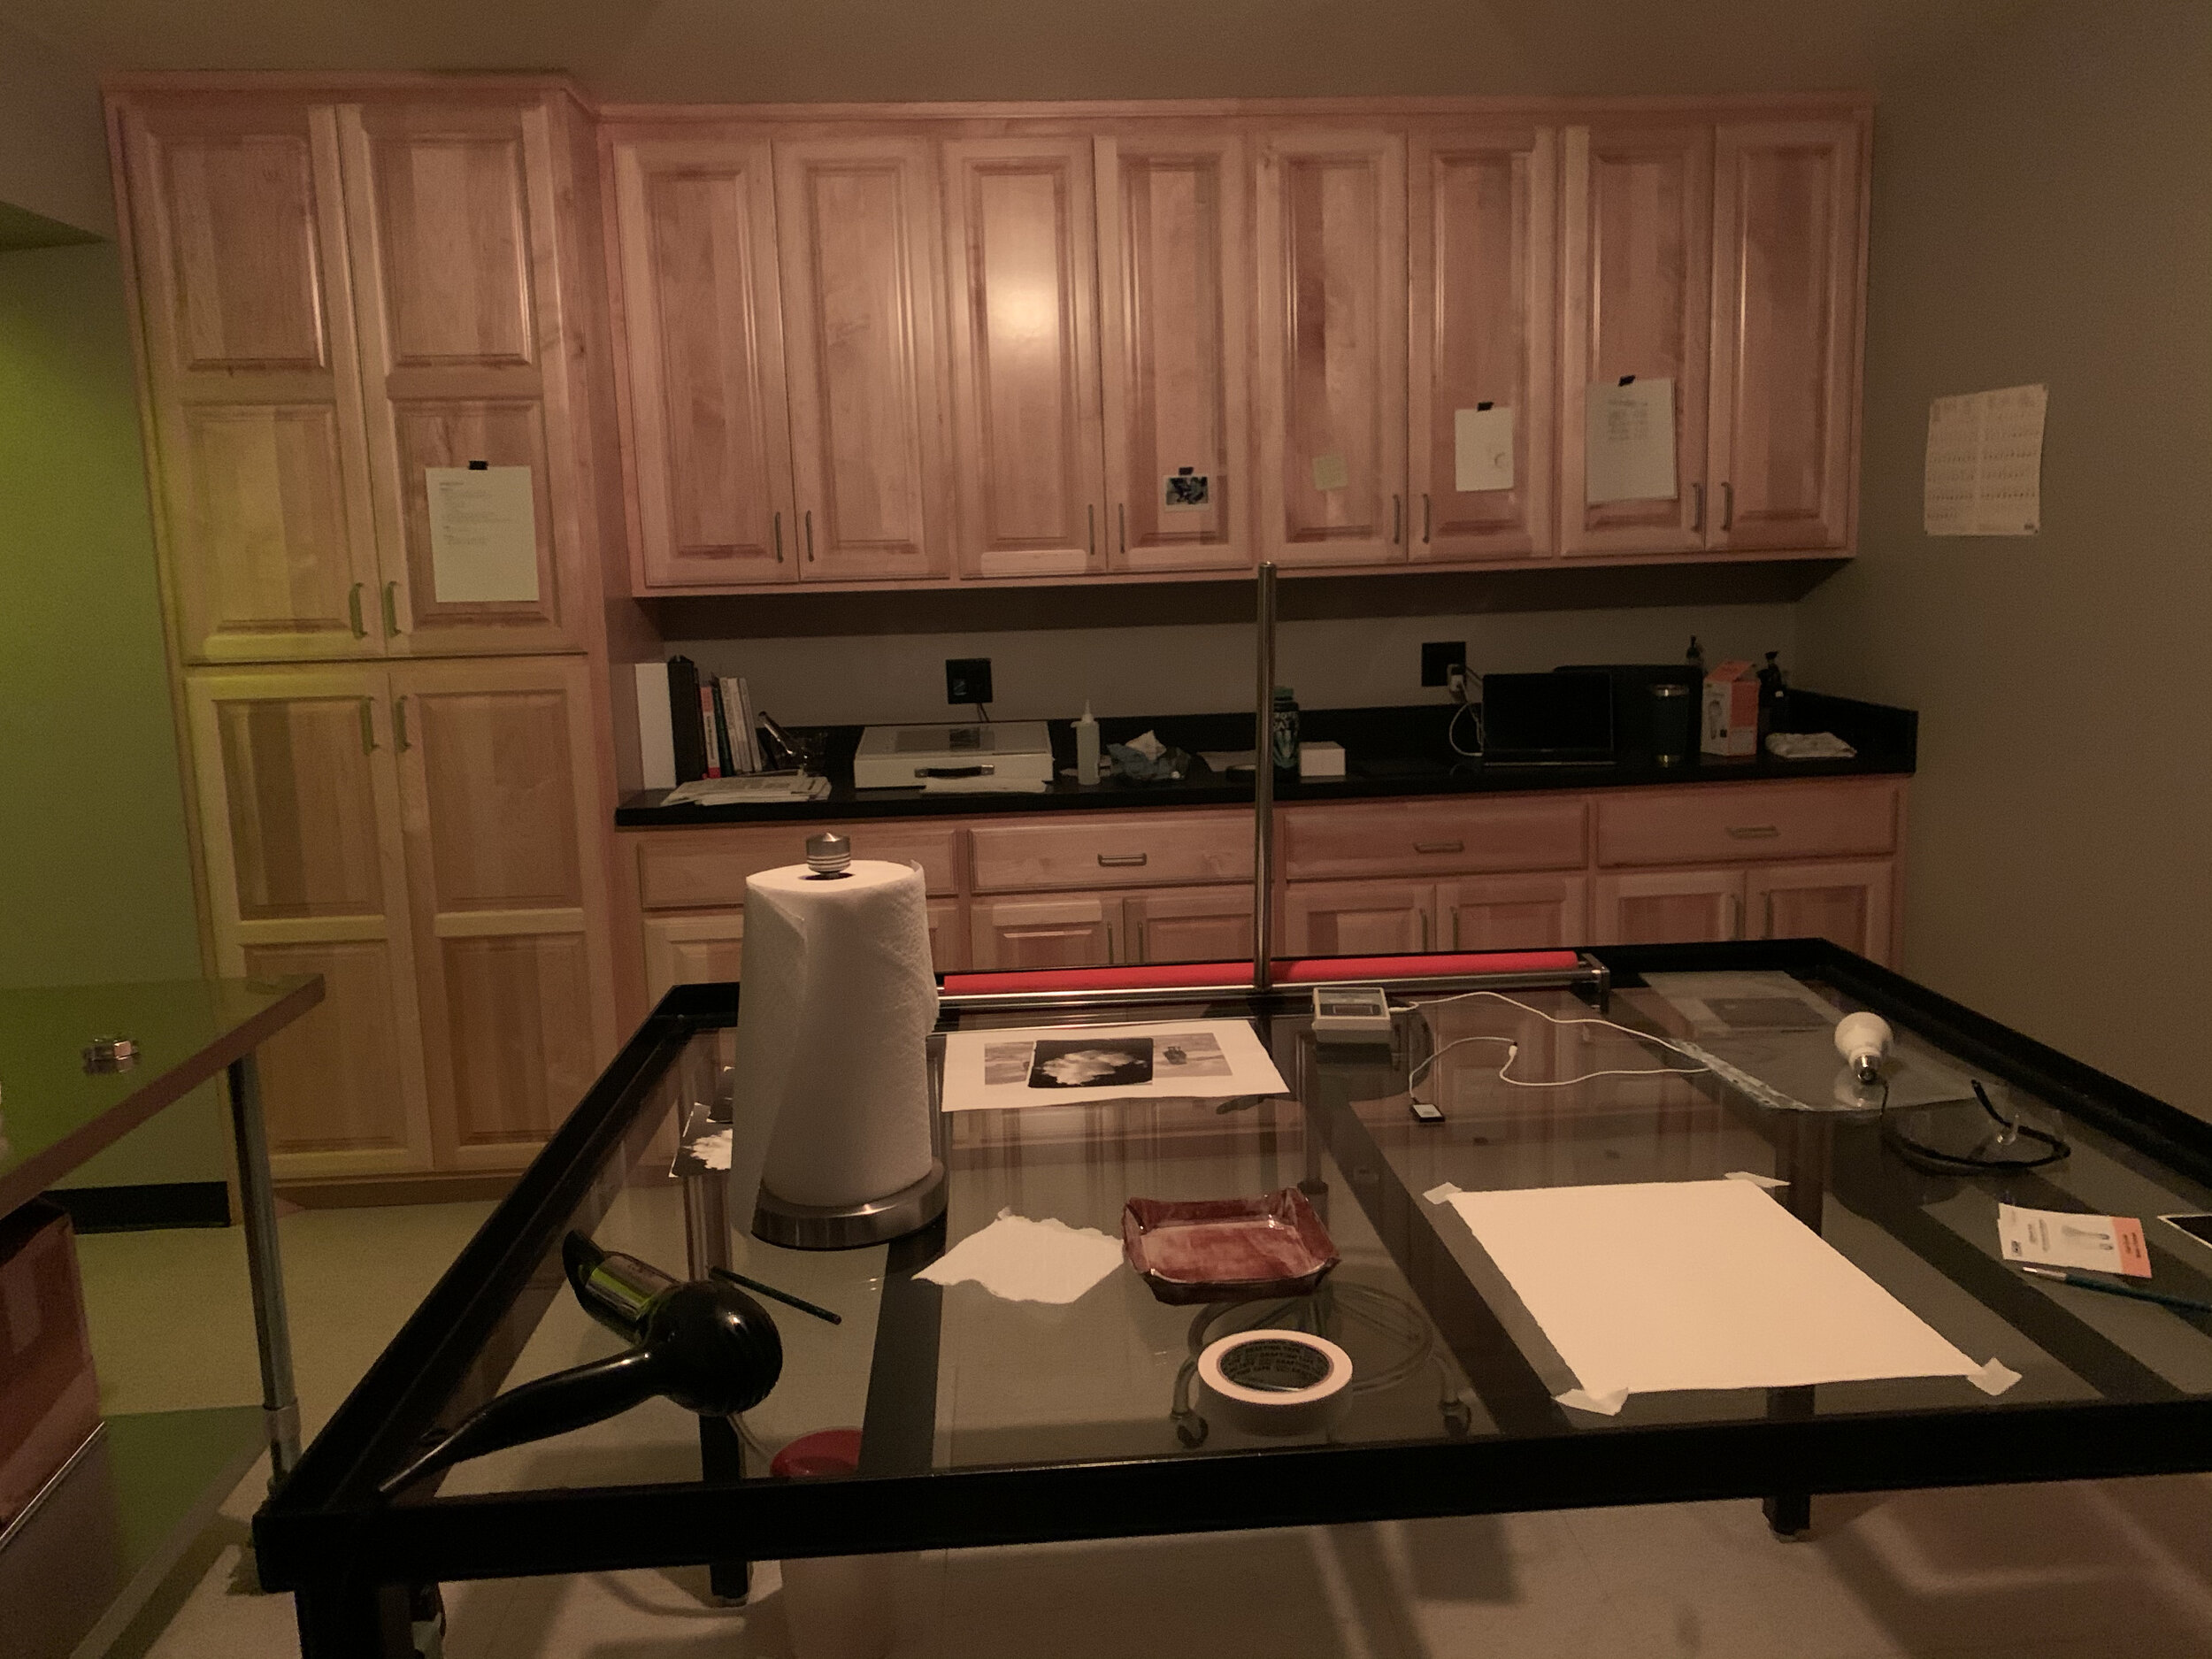
The large hallway / room connecting the space between the darkroom and scanning room was originally designed to just be a space to hang my work, but as construction began, I realized it could be much more useful, and would eventually become a dry working space for print finishing. We still designed the room to utilize track lighting for displaying framed prints, and it eventually would become one of my most used spaces.
Construction
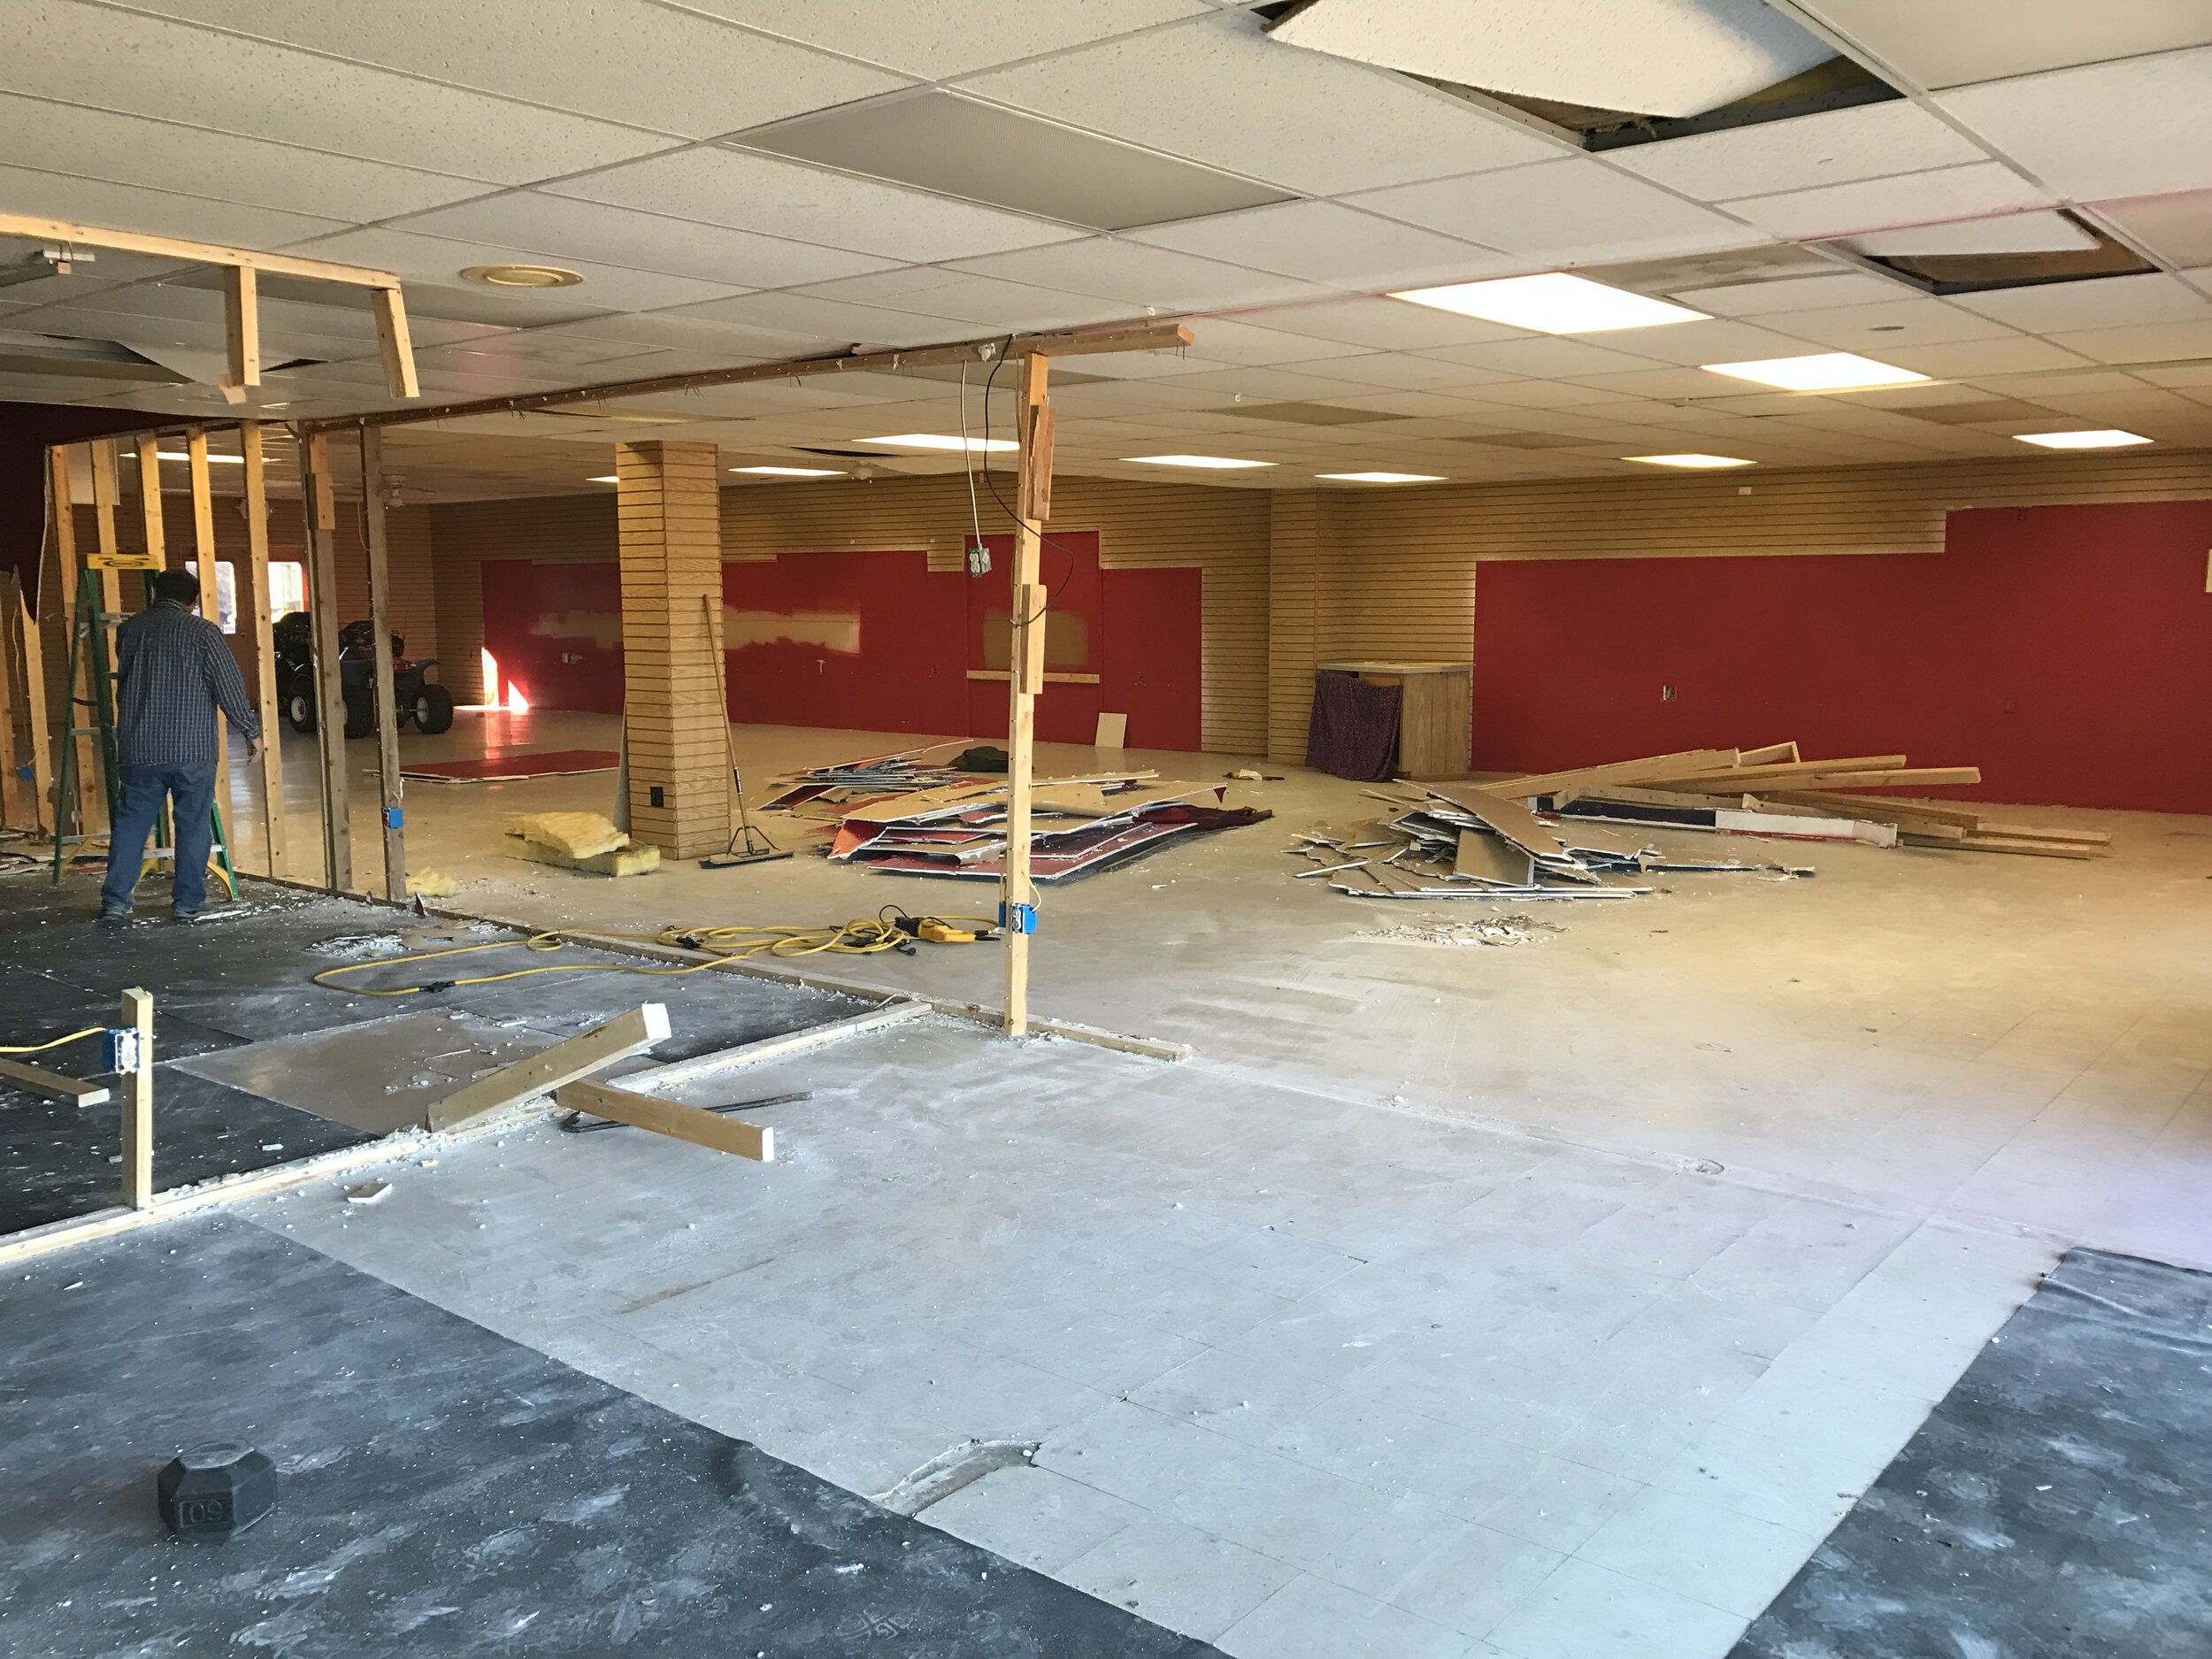
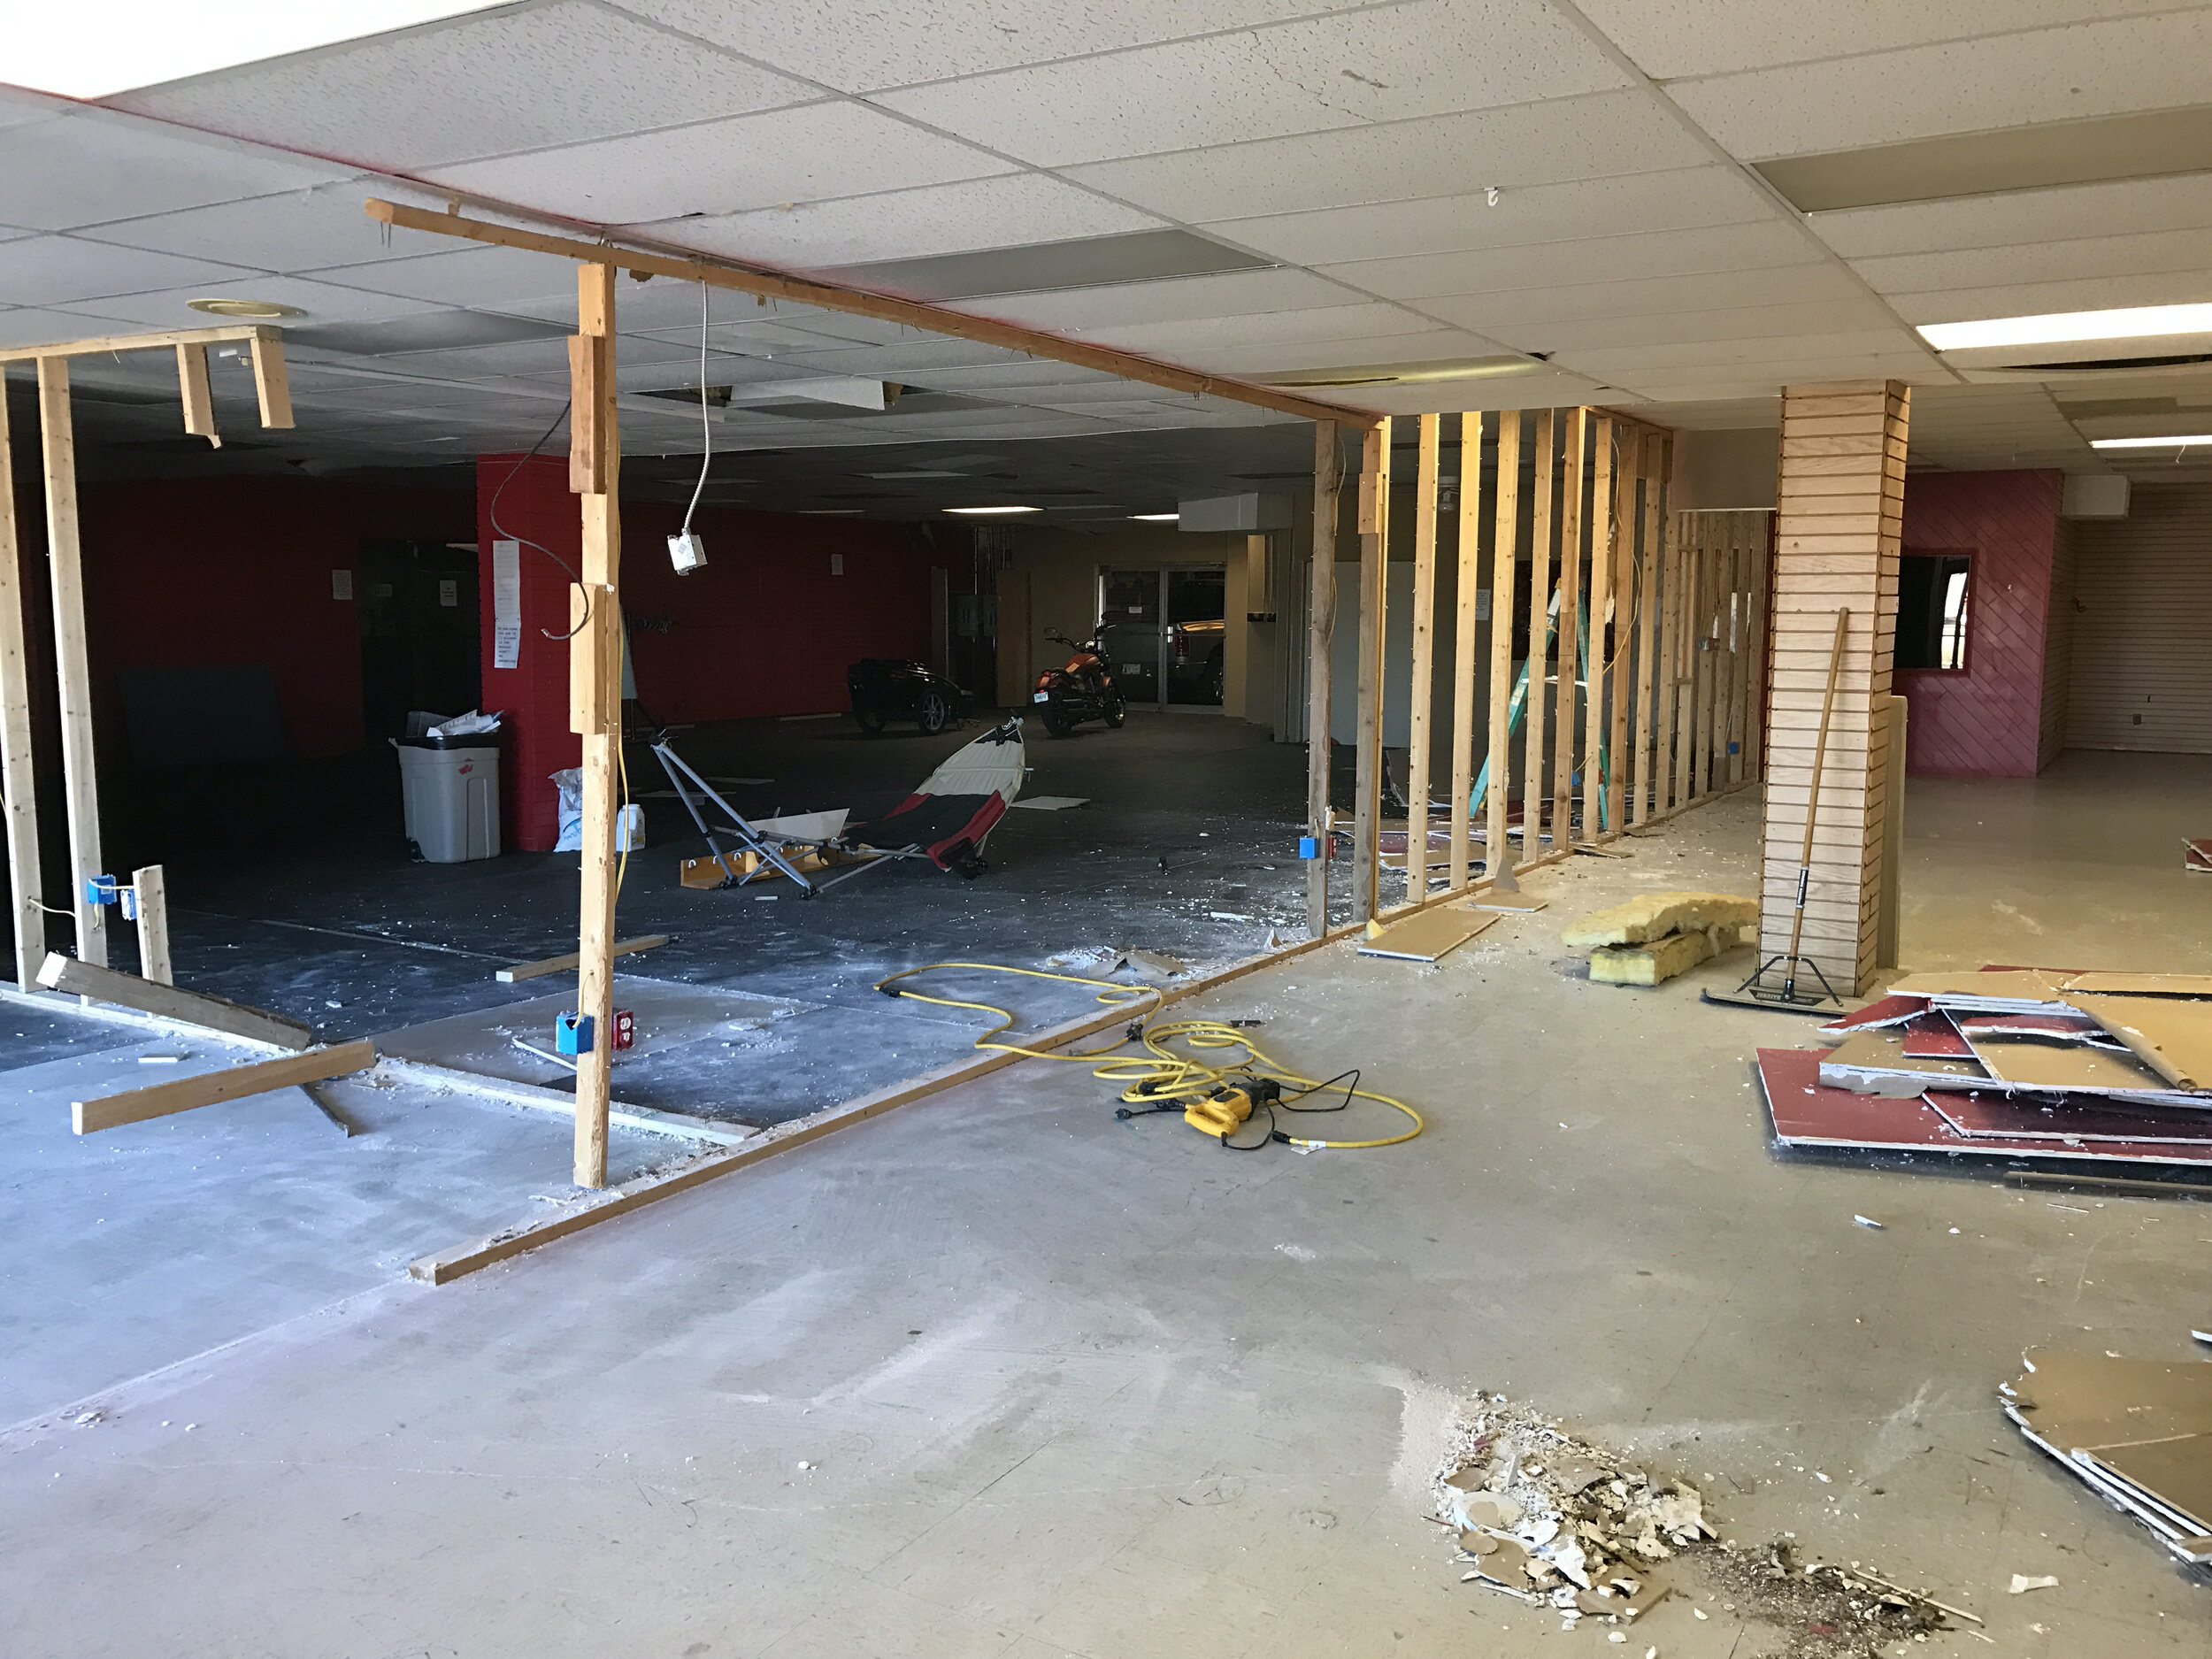
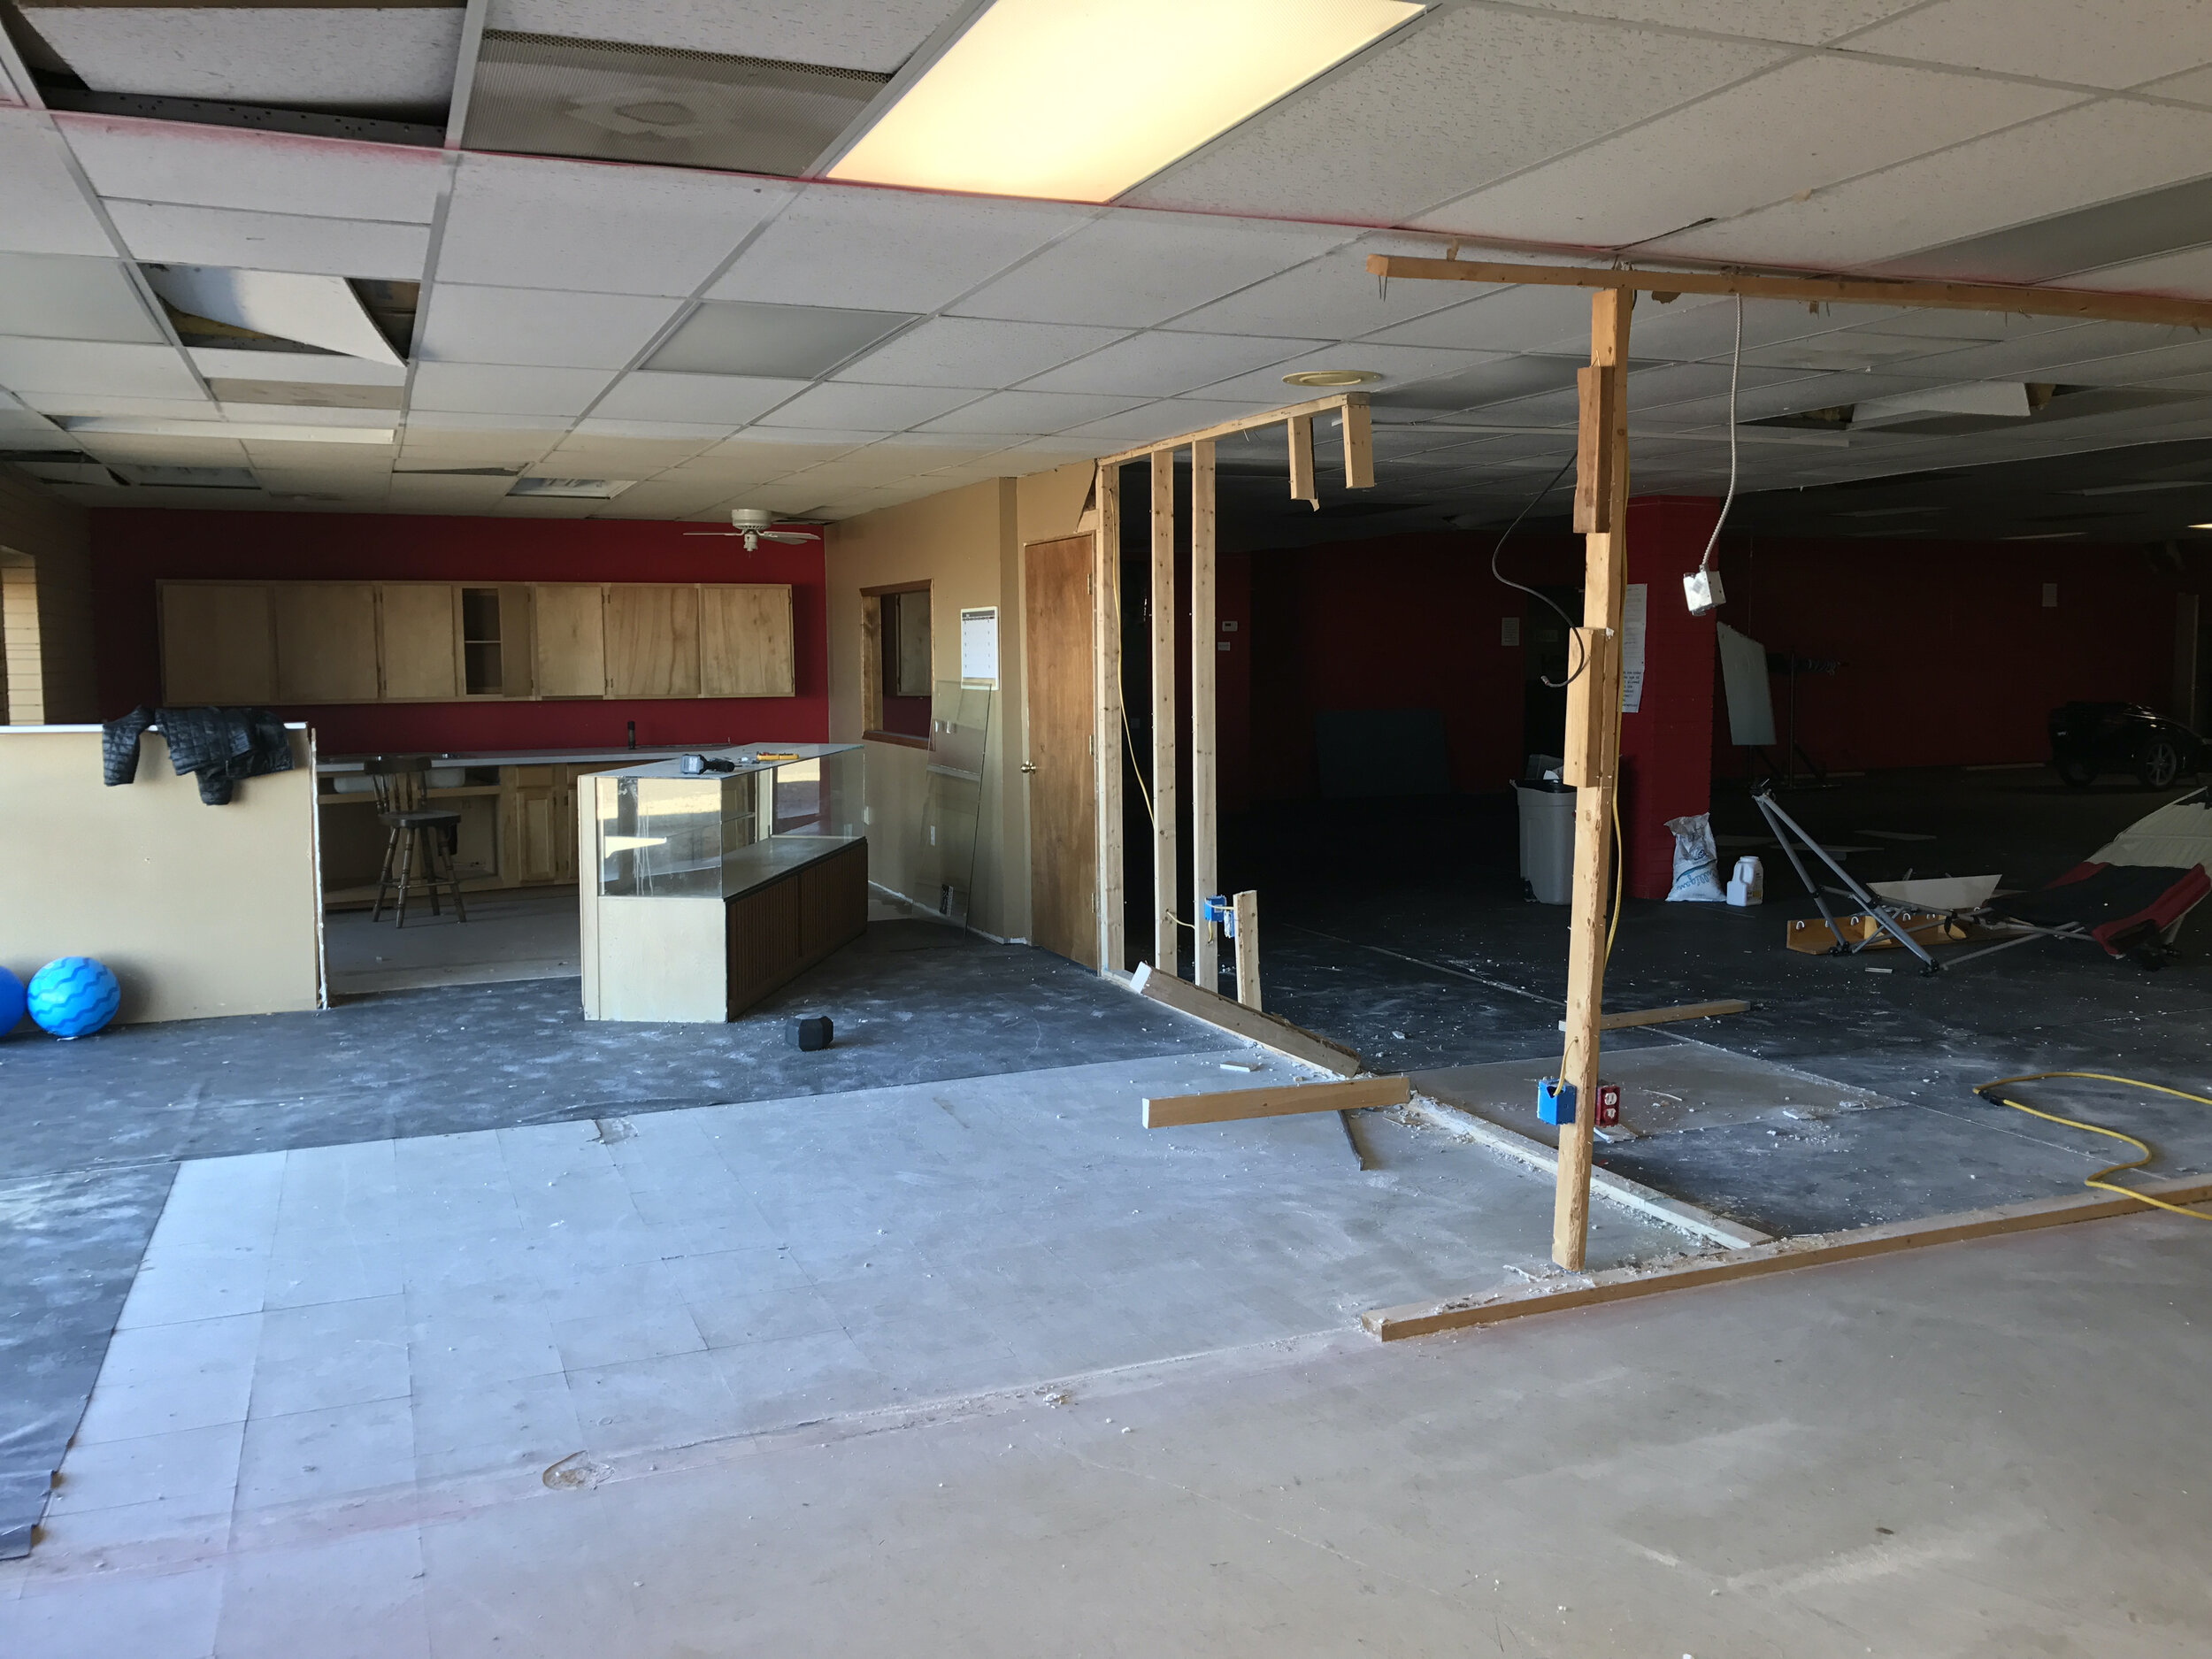

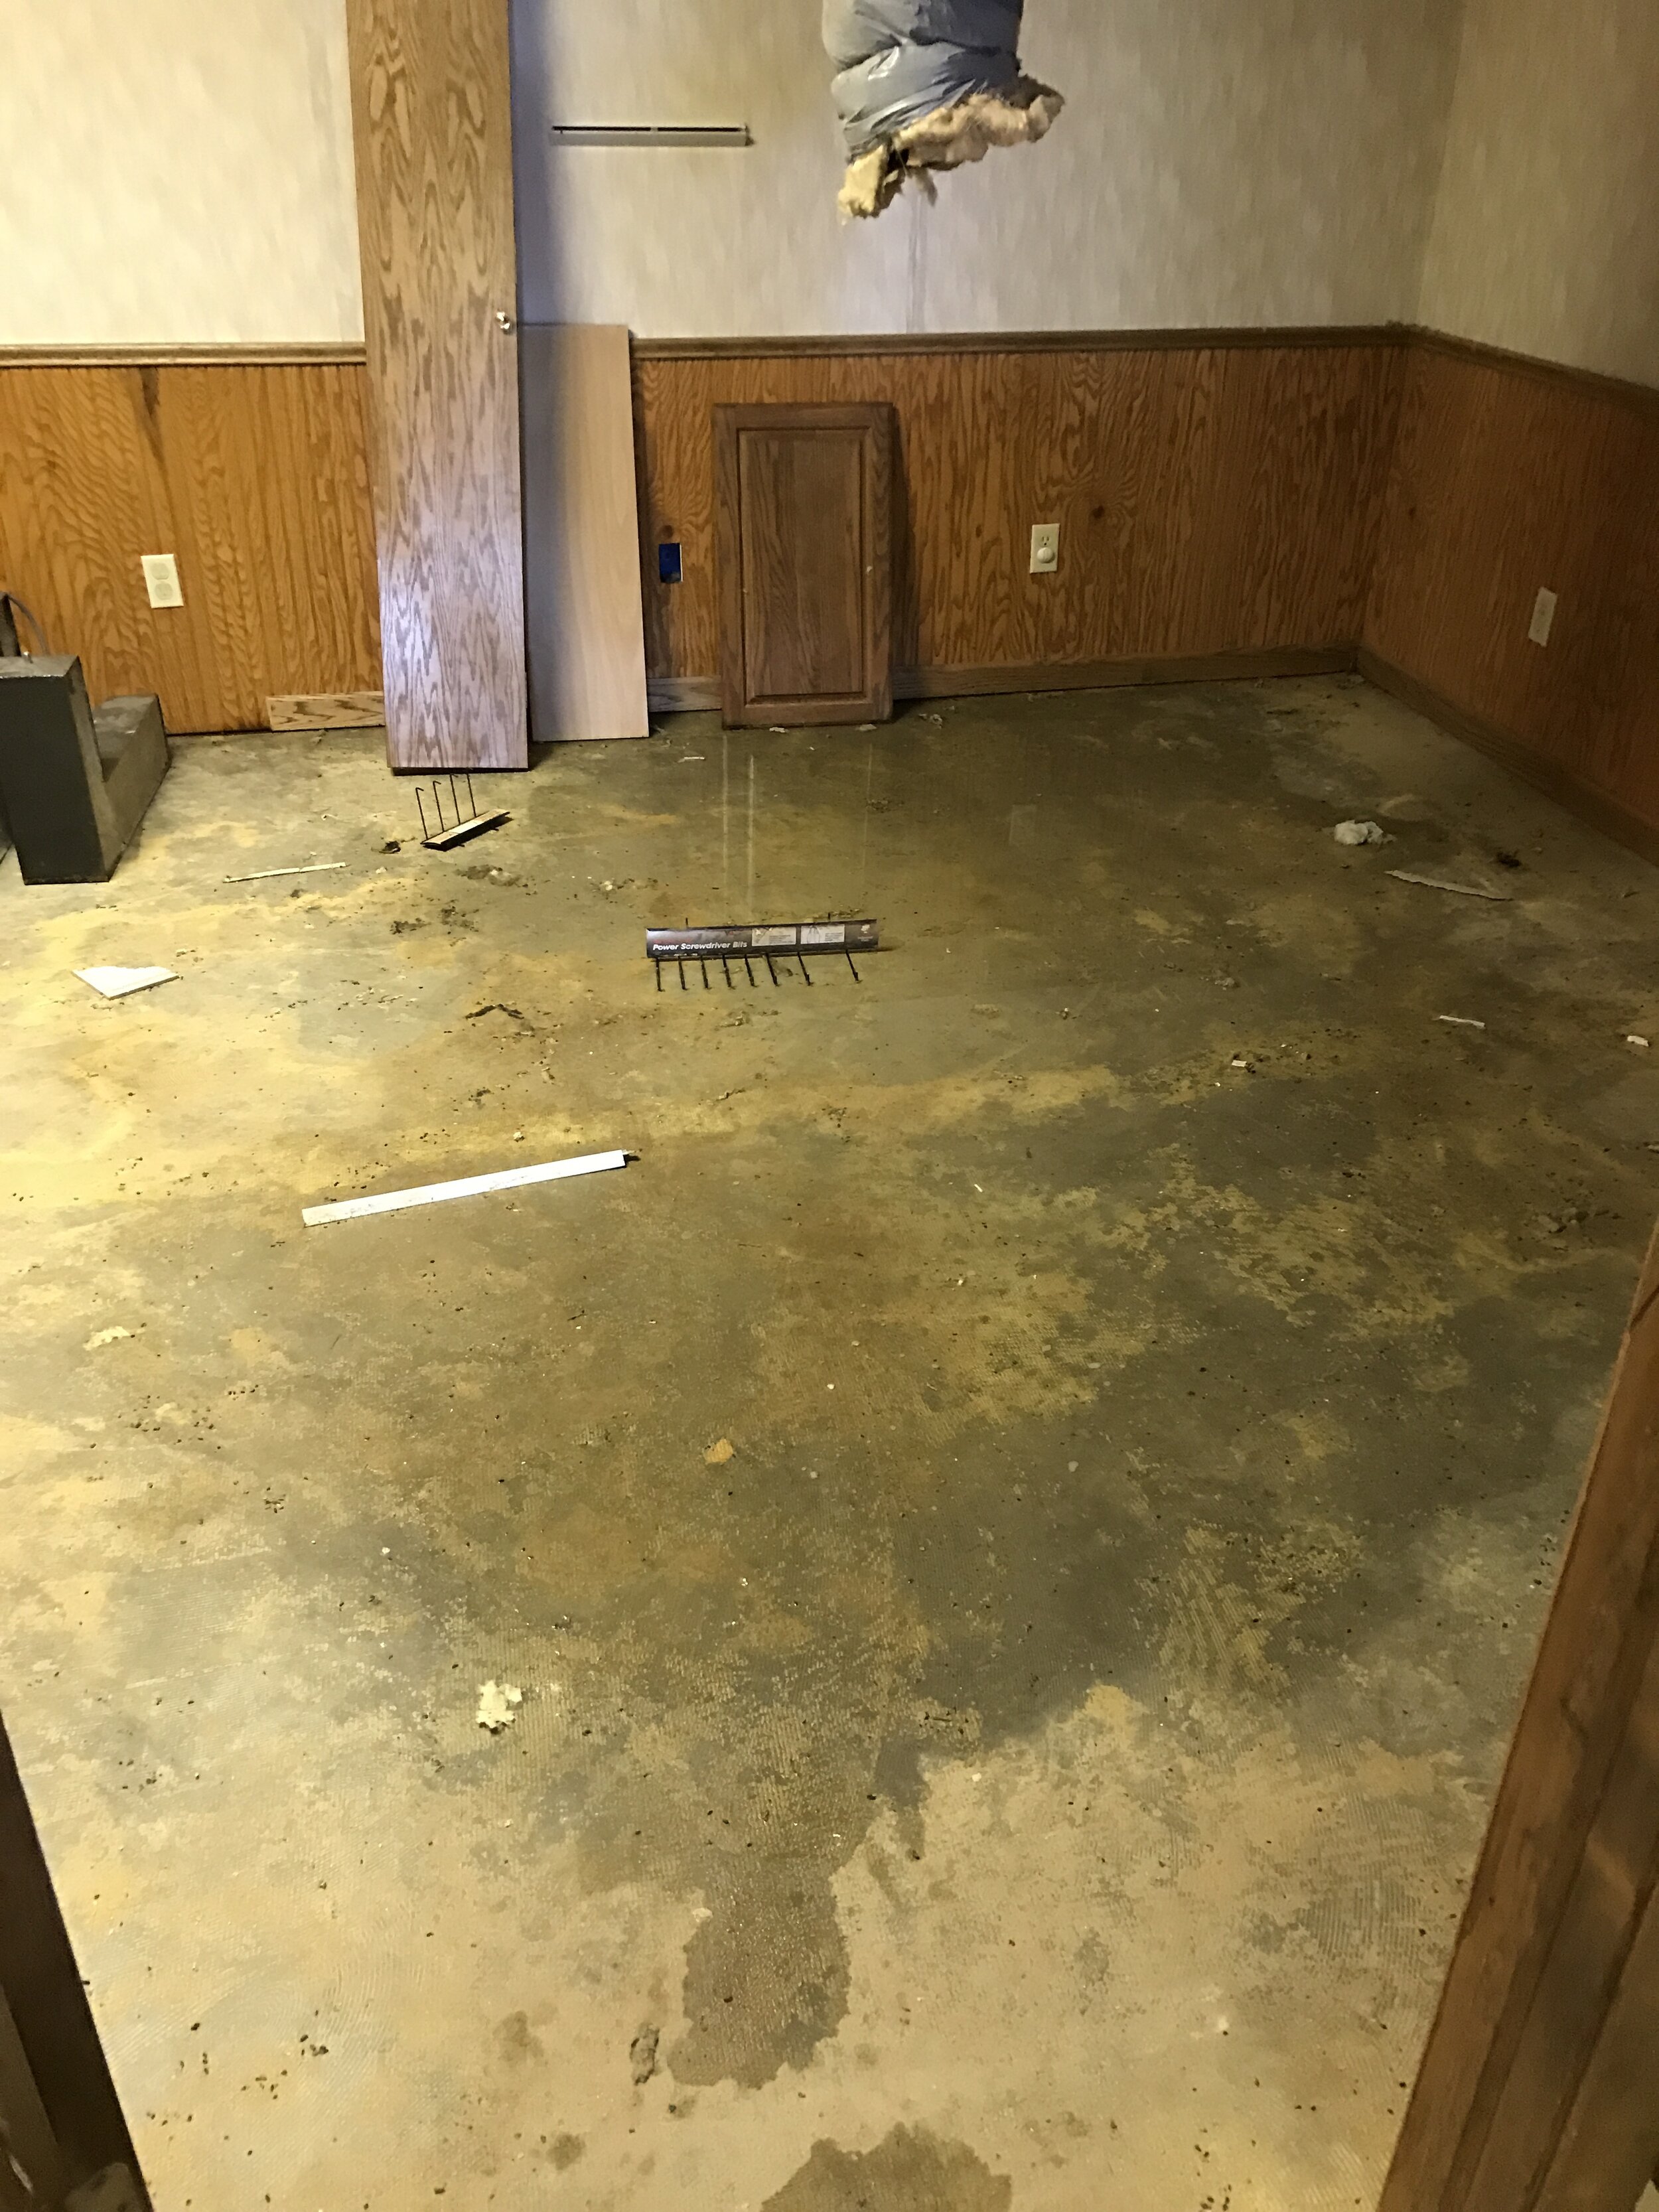
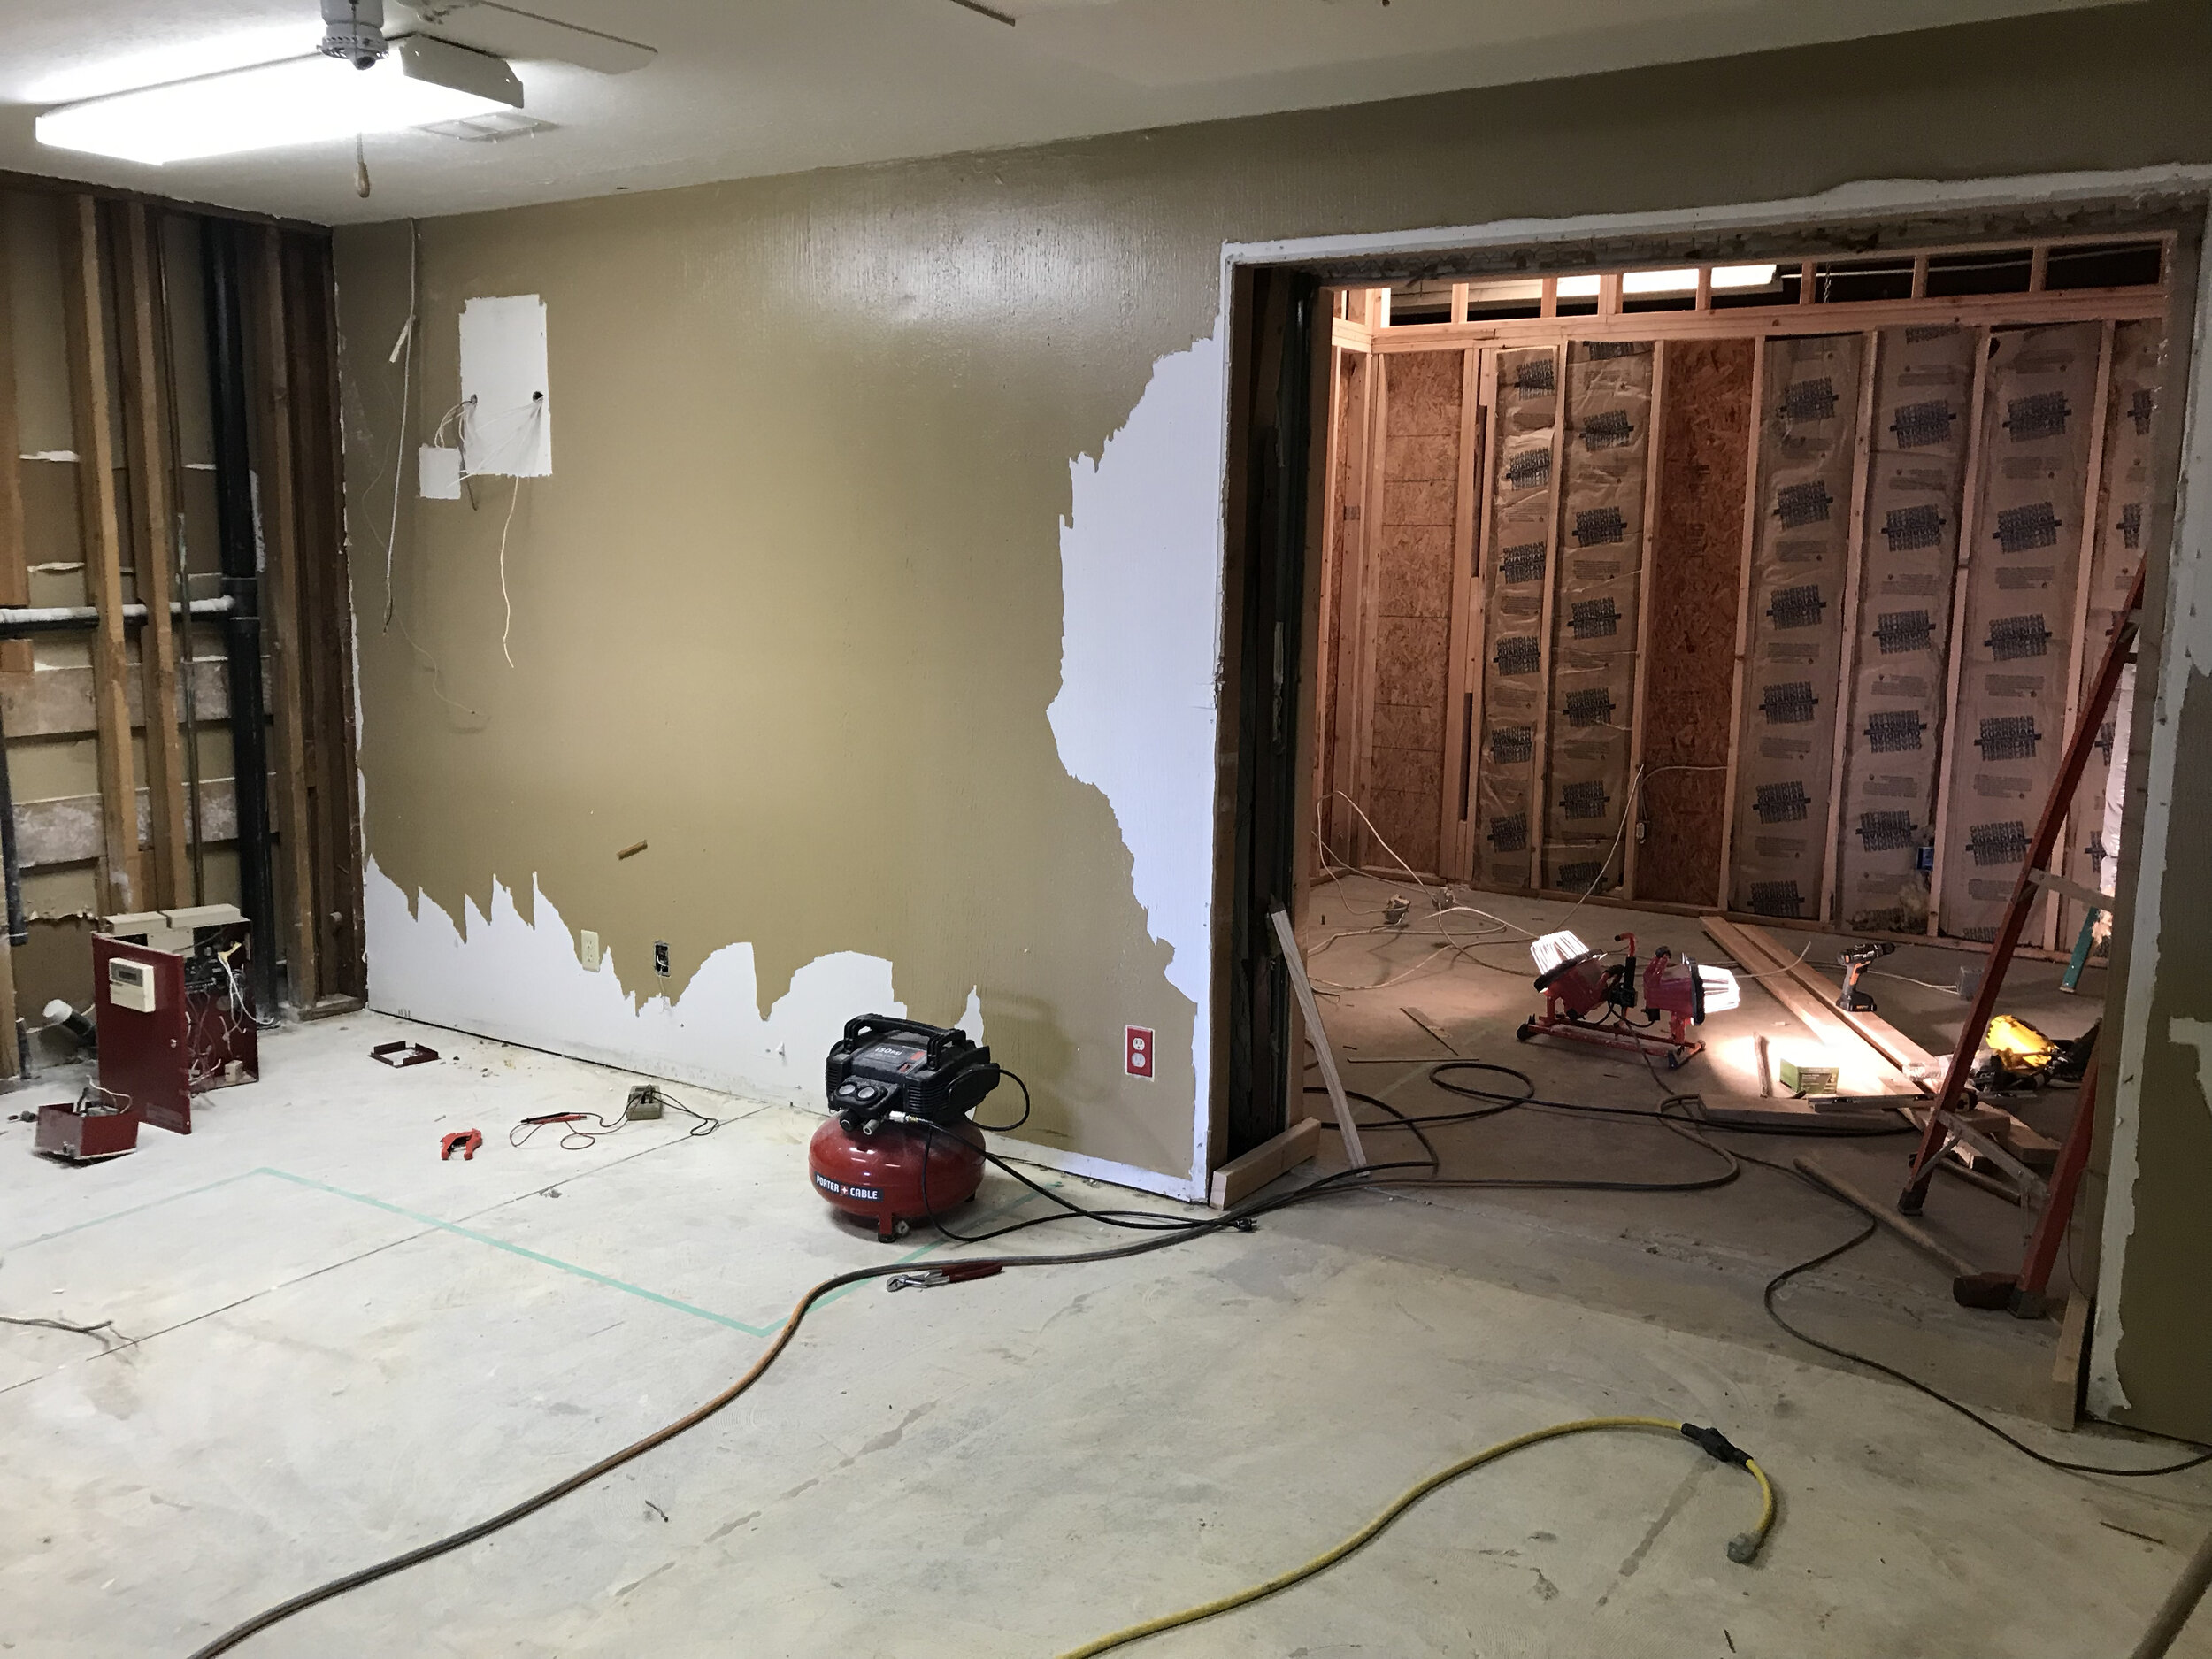
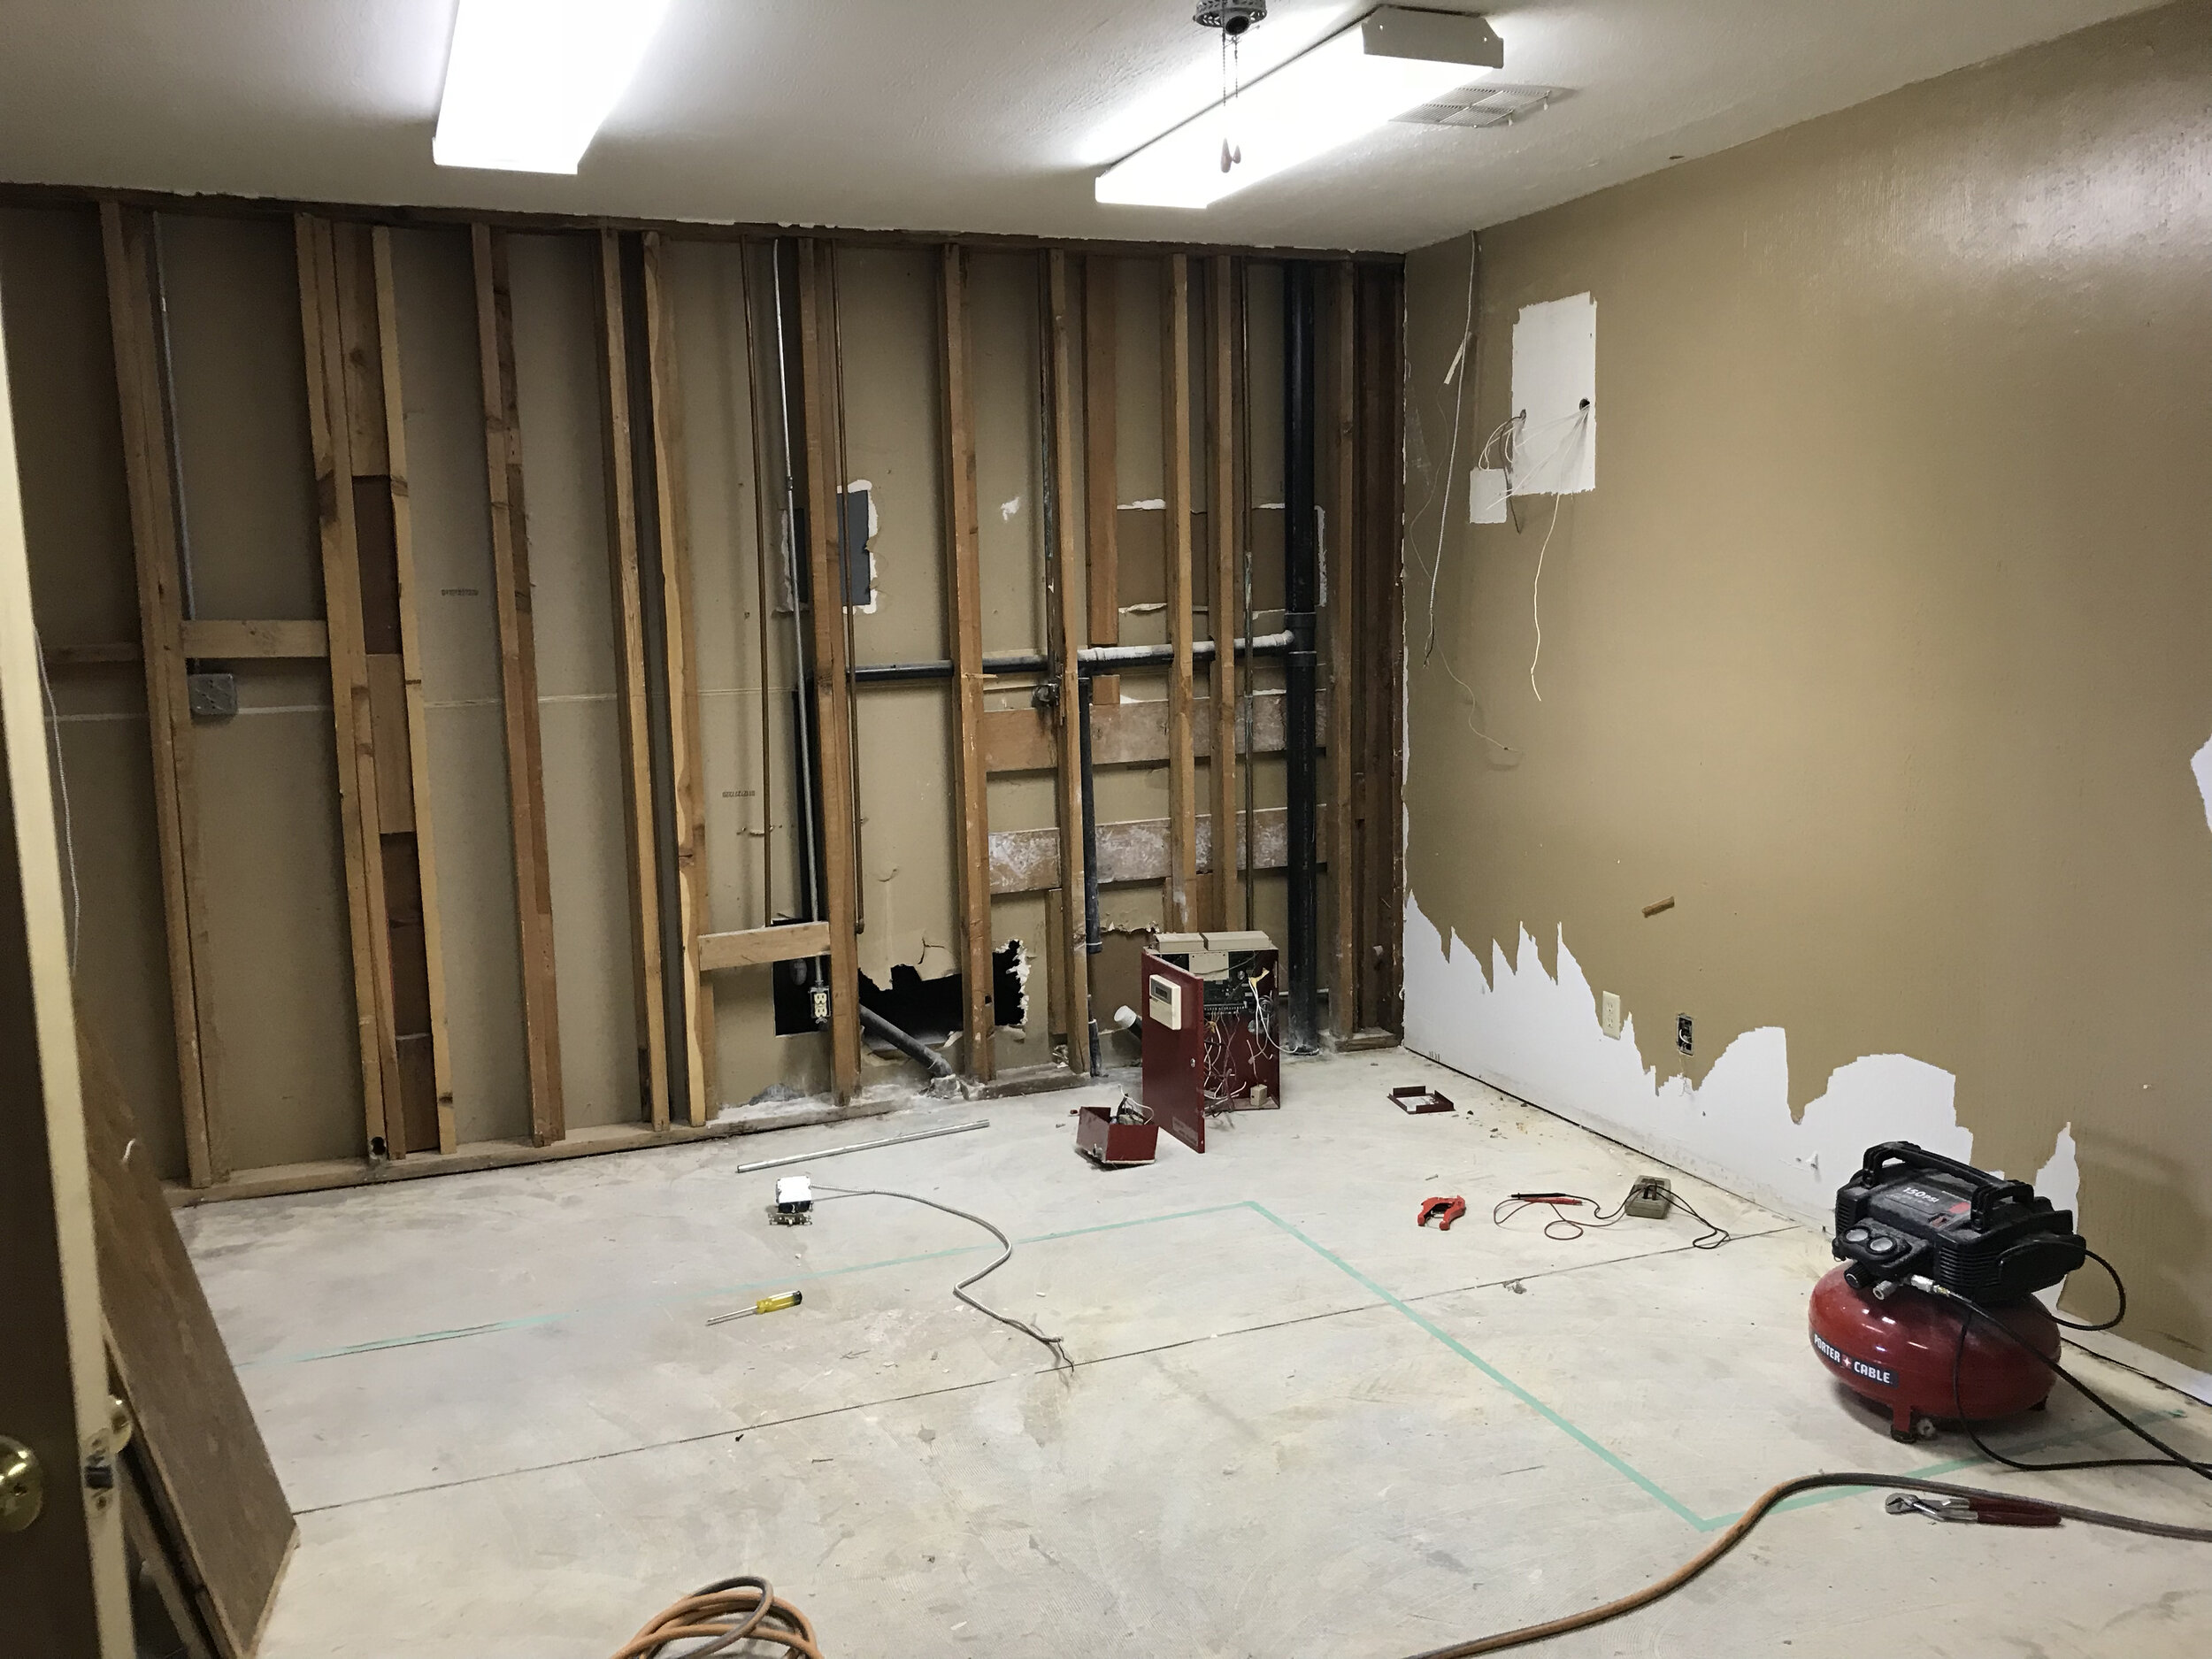
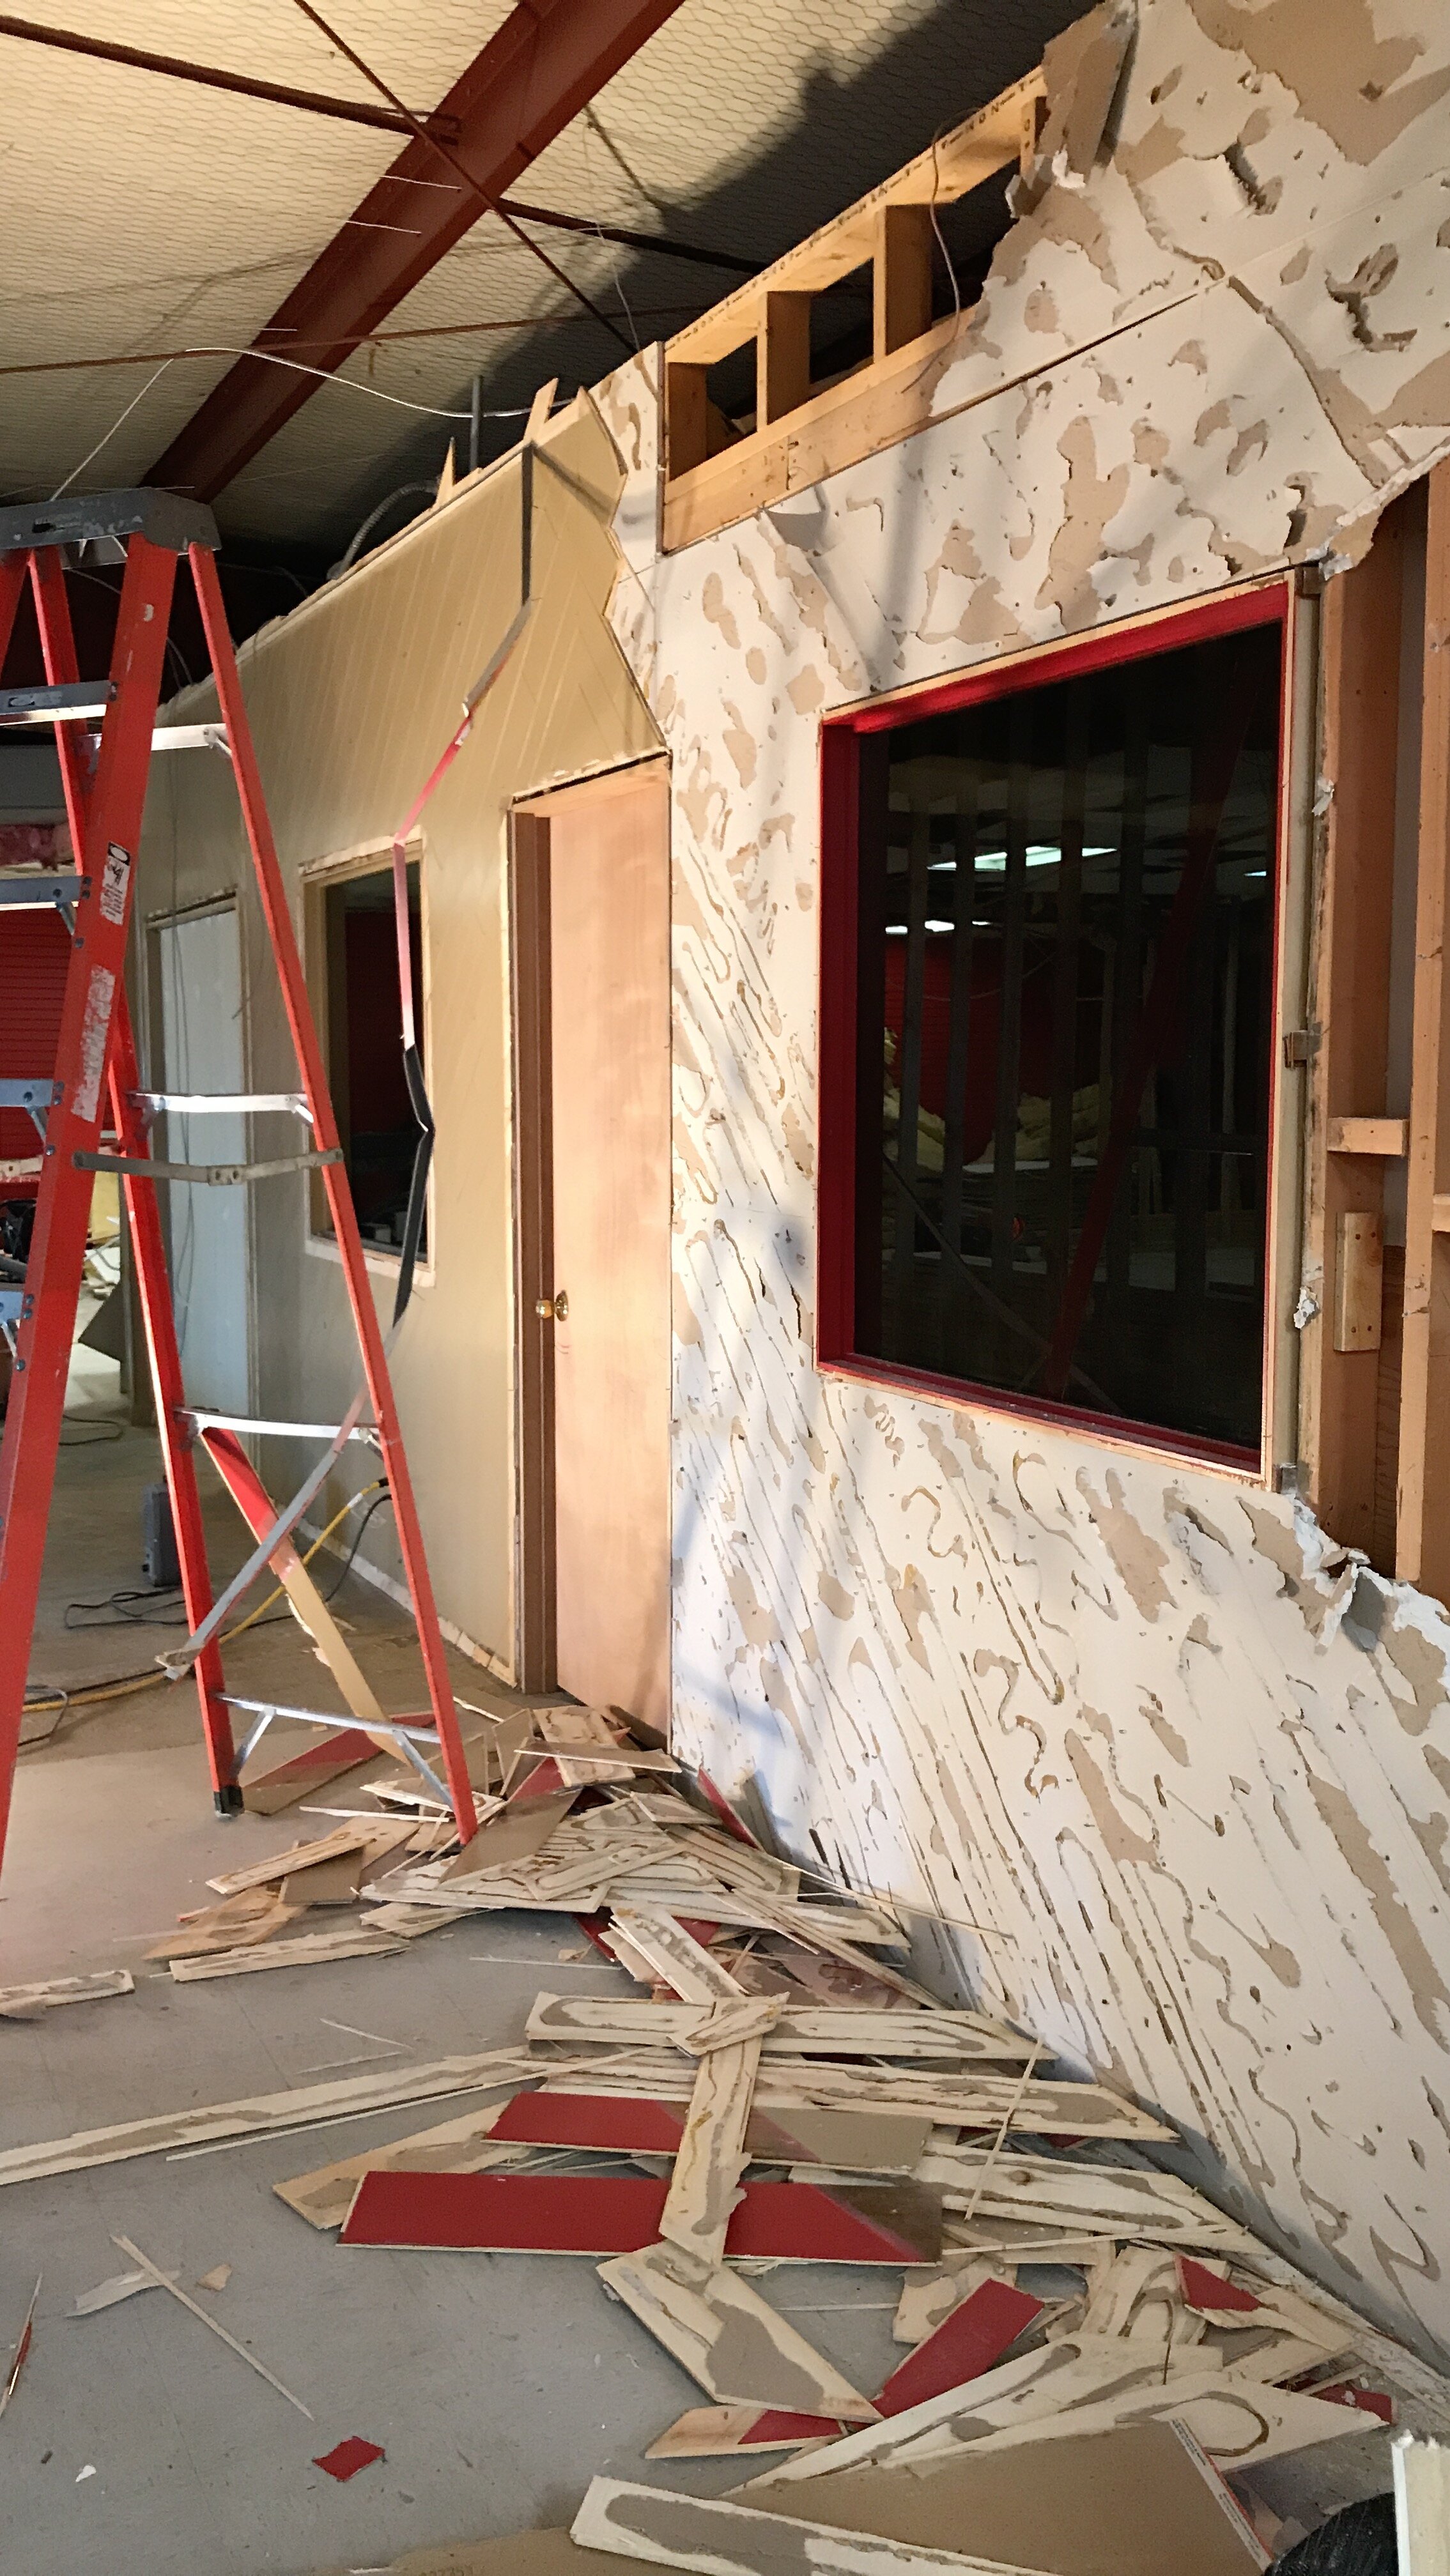
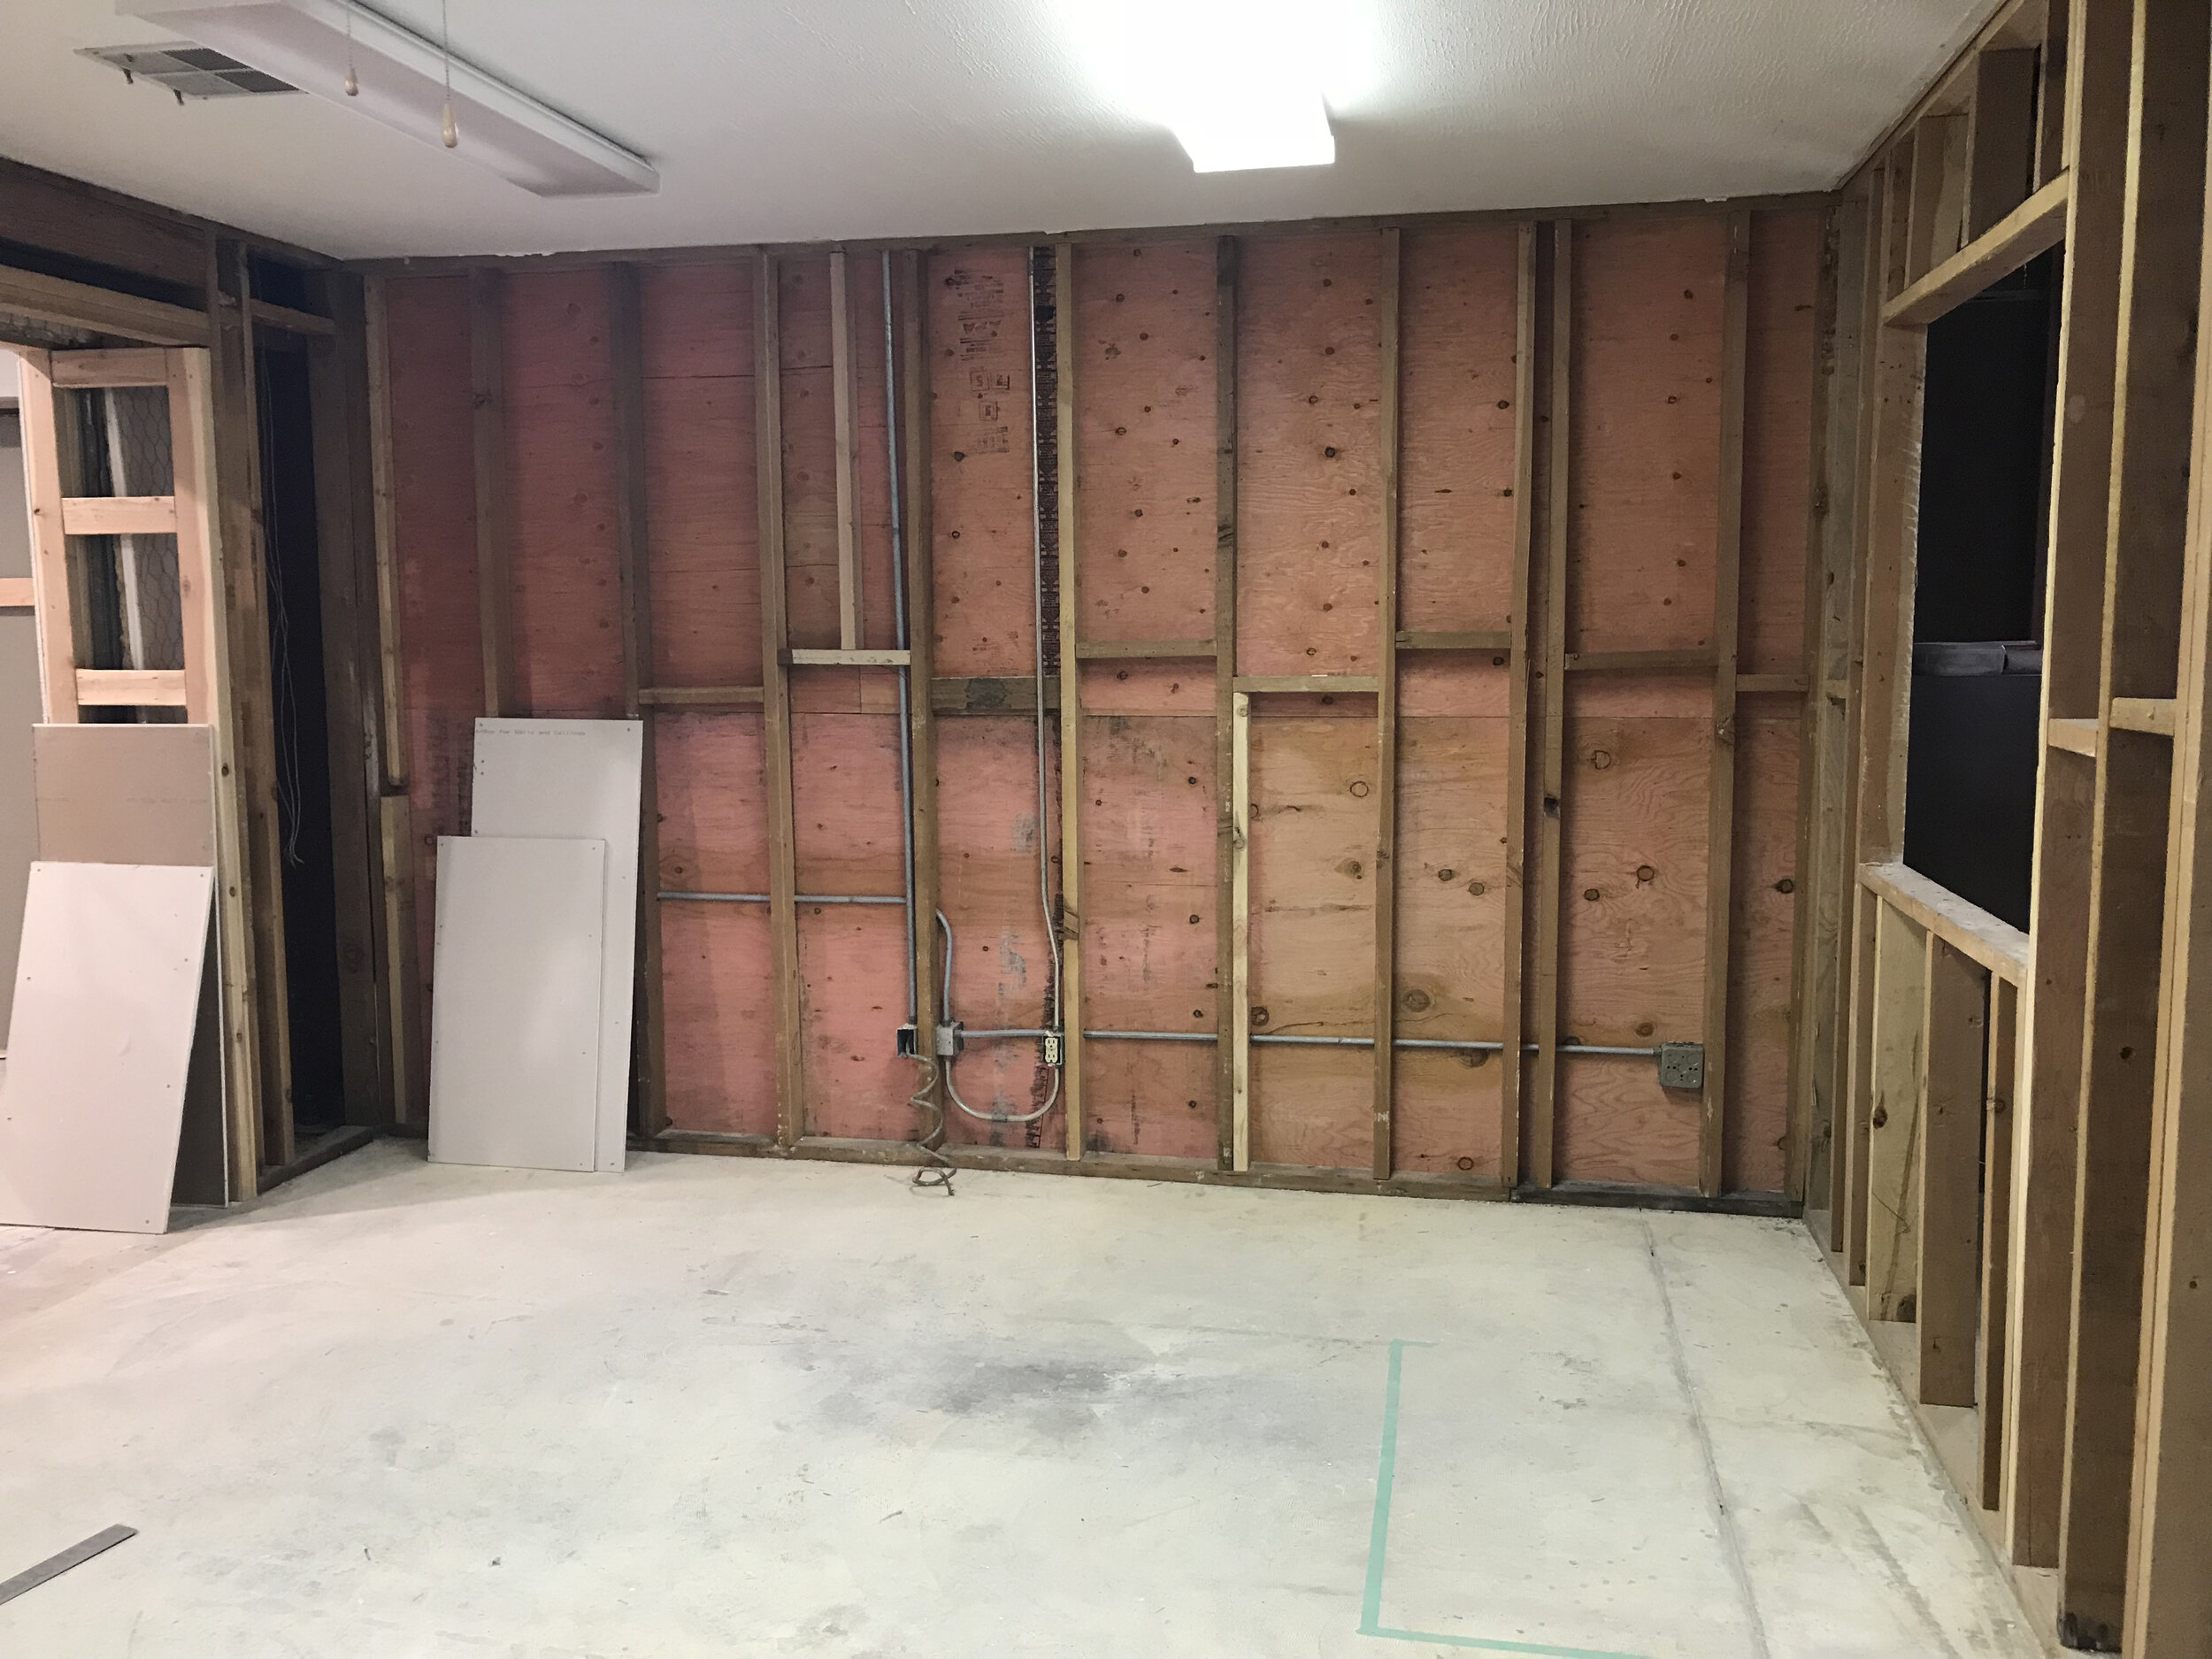
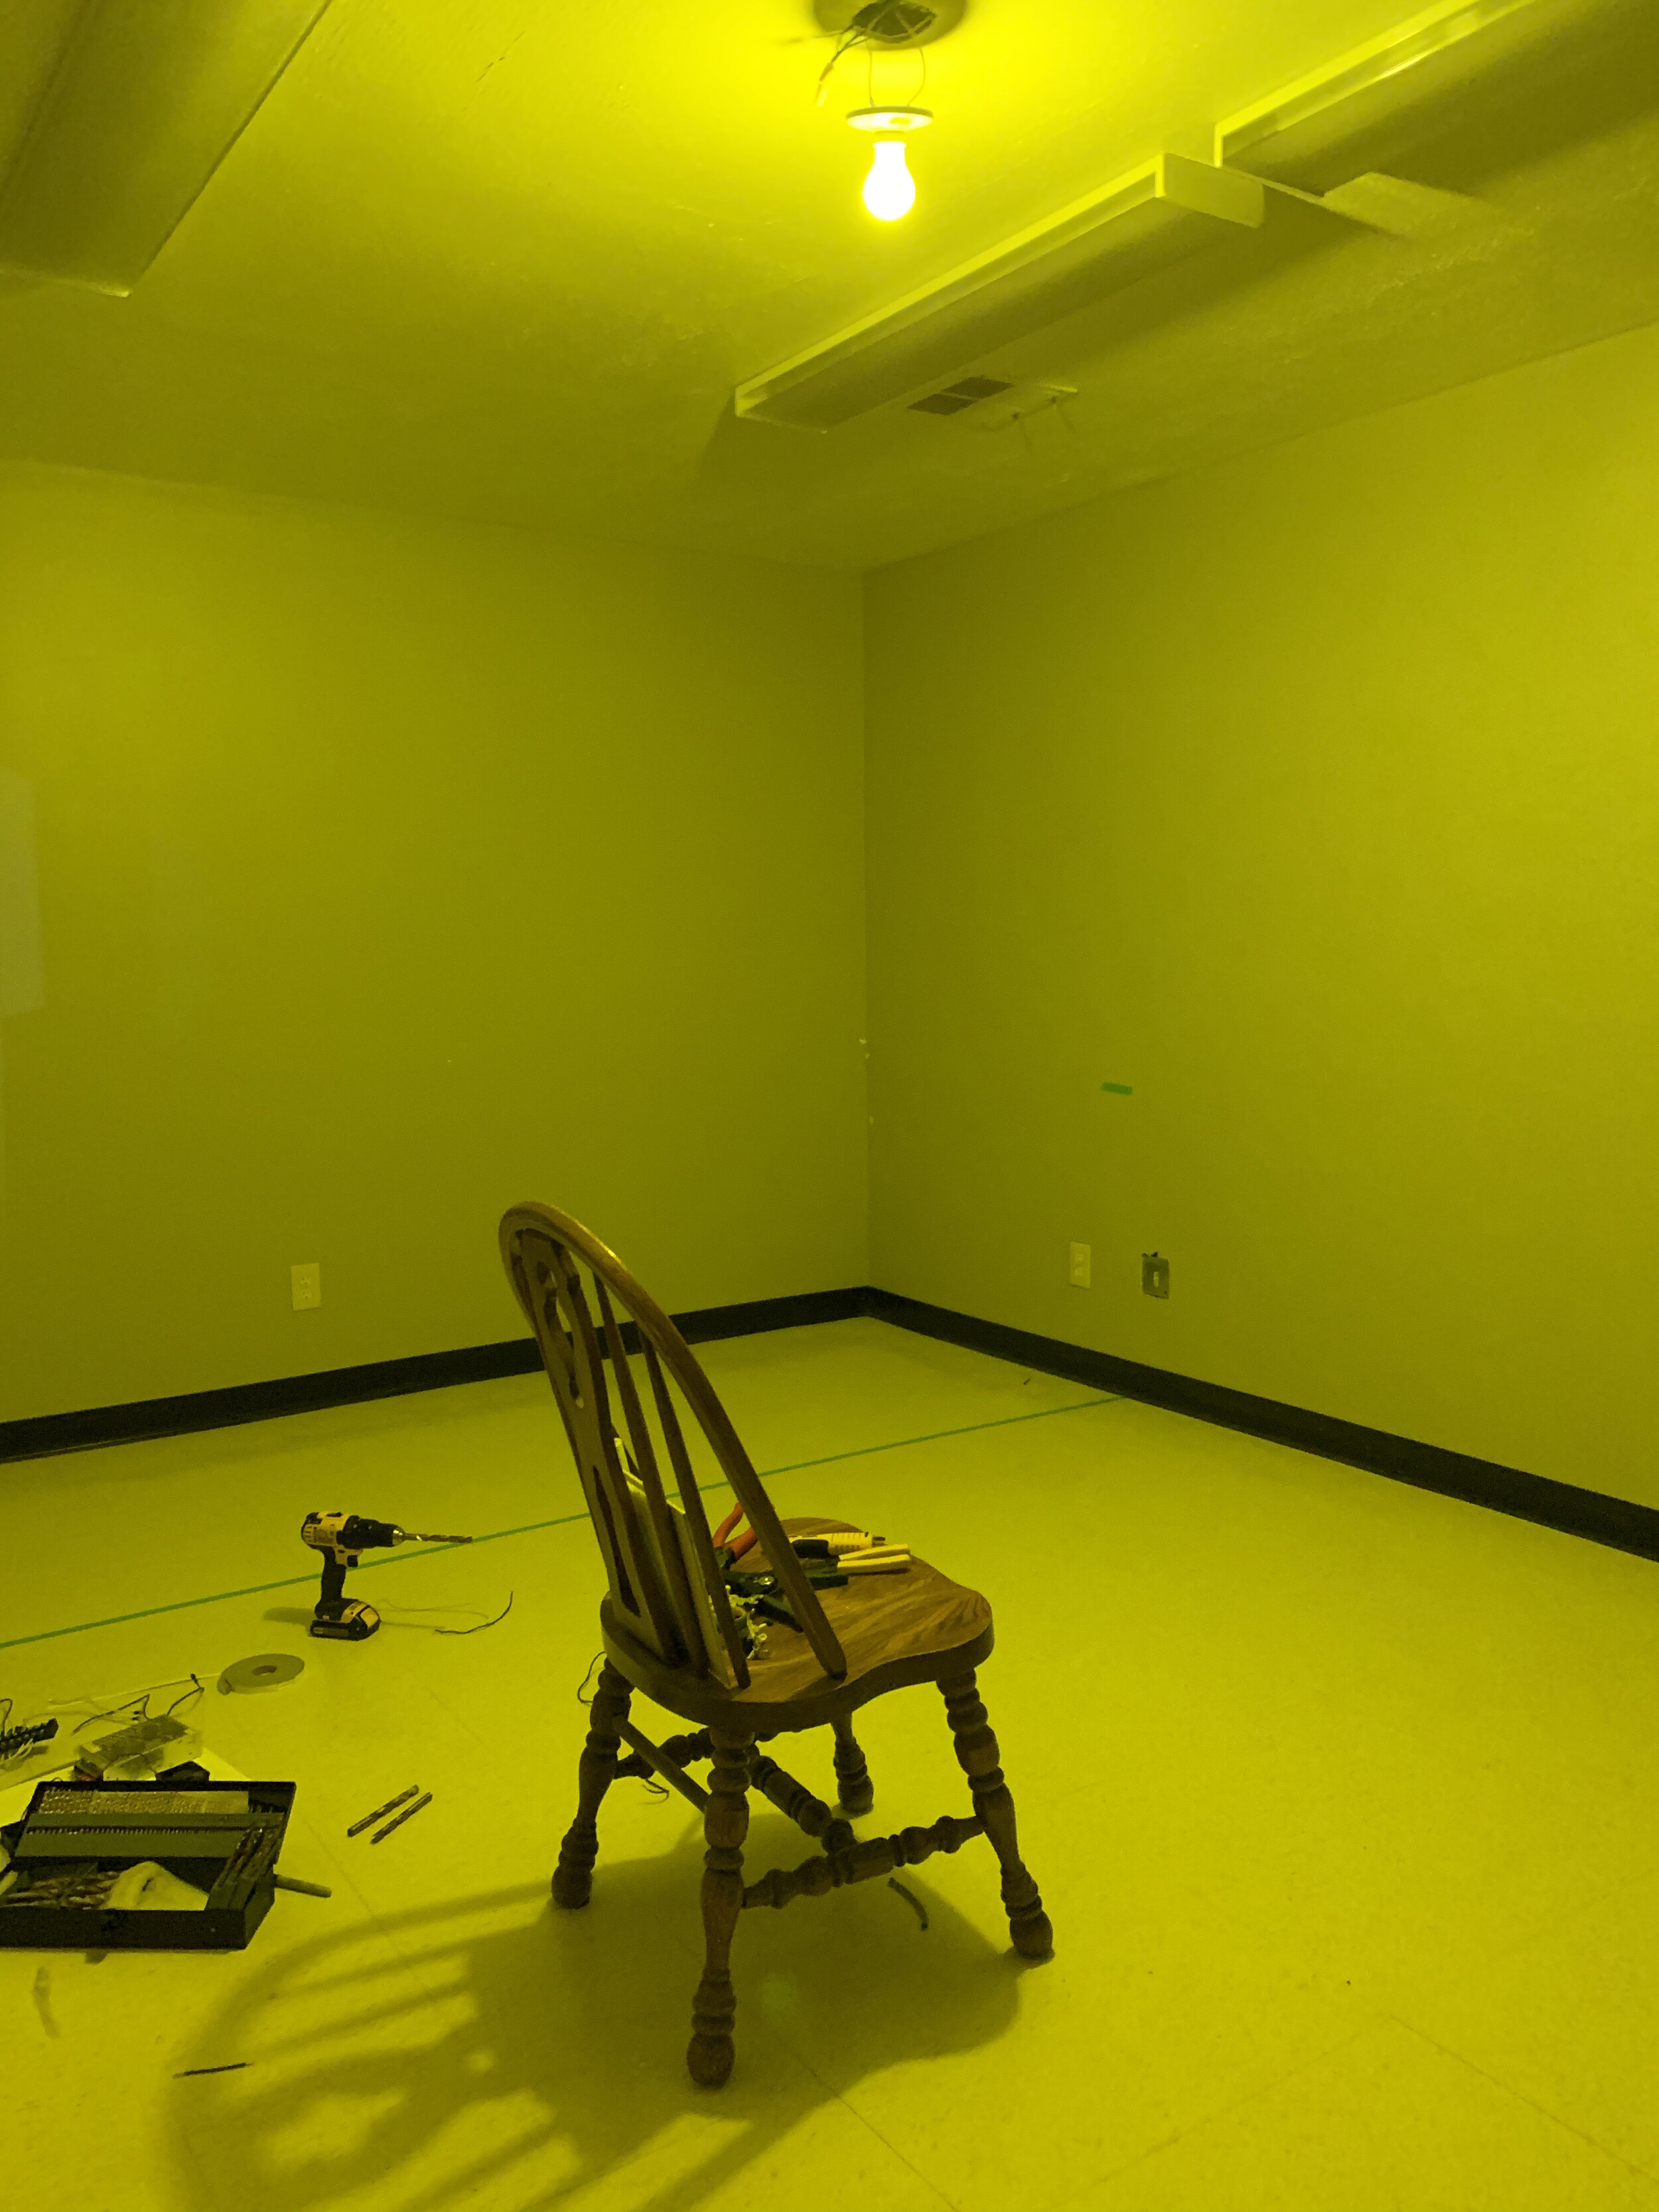
In late 2016, we gutted the entire 7,000 square feet. The building had been somewhat neglected by several renters, and sat empty for years prior. The walls were bright red, the electrical was a mess, there was a creepy, oddly placed shower in a makeshift bathroom, the roof leaked, and the infestation of mice was…disturbing.
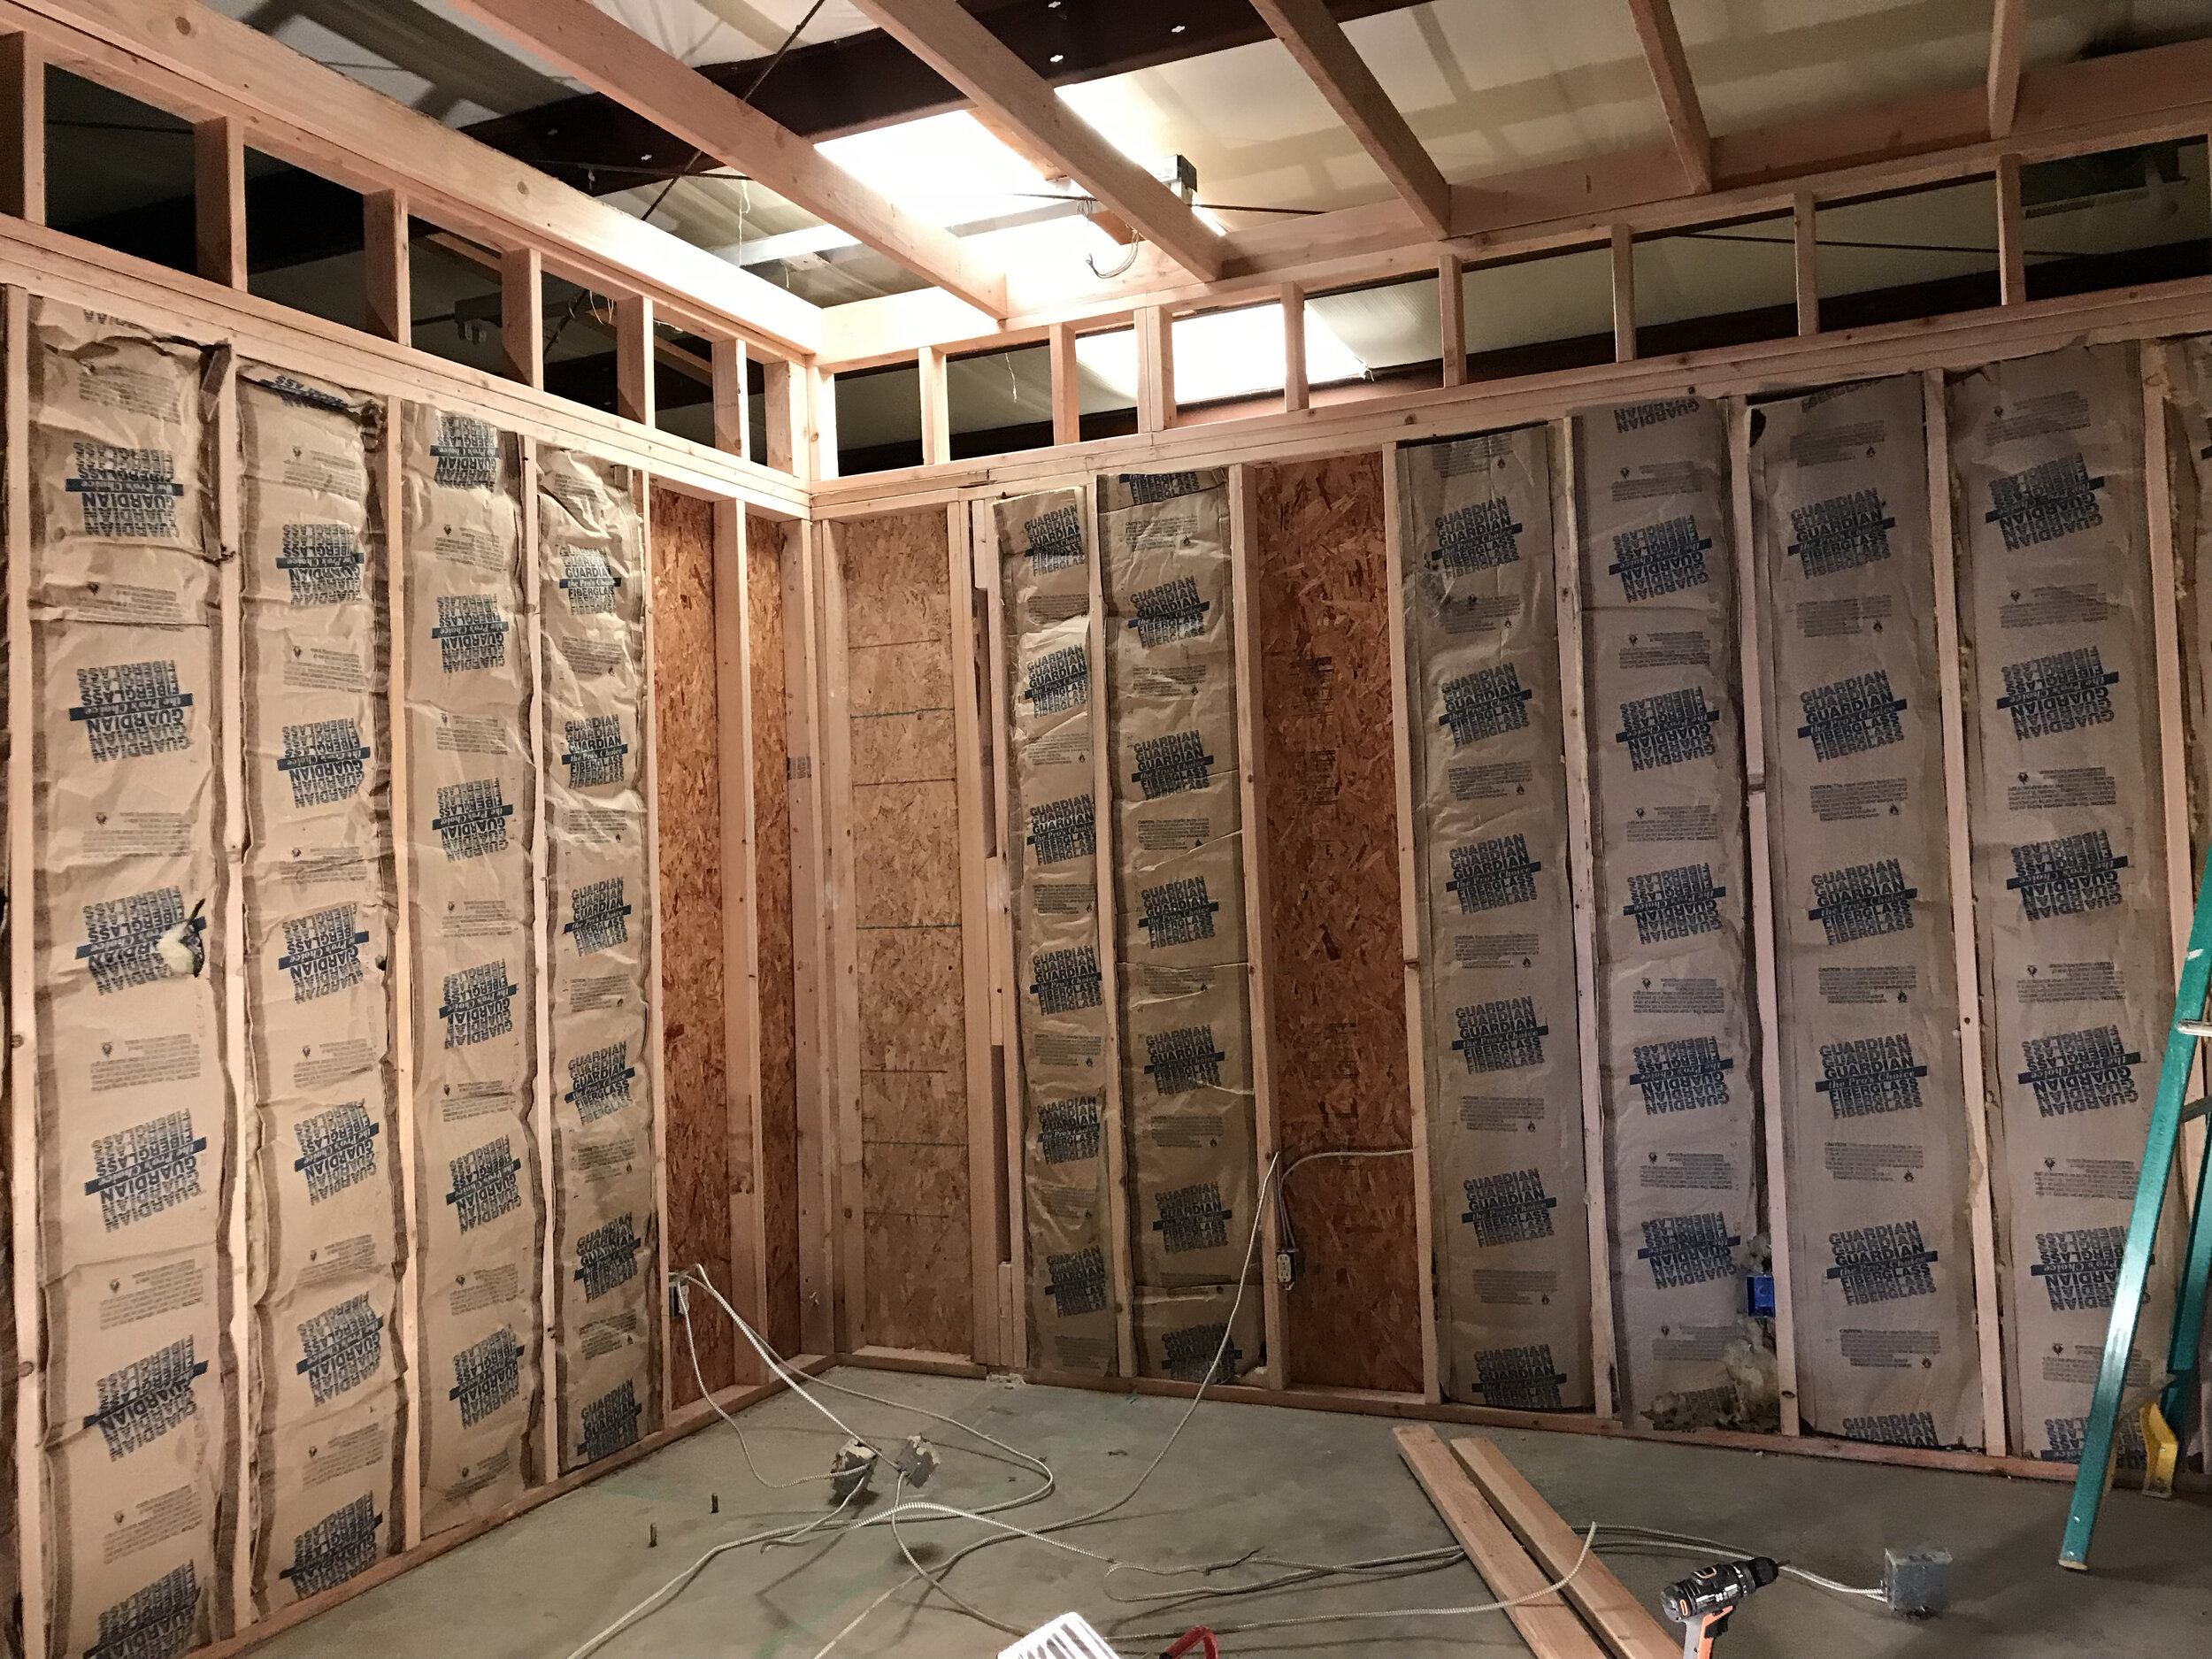
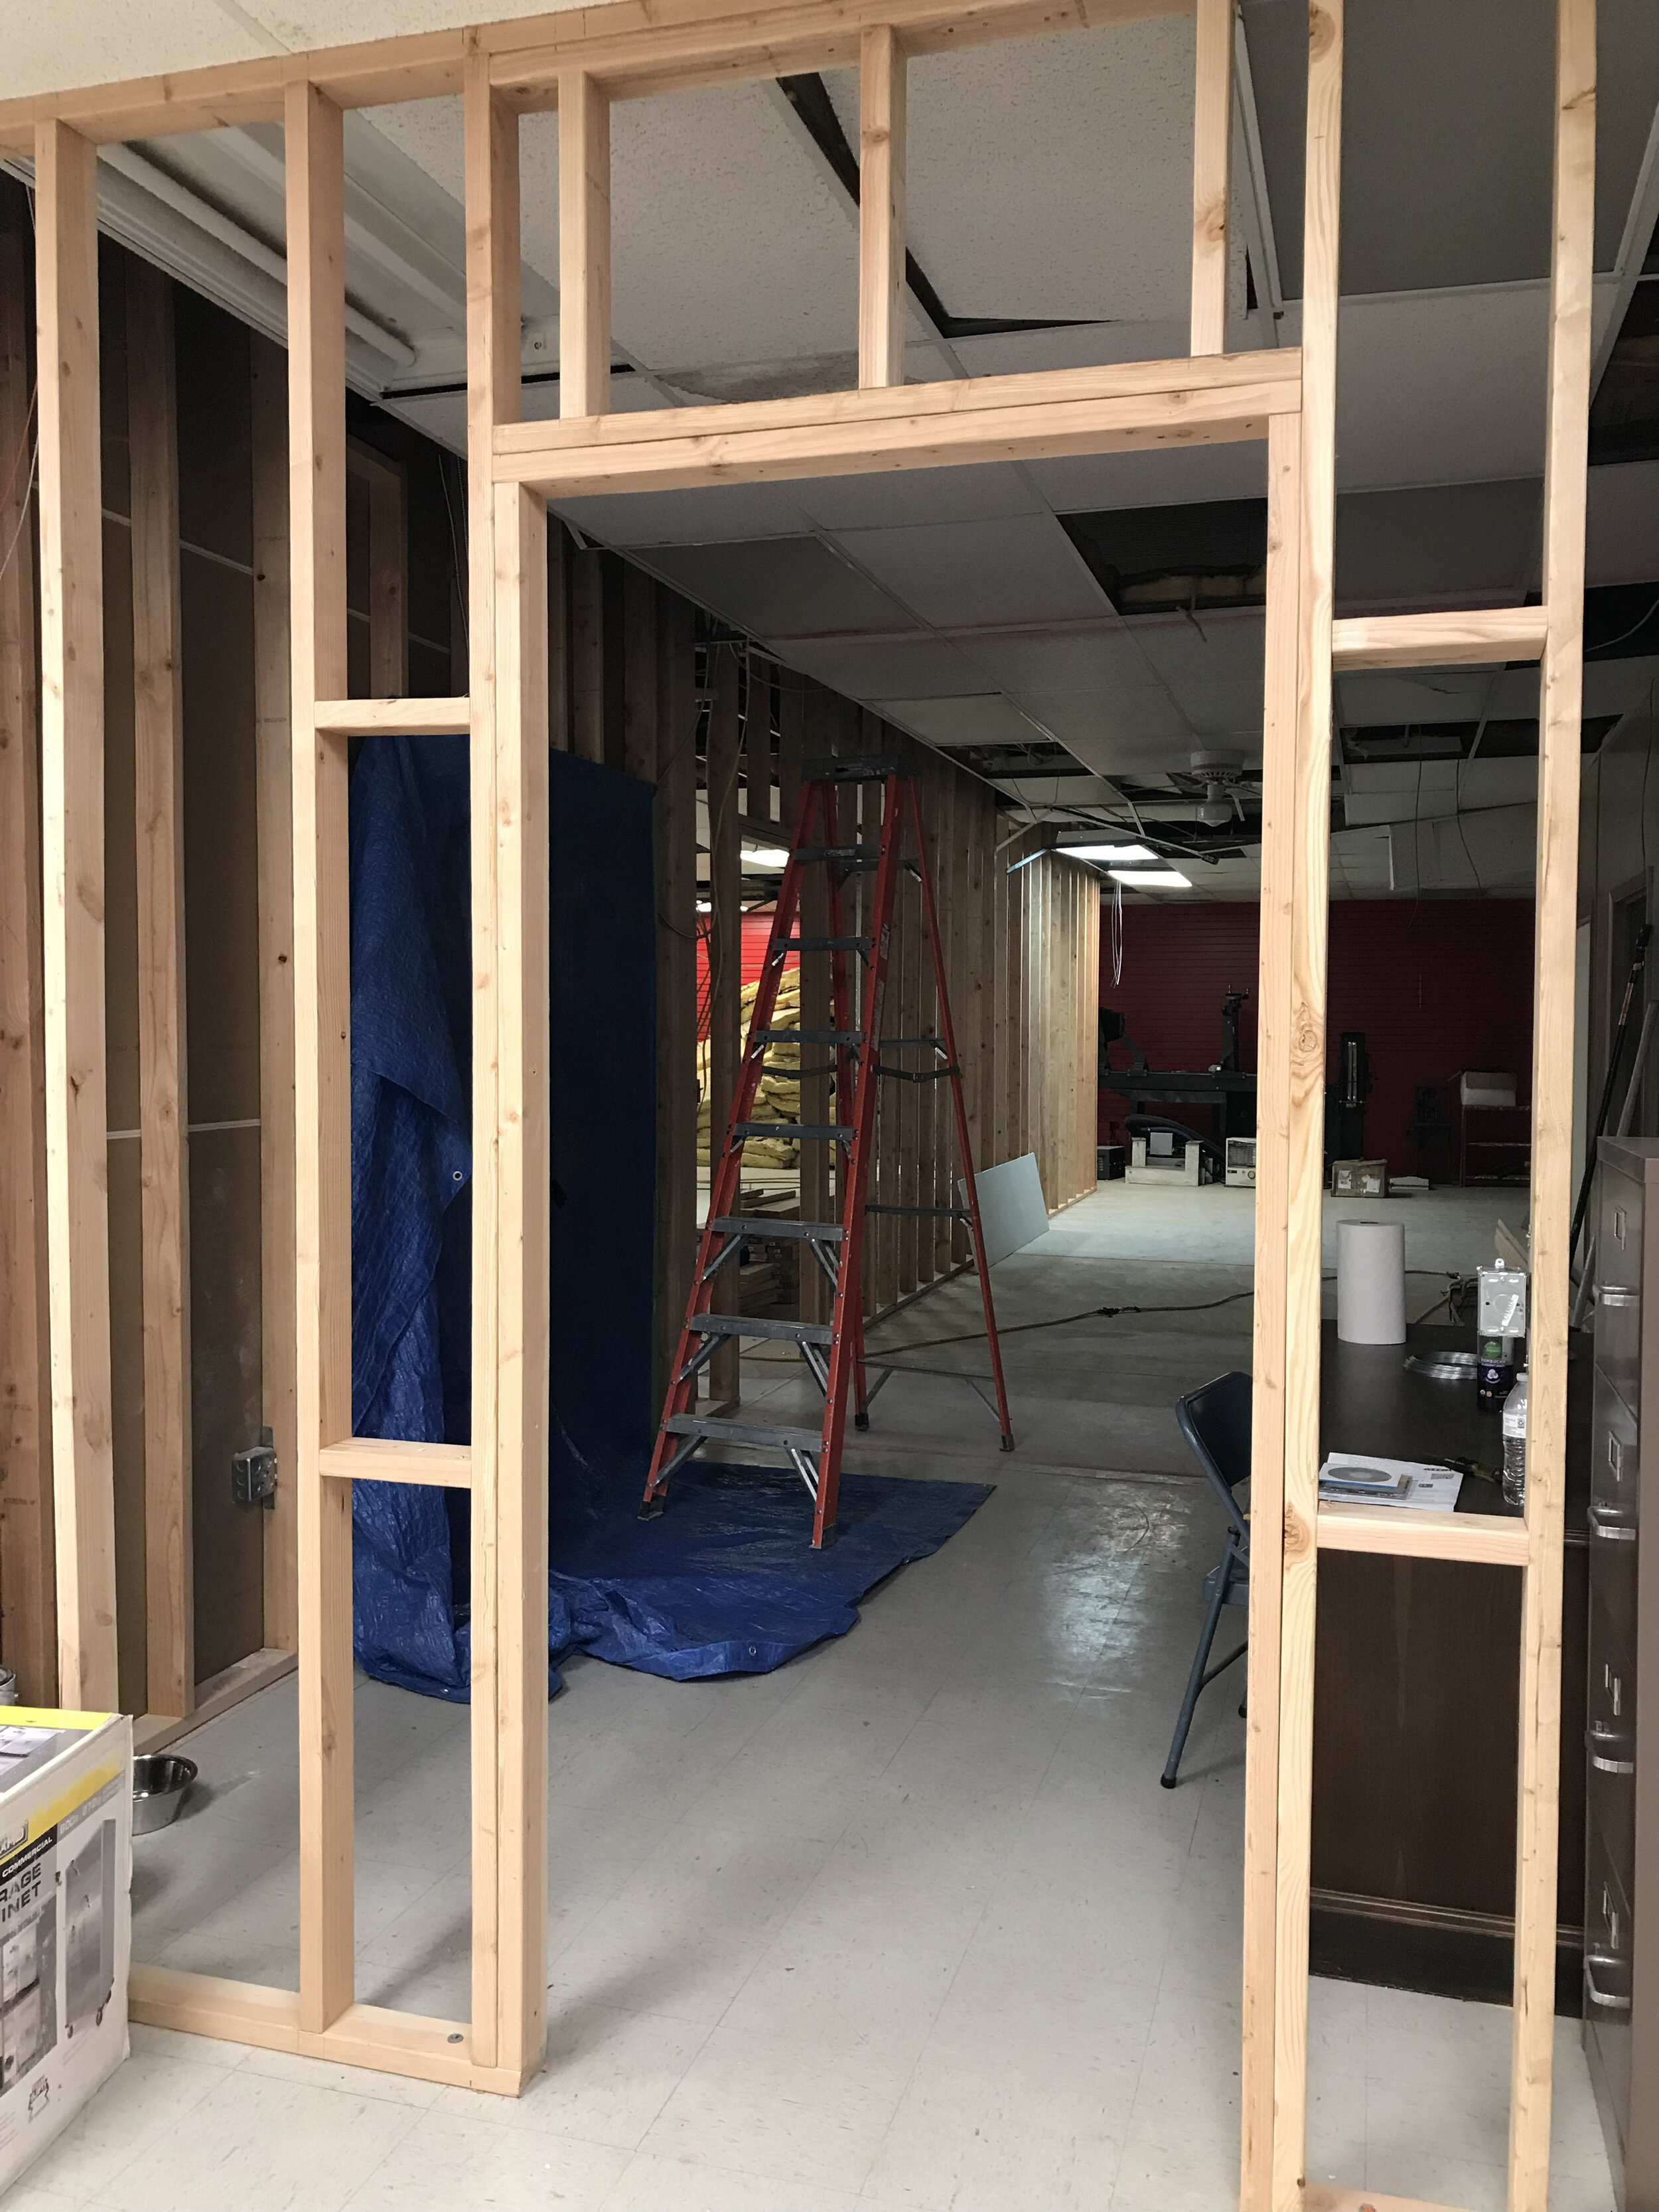
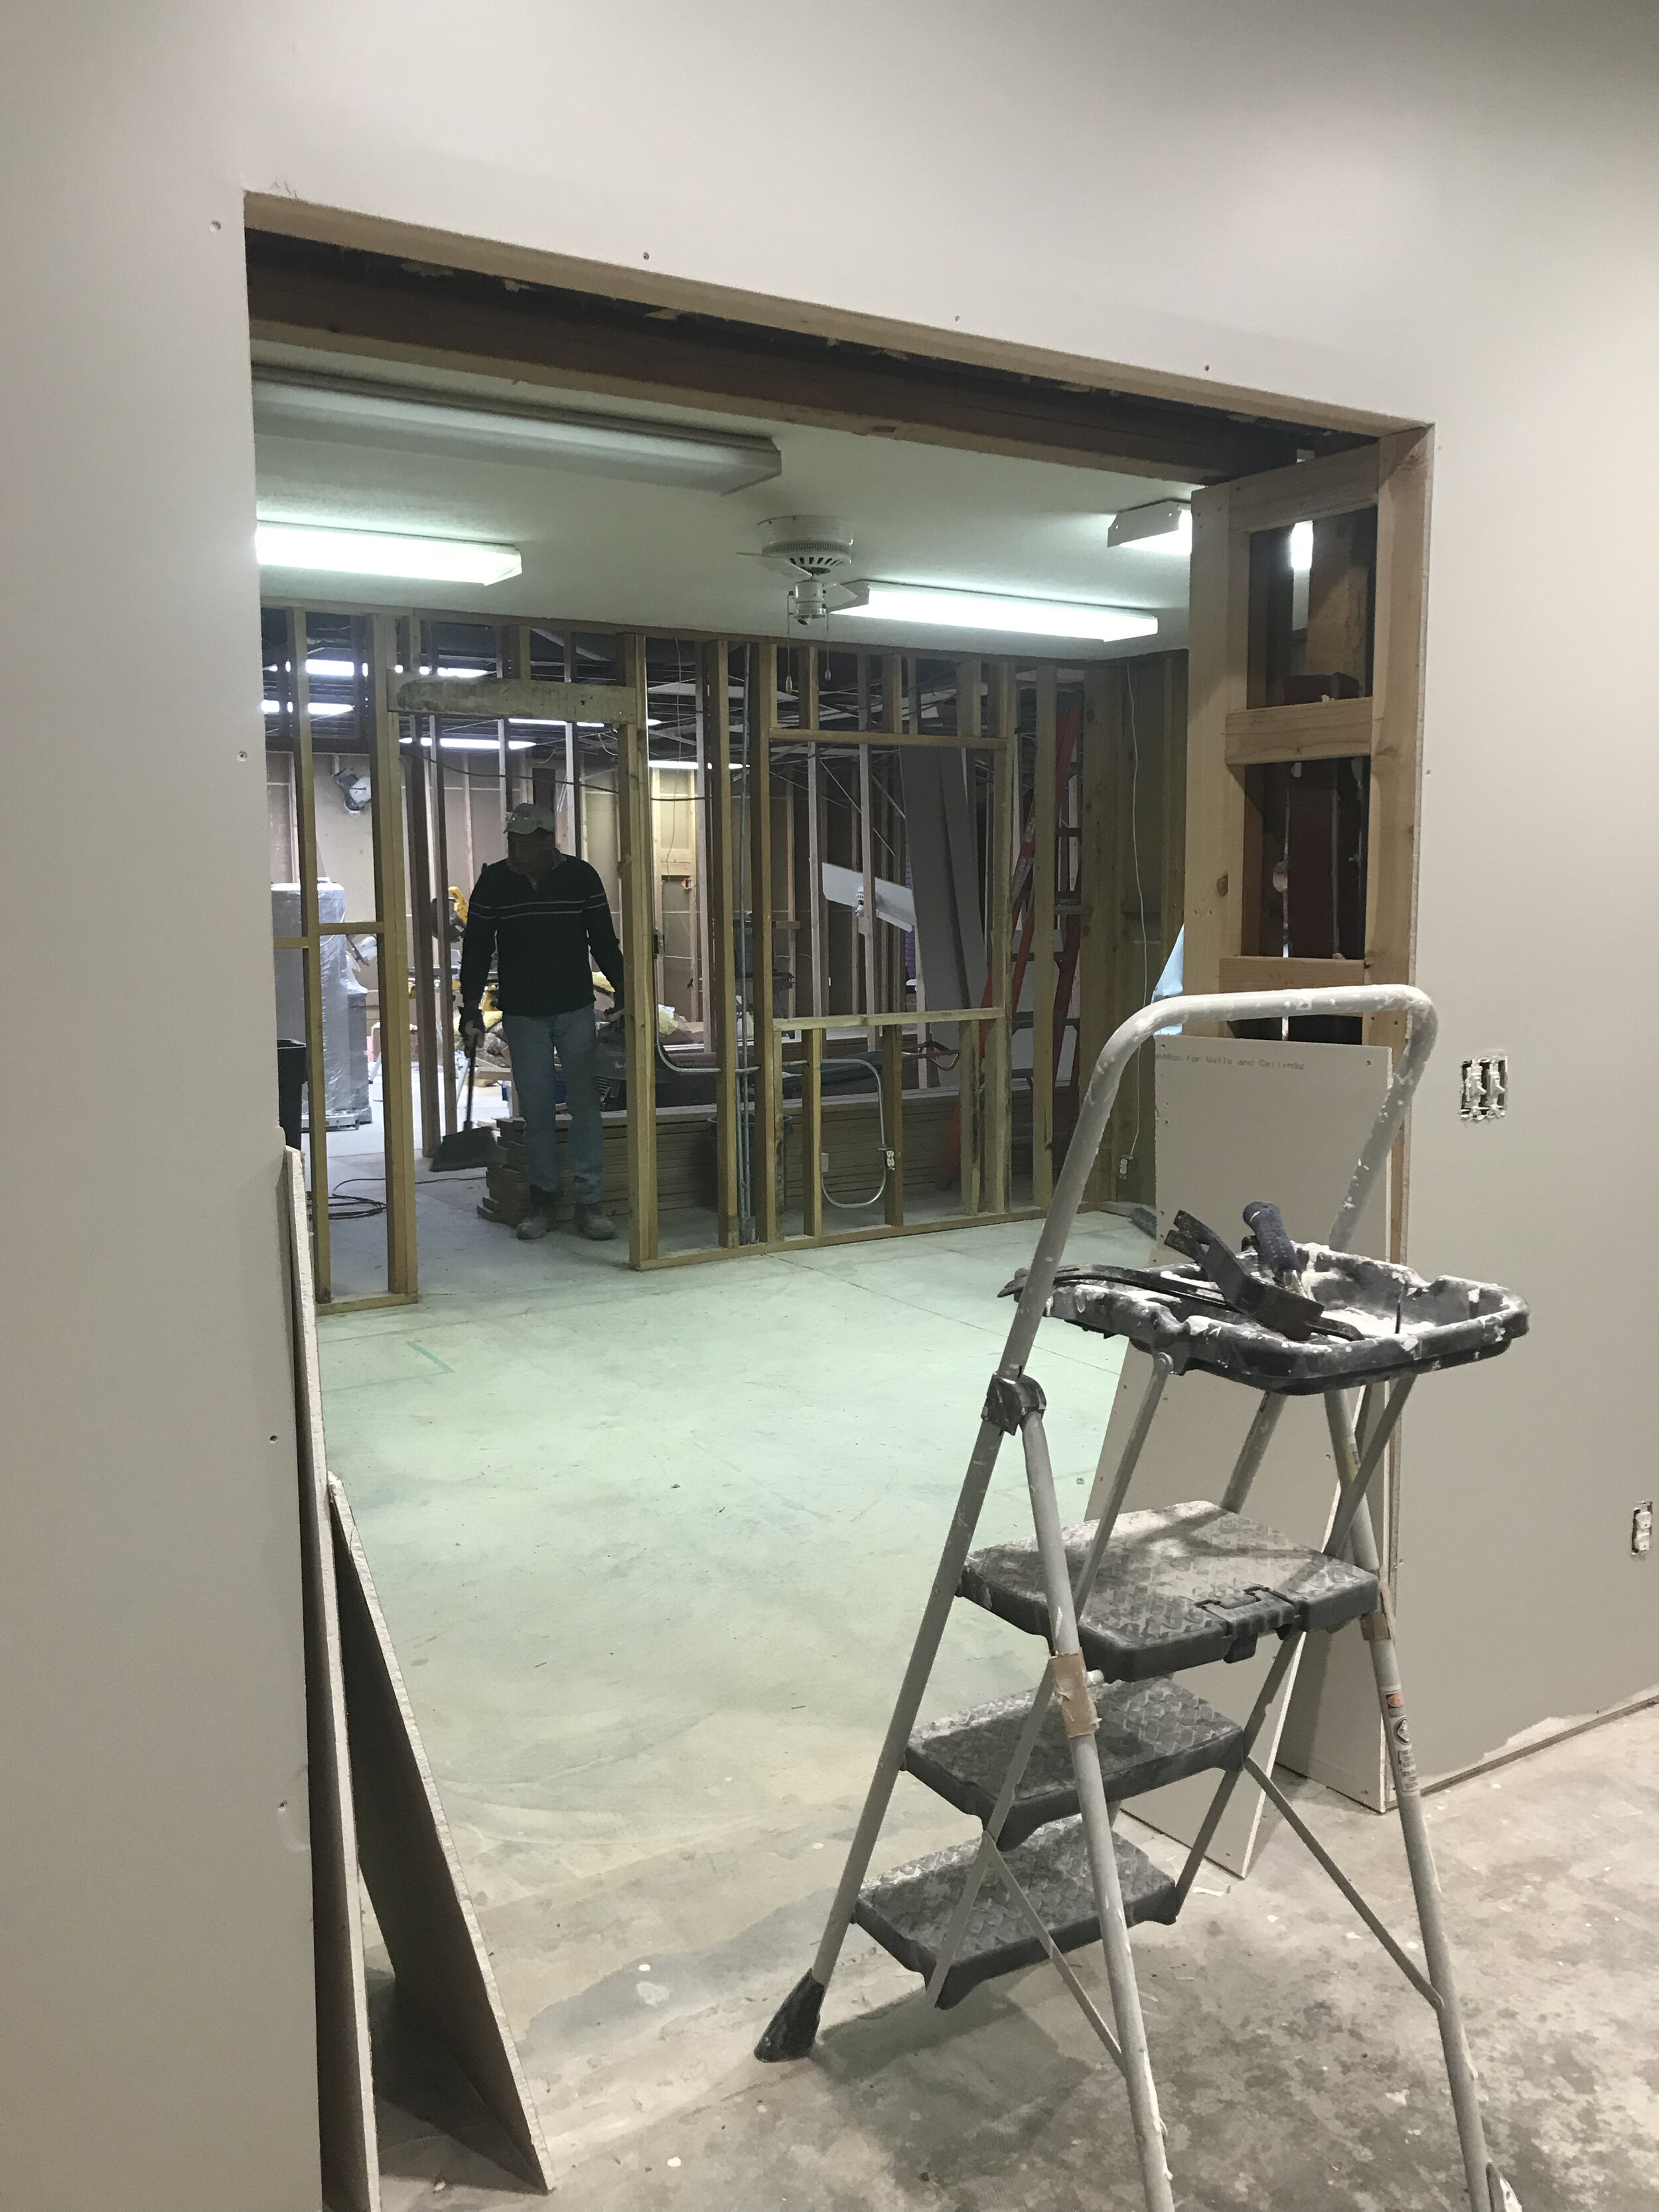
Over the course of about 6 months, my dad and I made a floor plan and started putting up some walls and the space really started to come together.
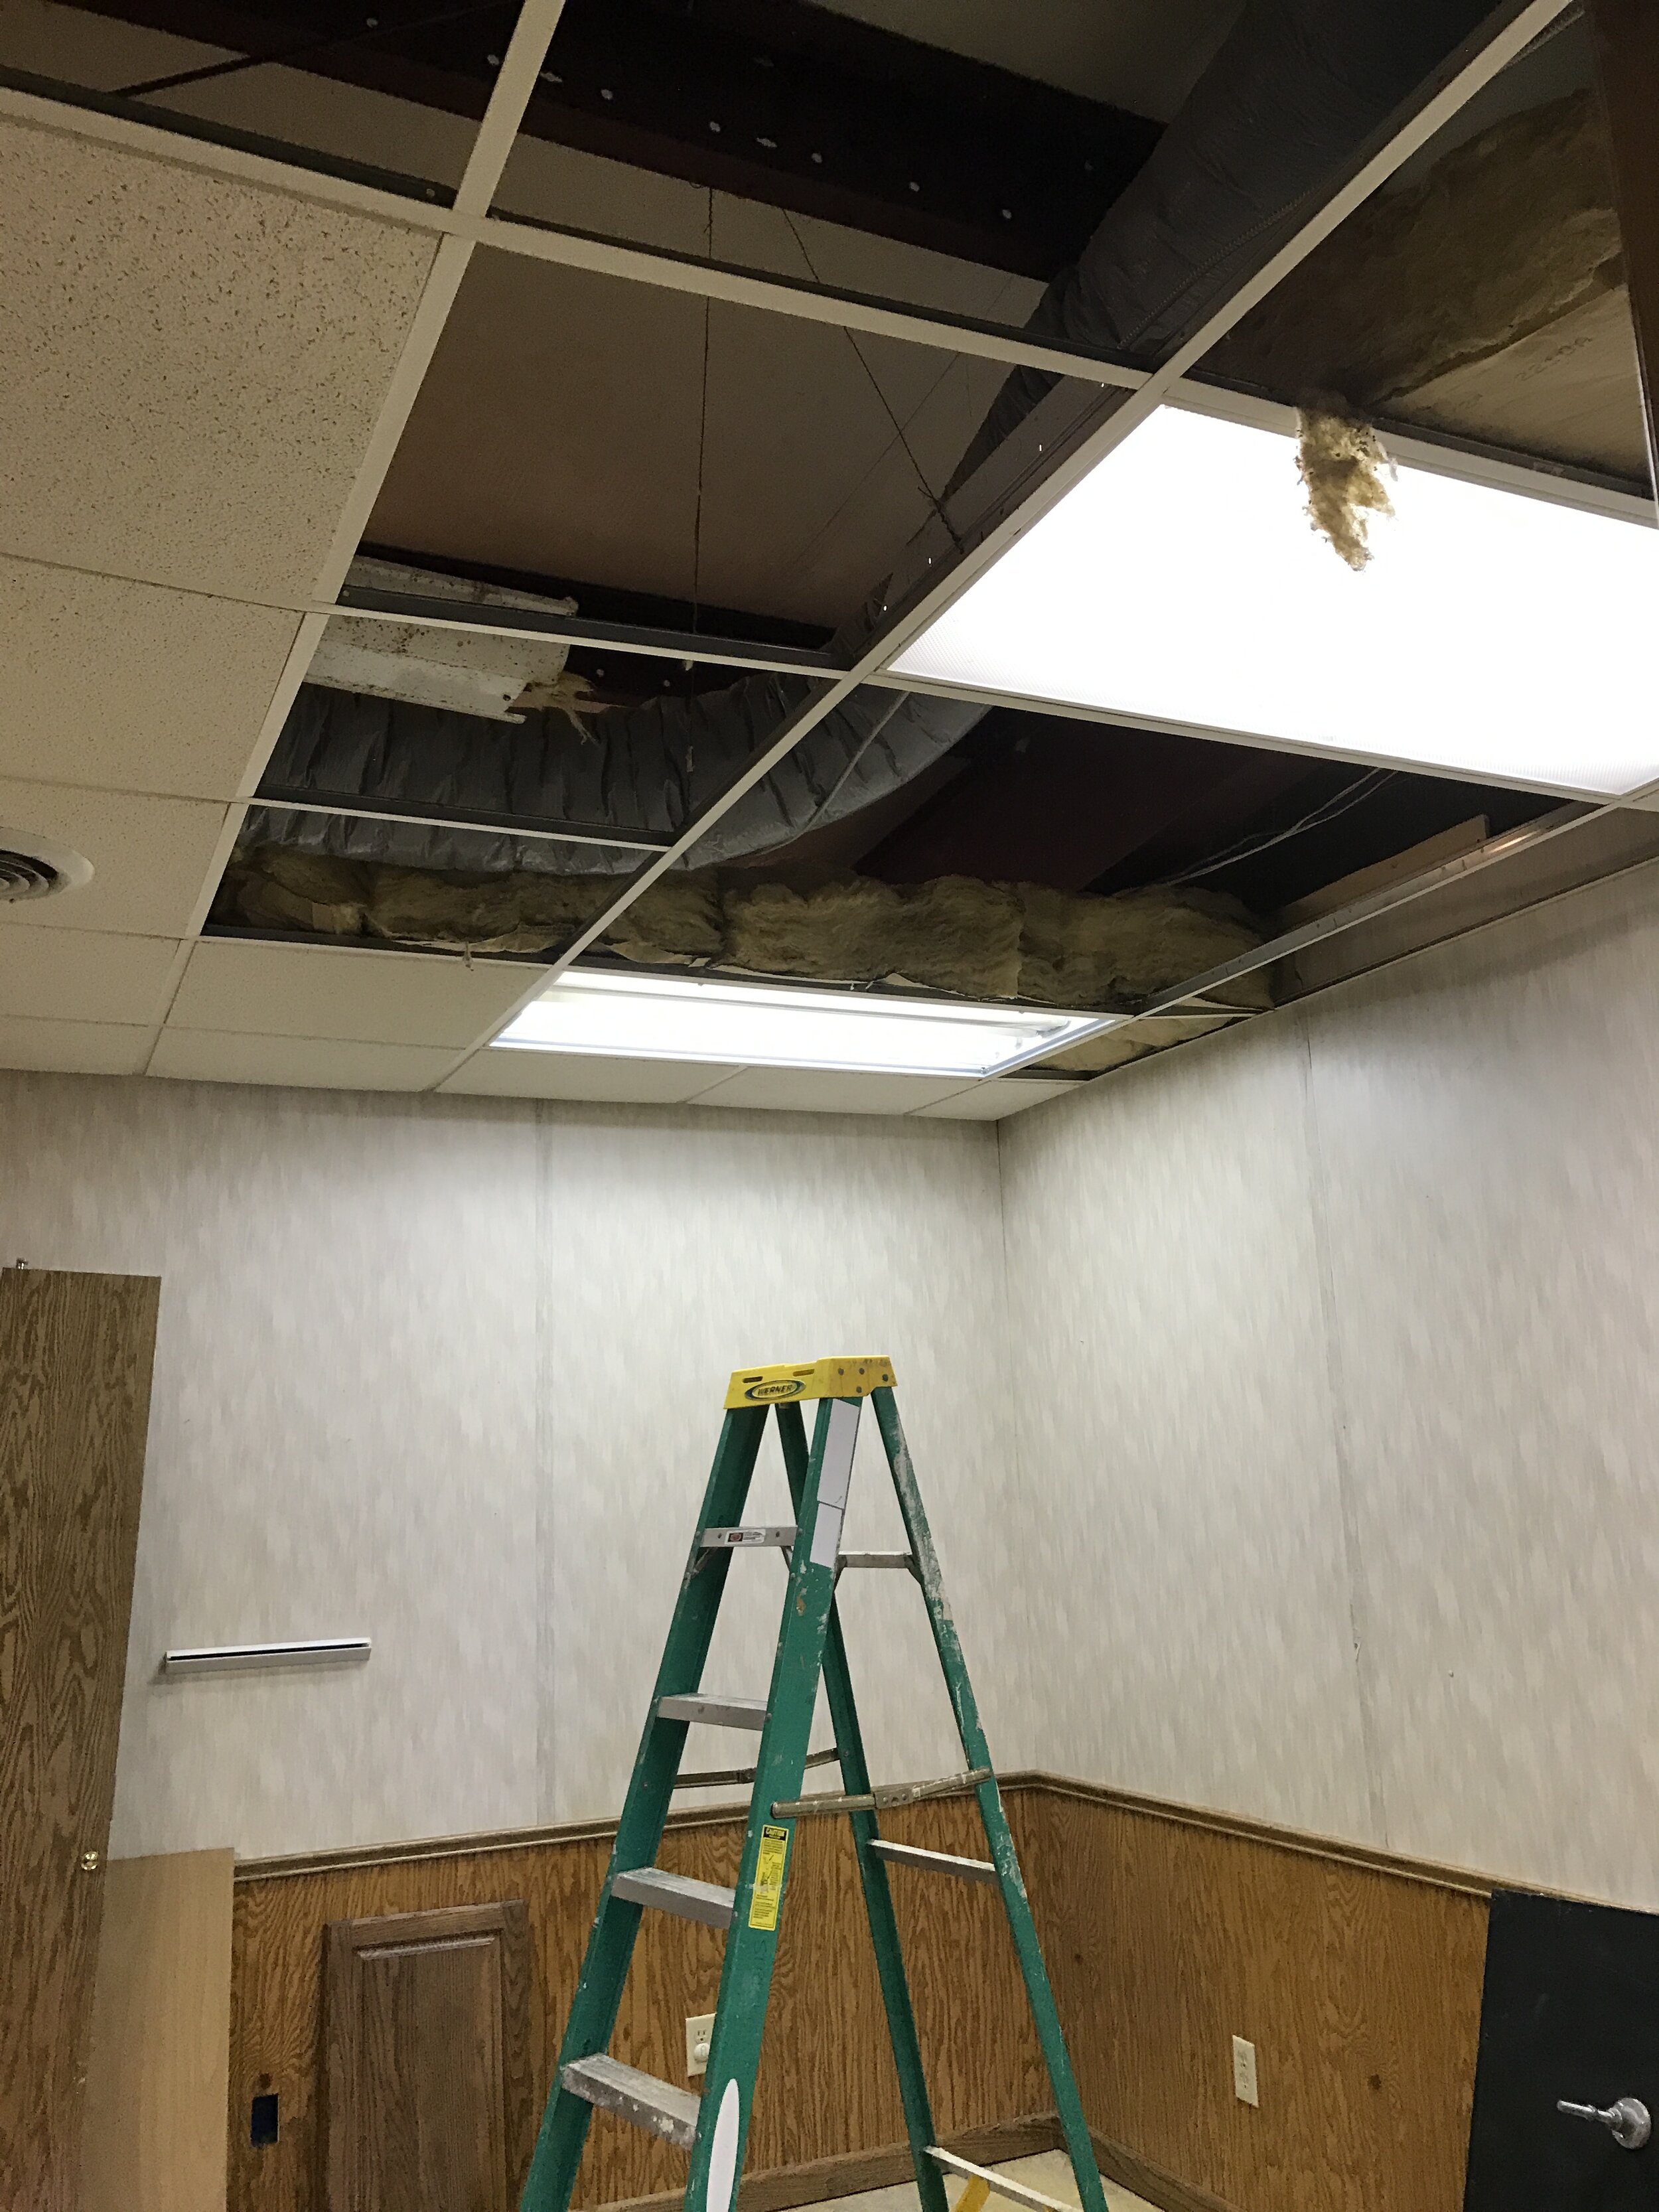
The planned darkroom was an old office with a dropped ceiling and an awful orange/tan filthy plaid carpet. We gutted everything down to the studs in the dry side and scraped the walls in the wet side, raised the ceiling, put in new lighting, electrical, and flooring.
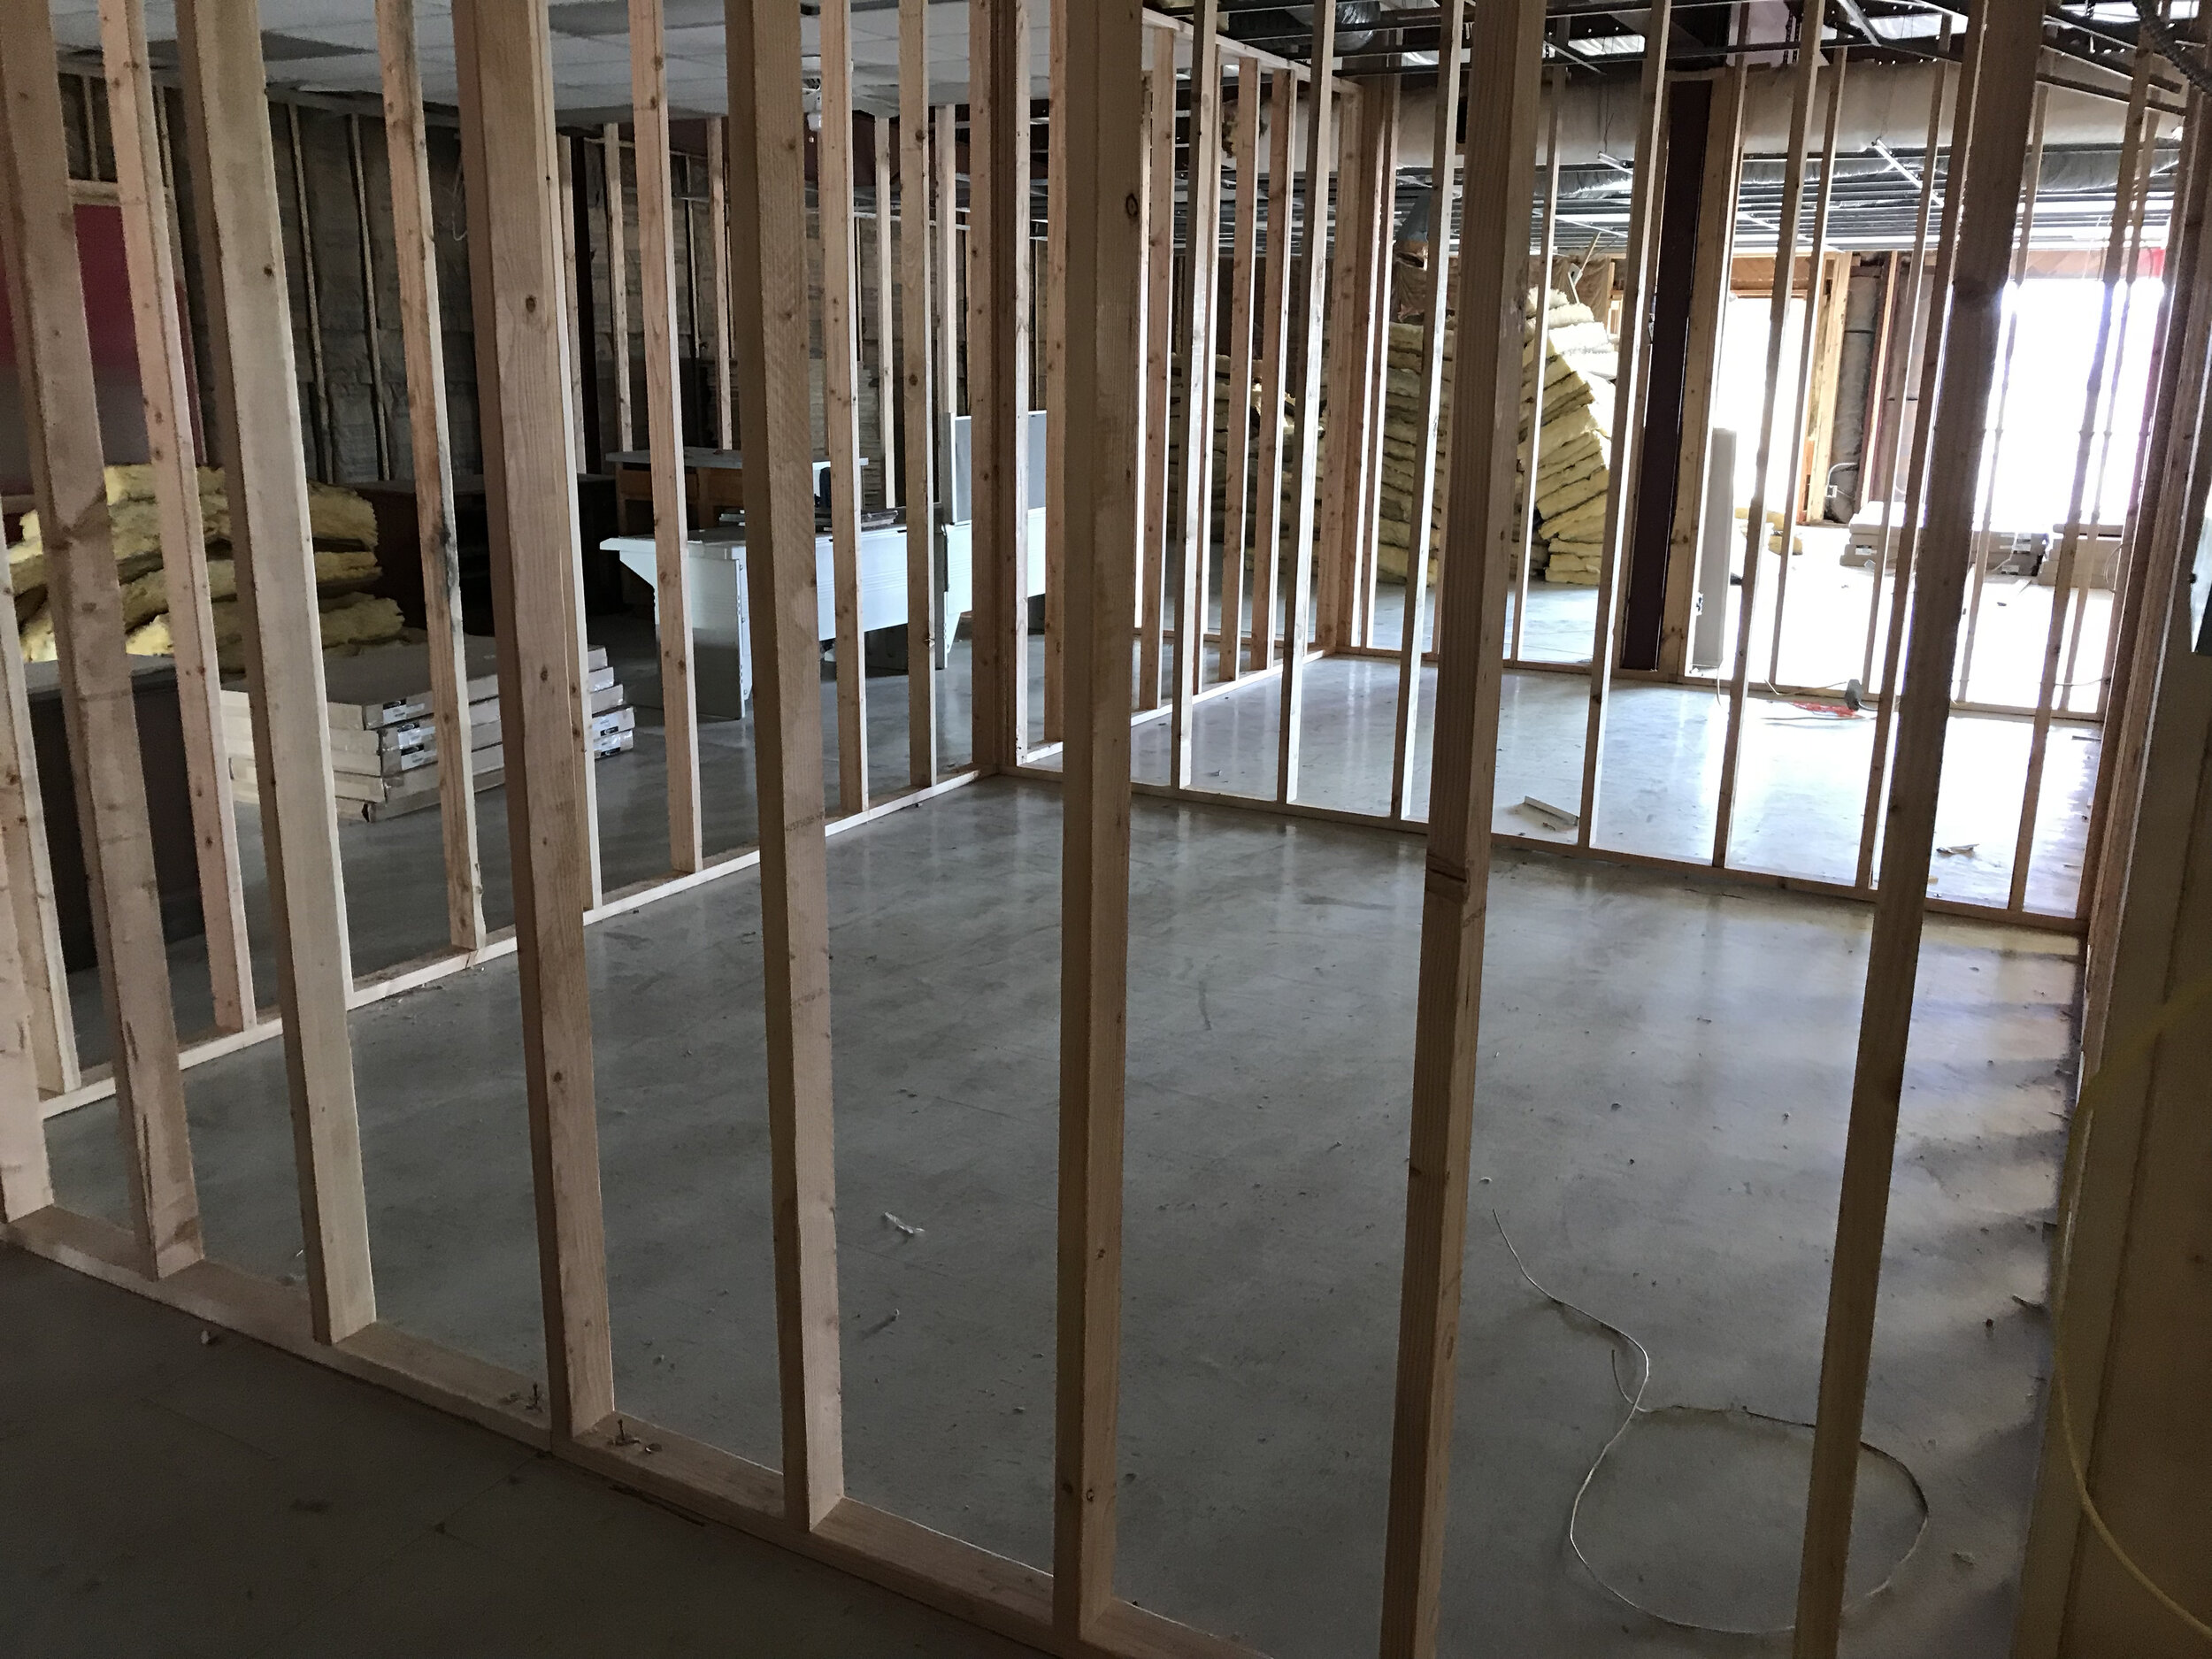
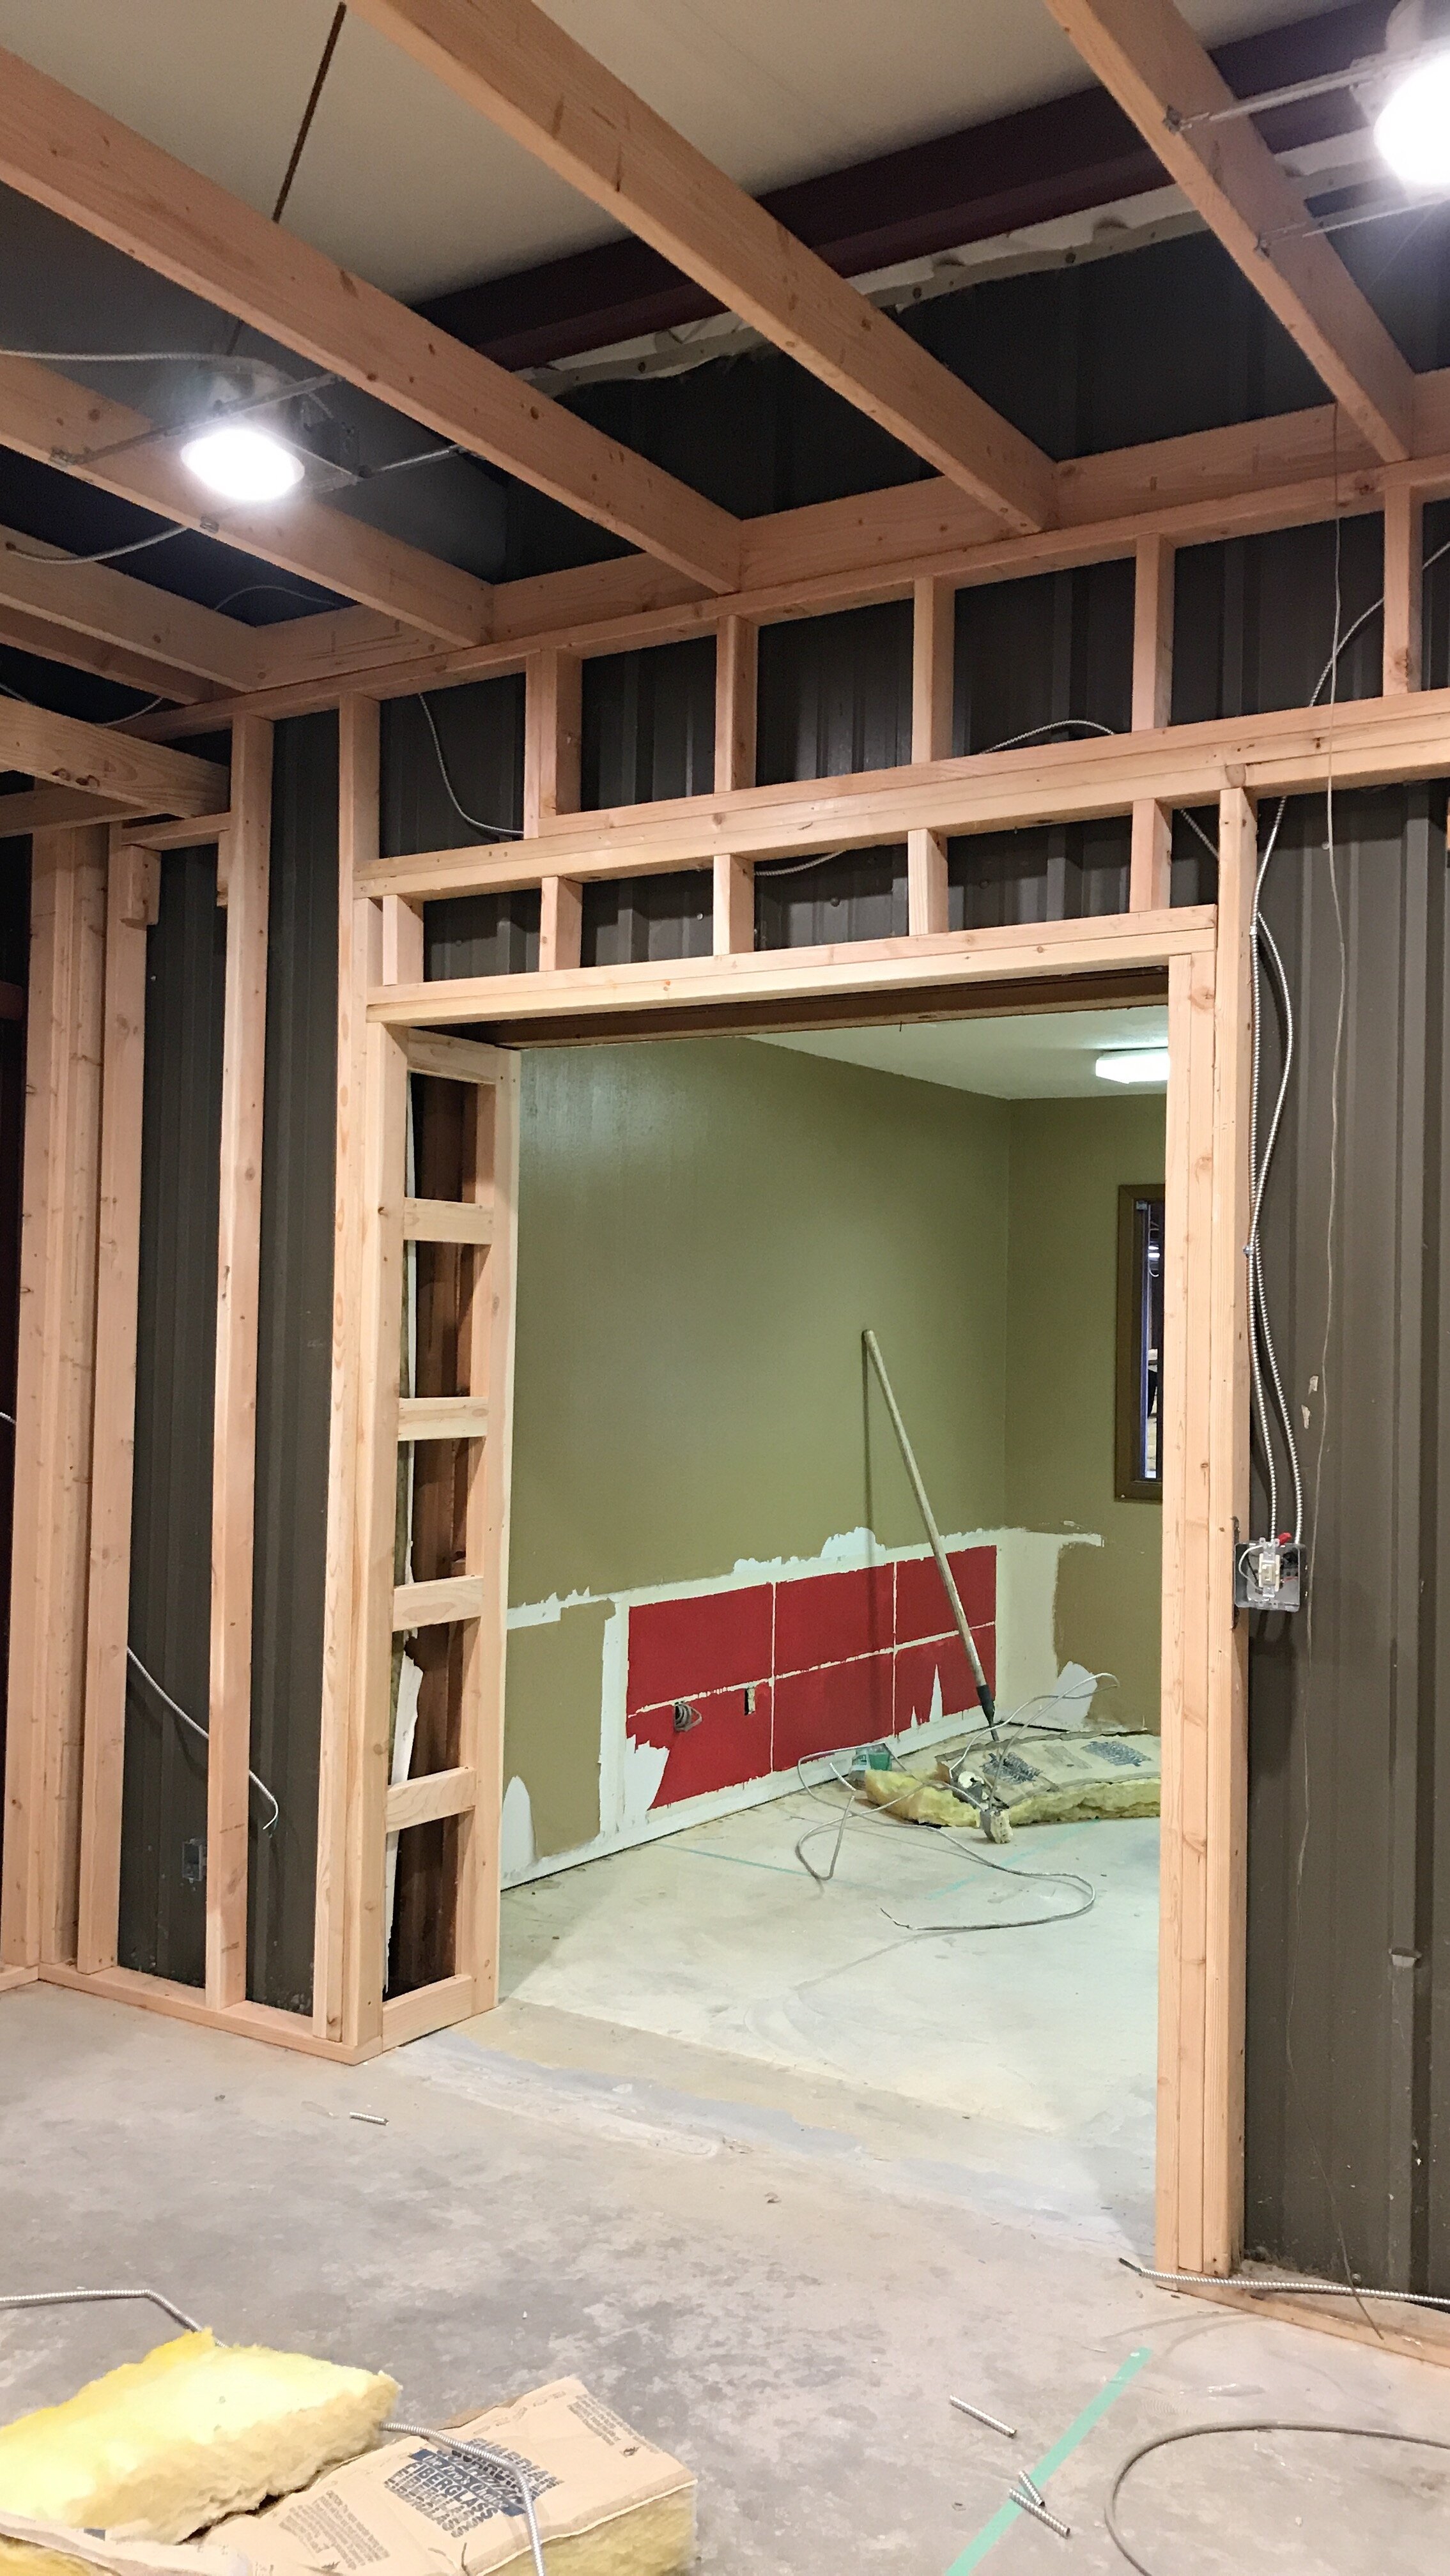
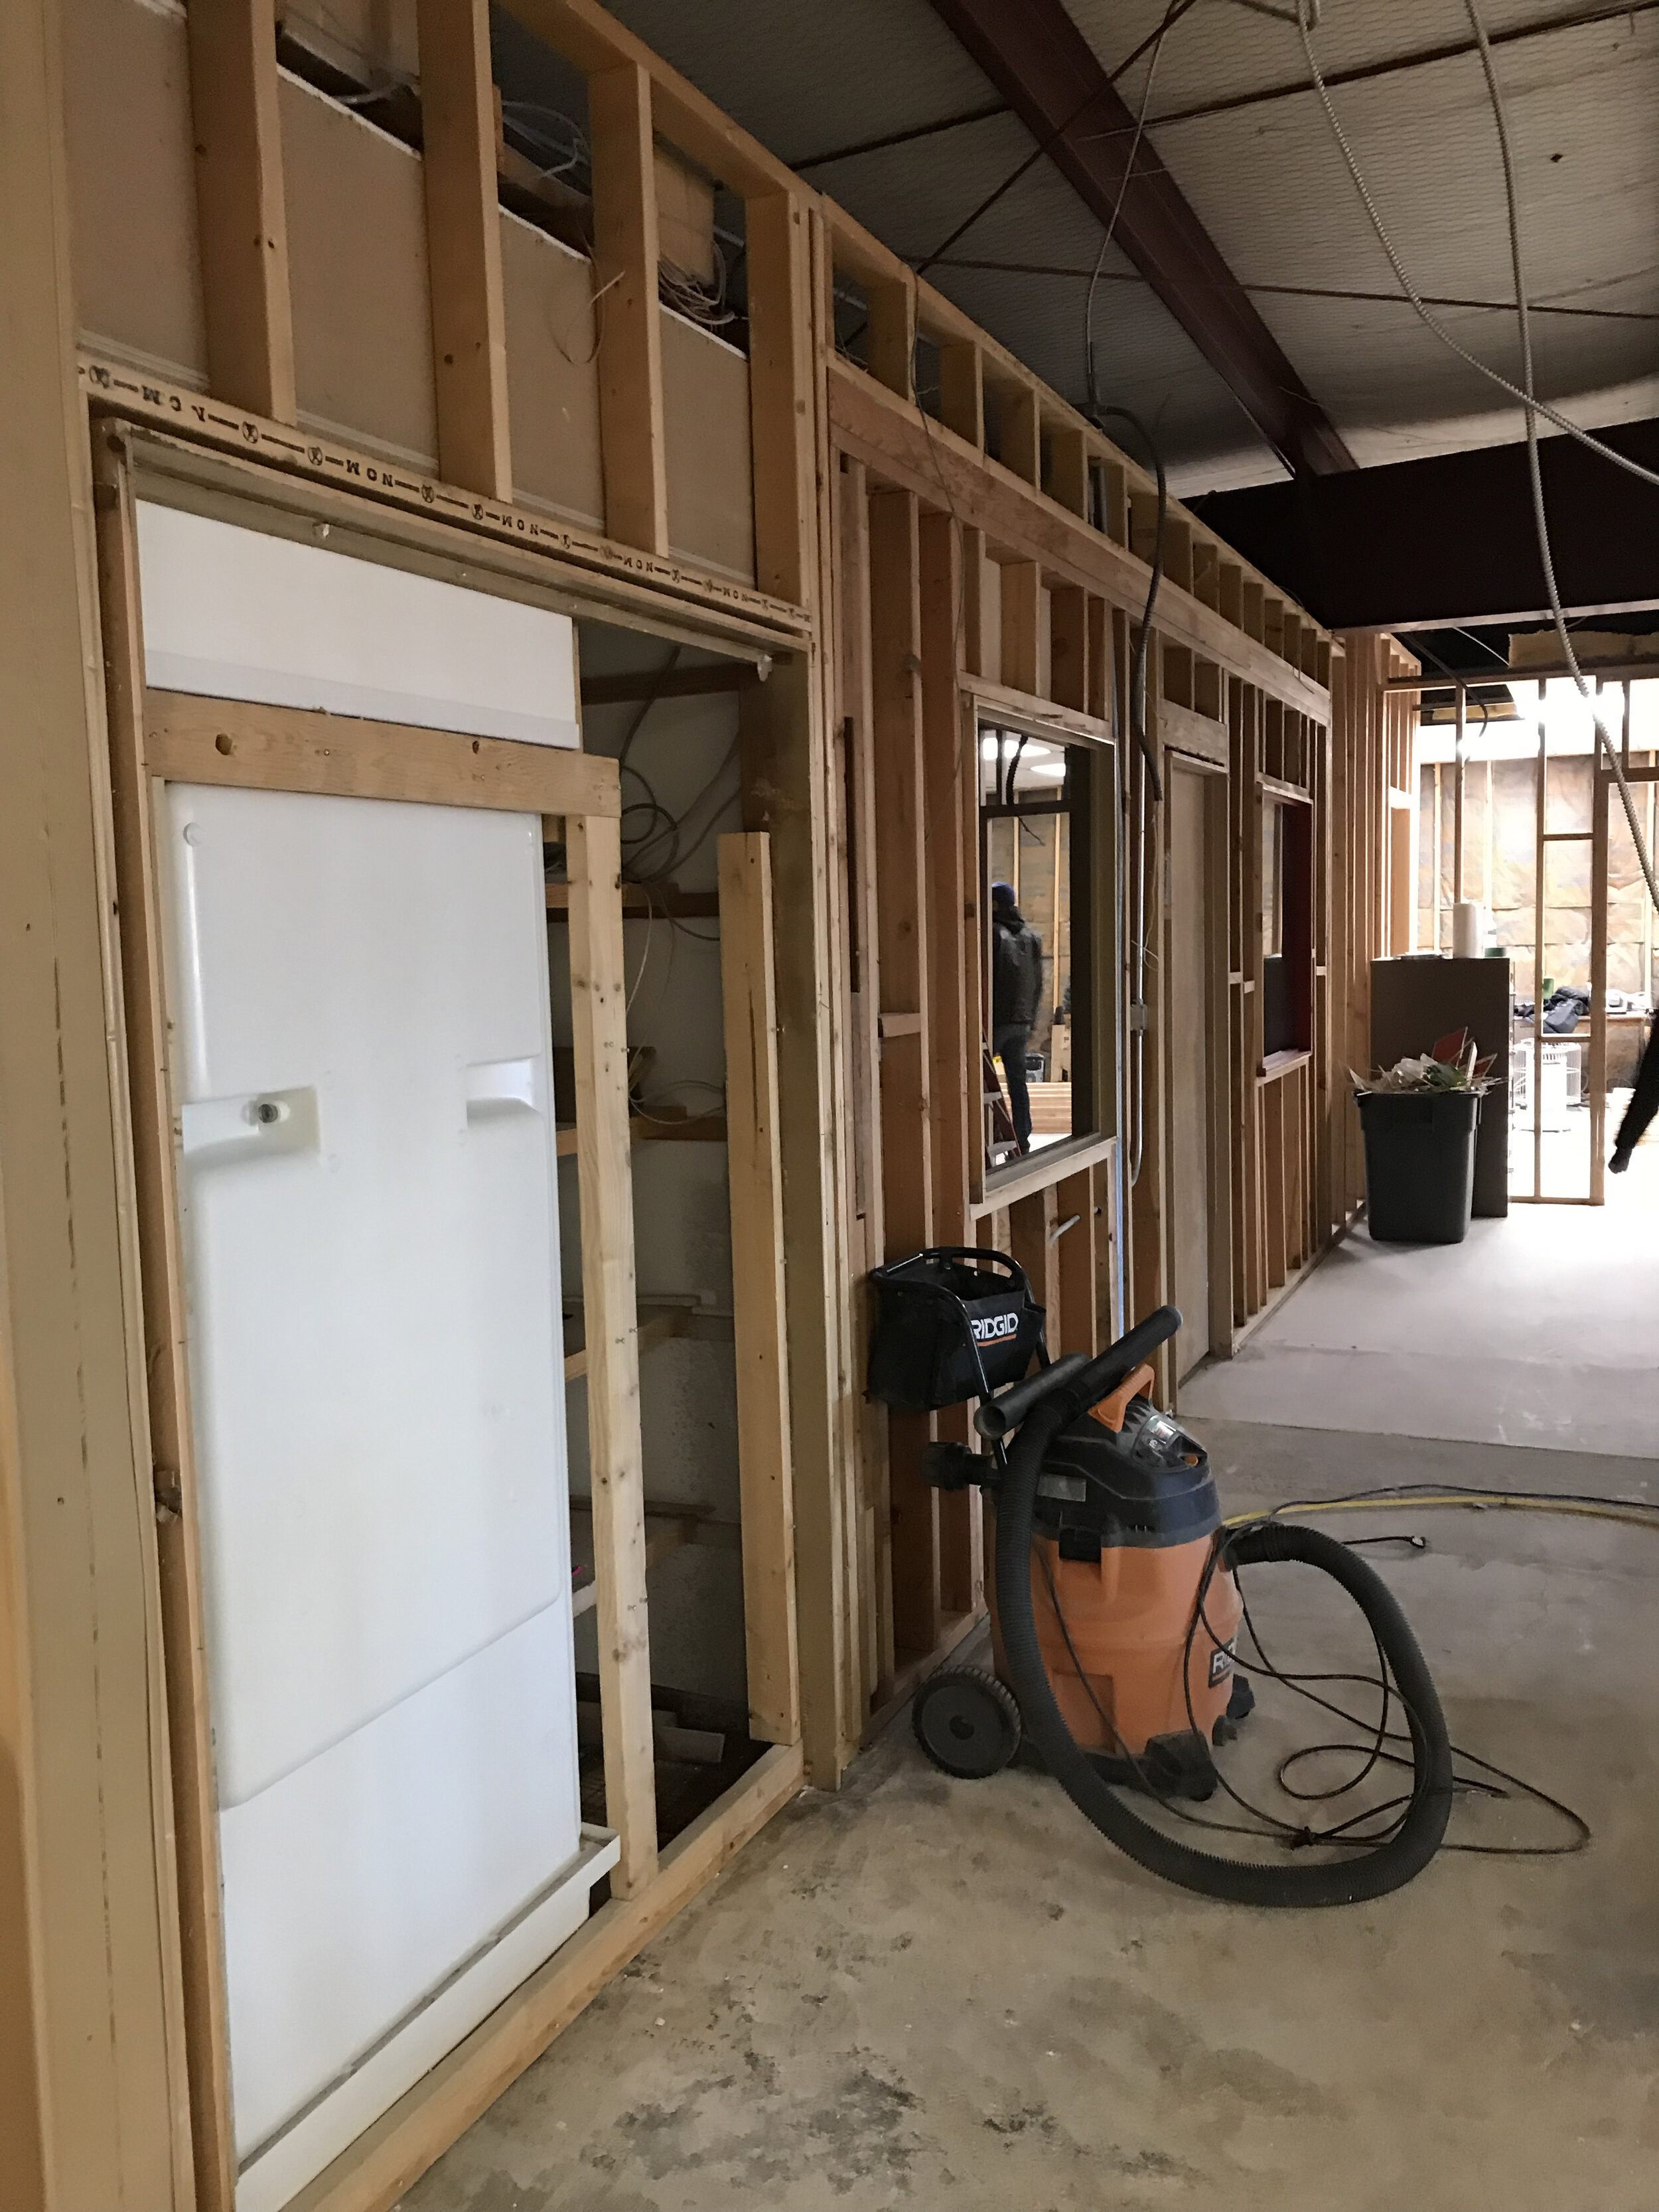
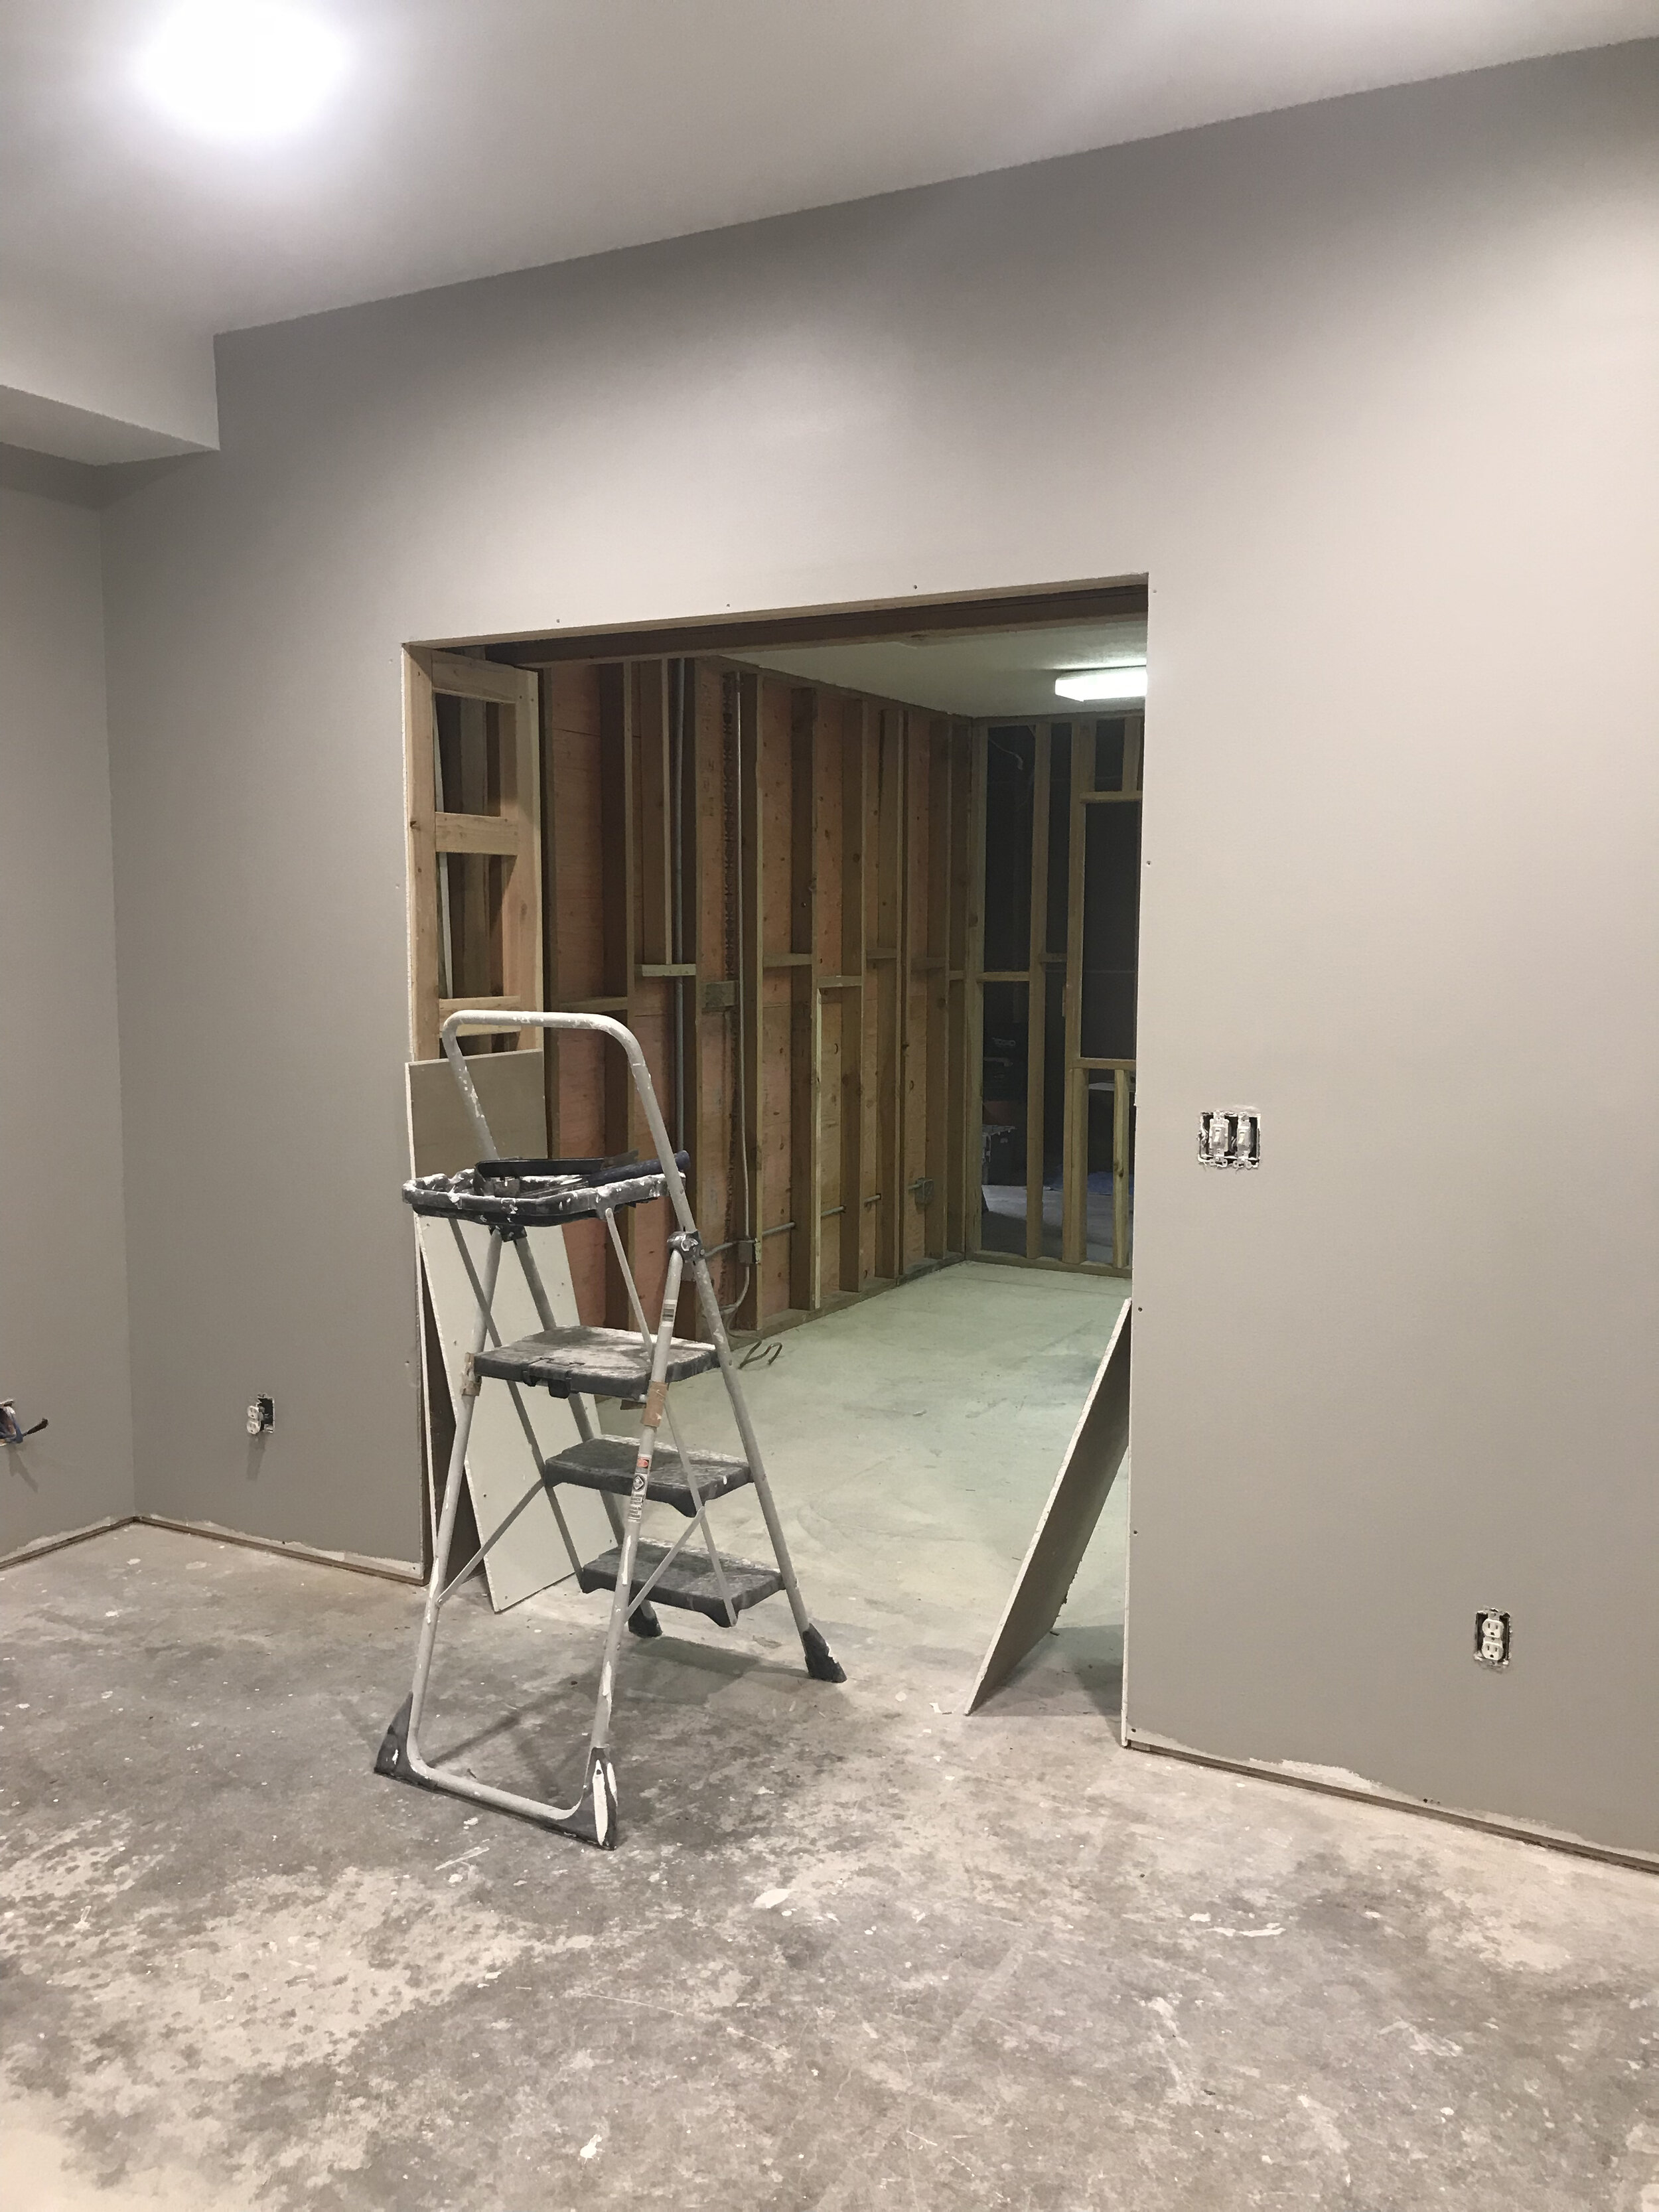
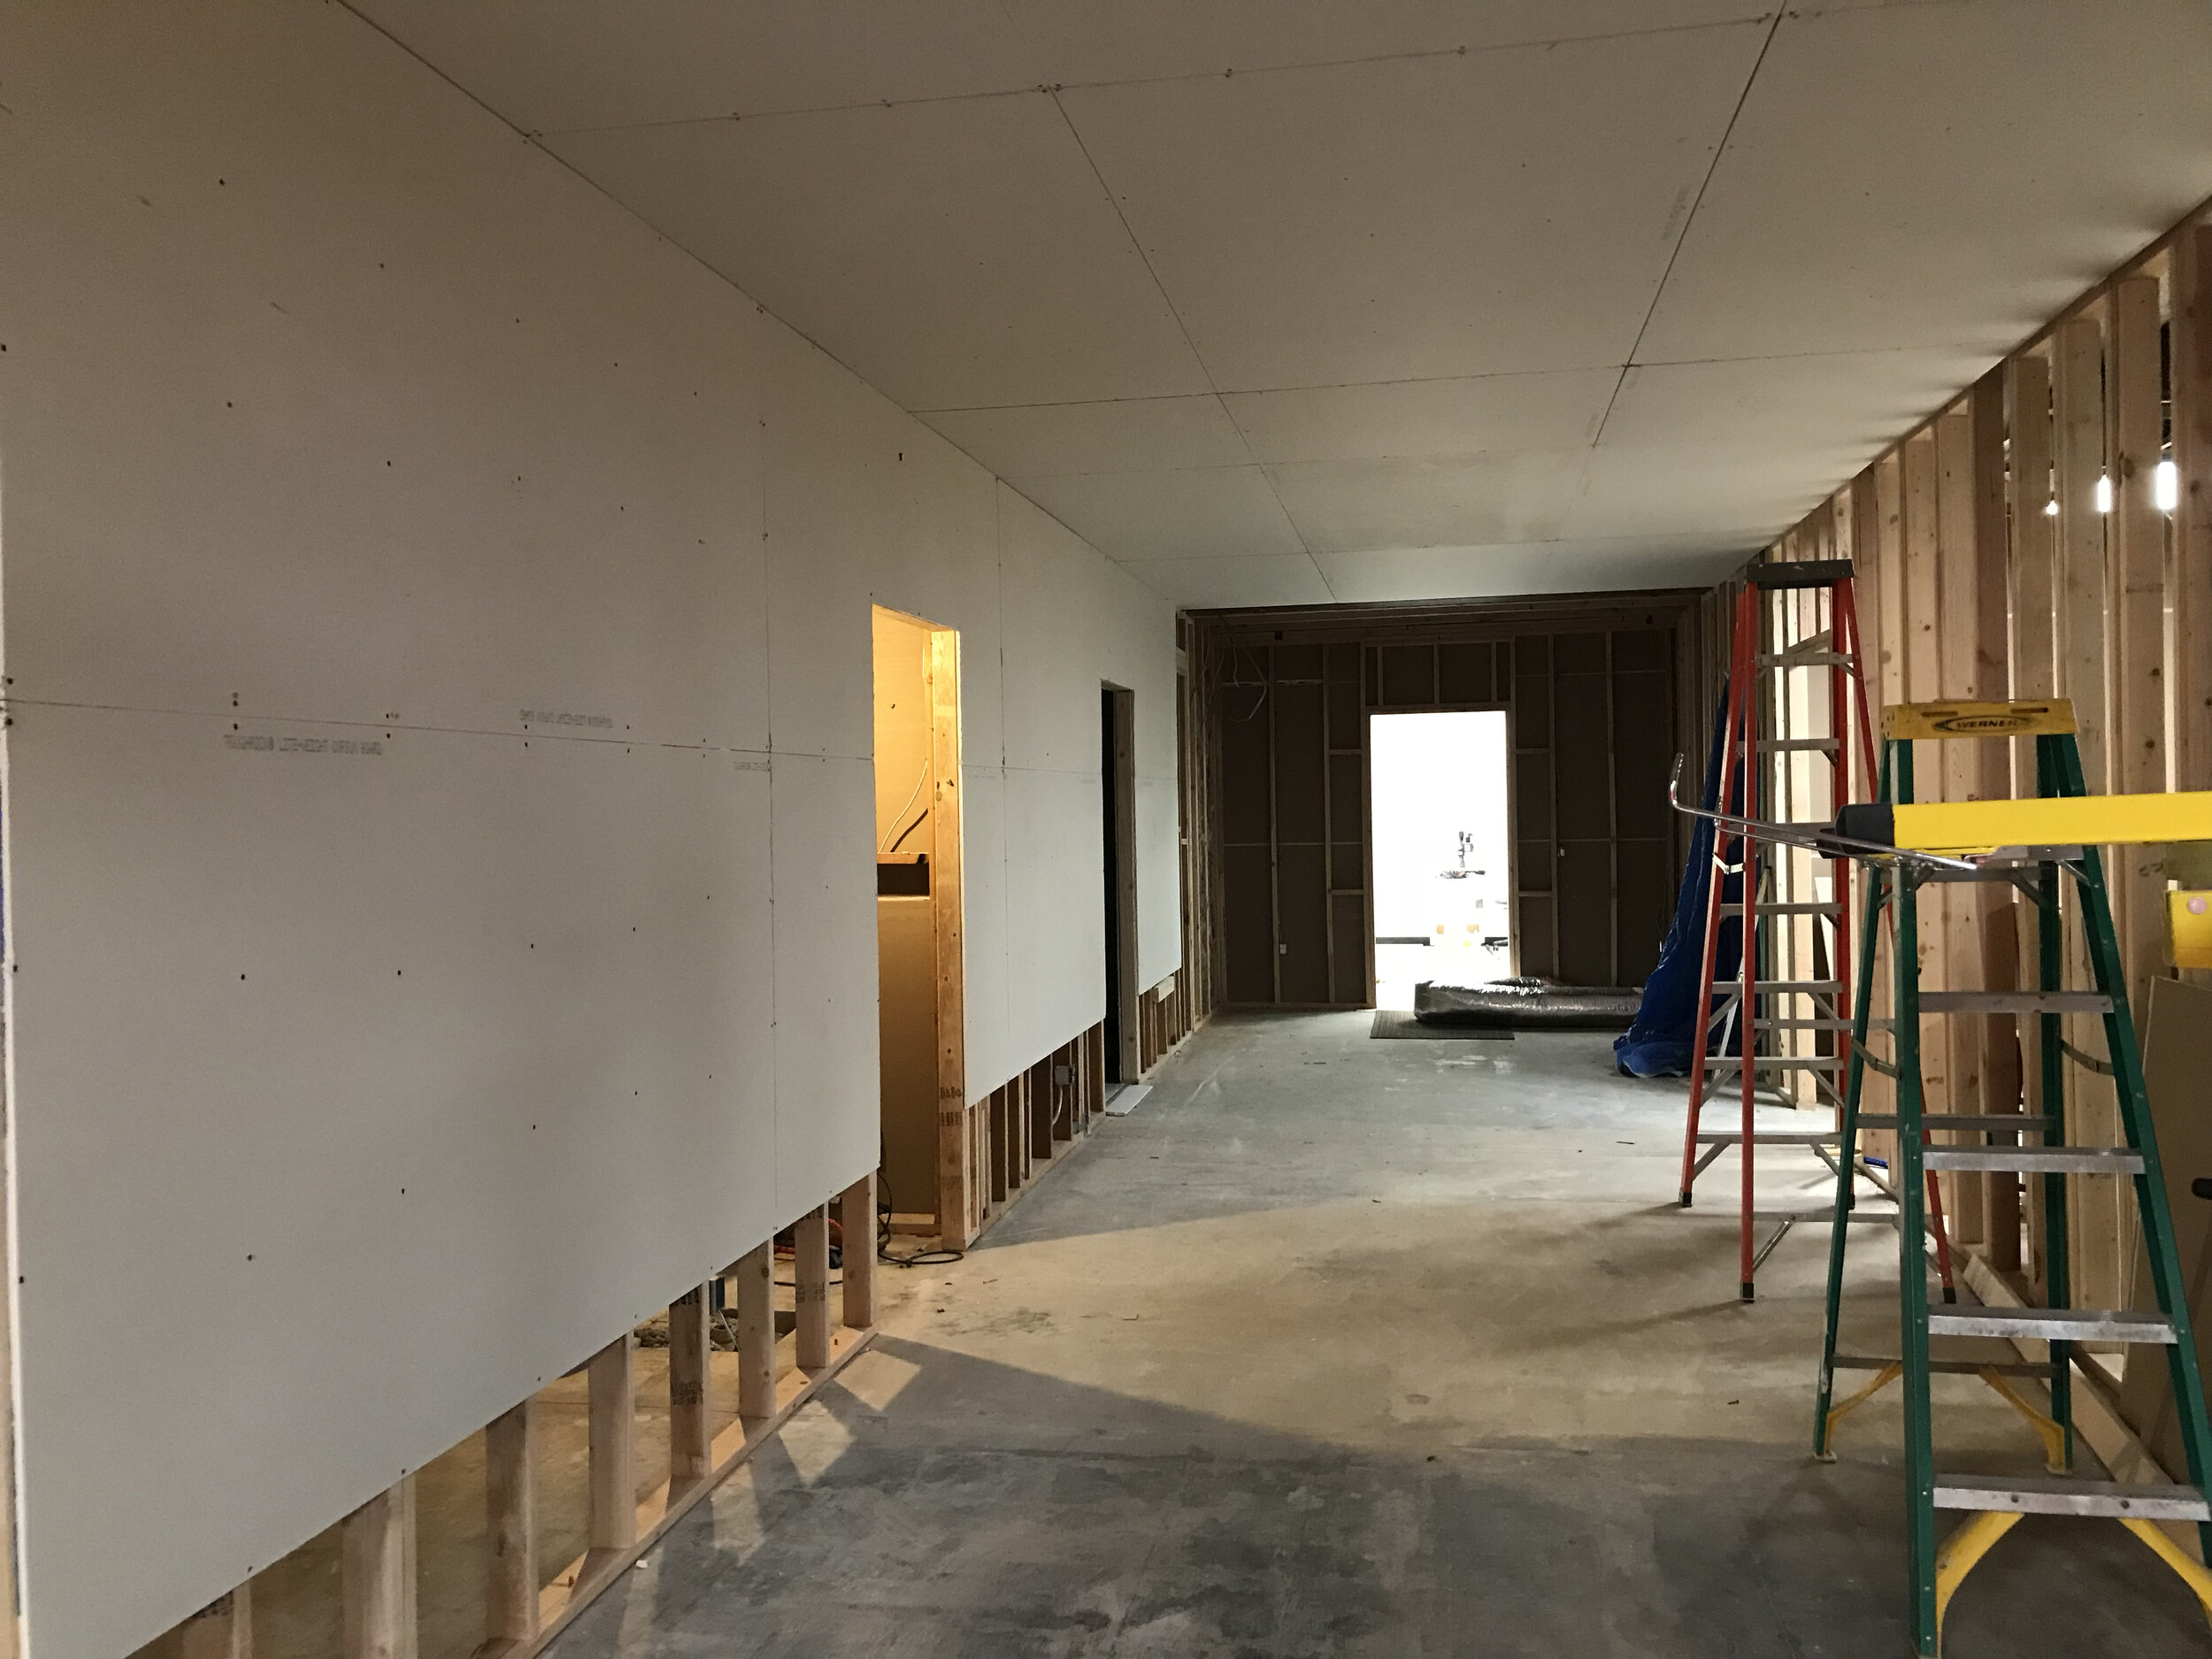
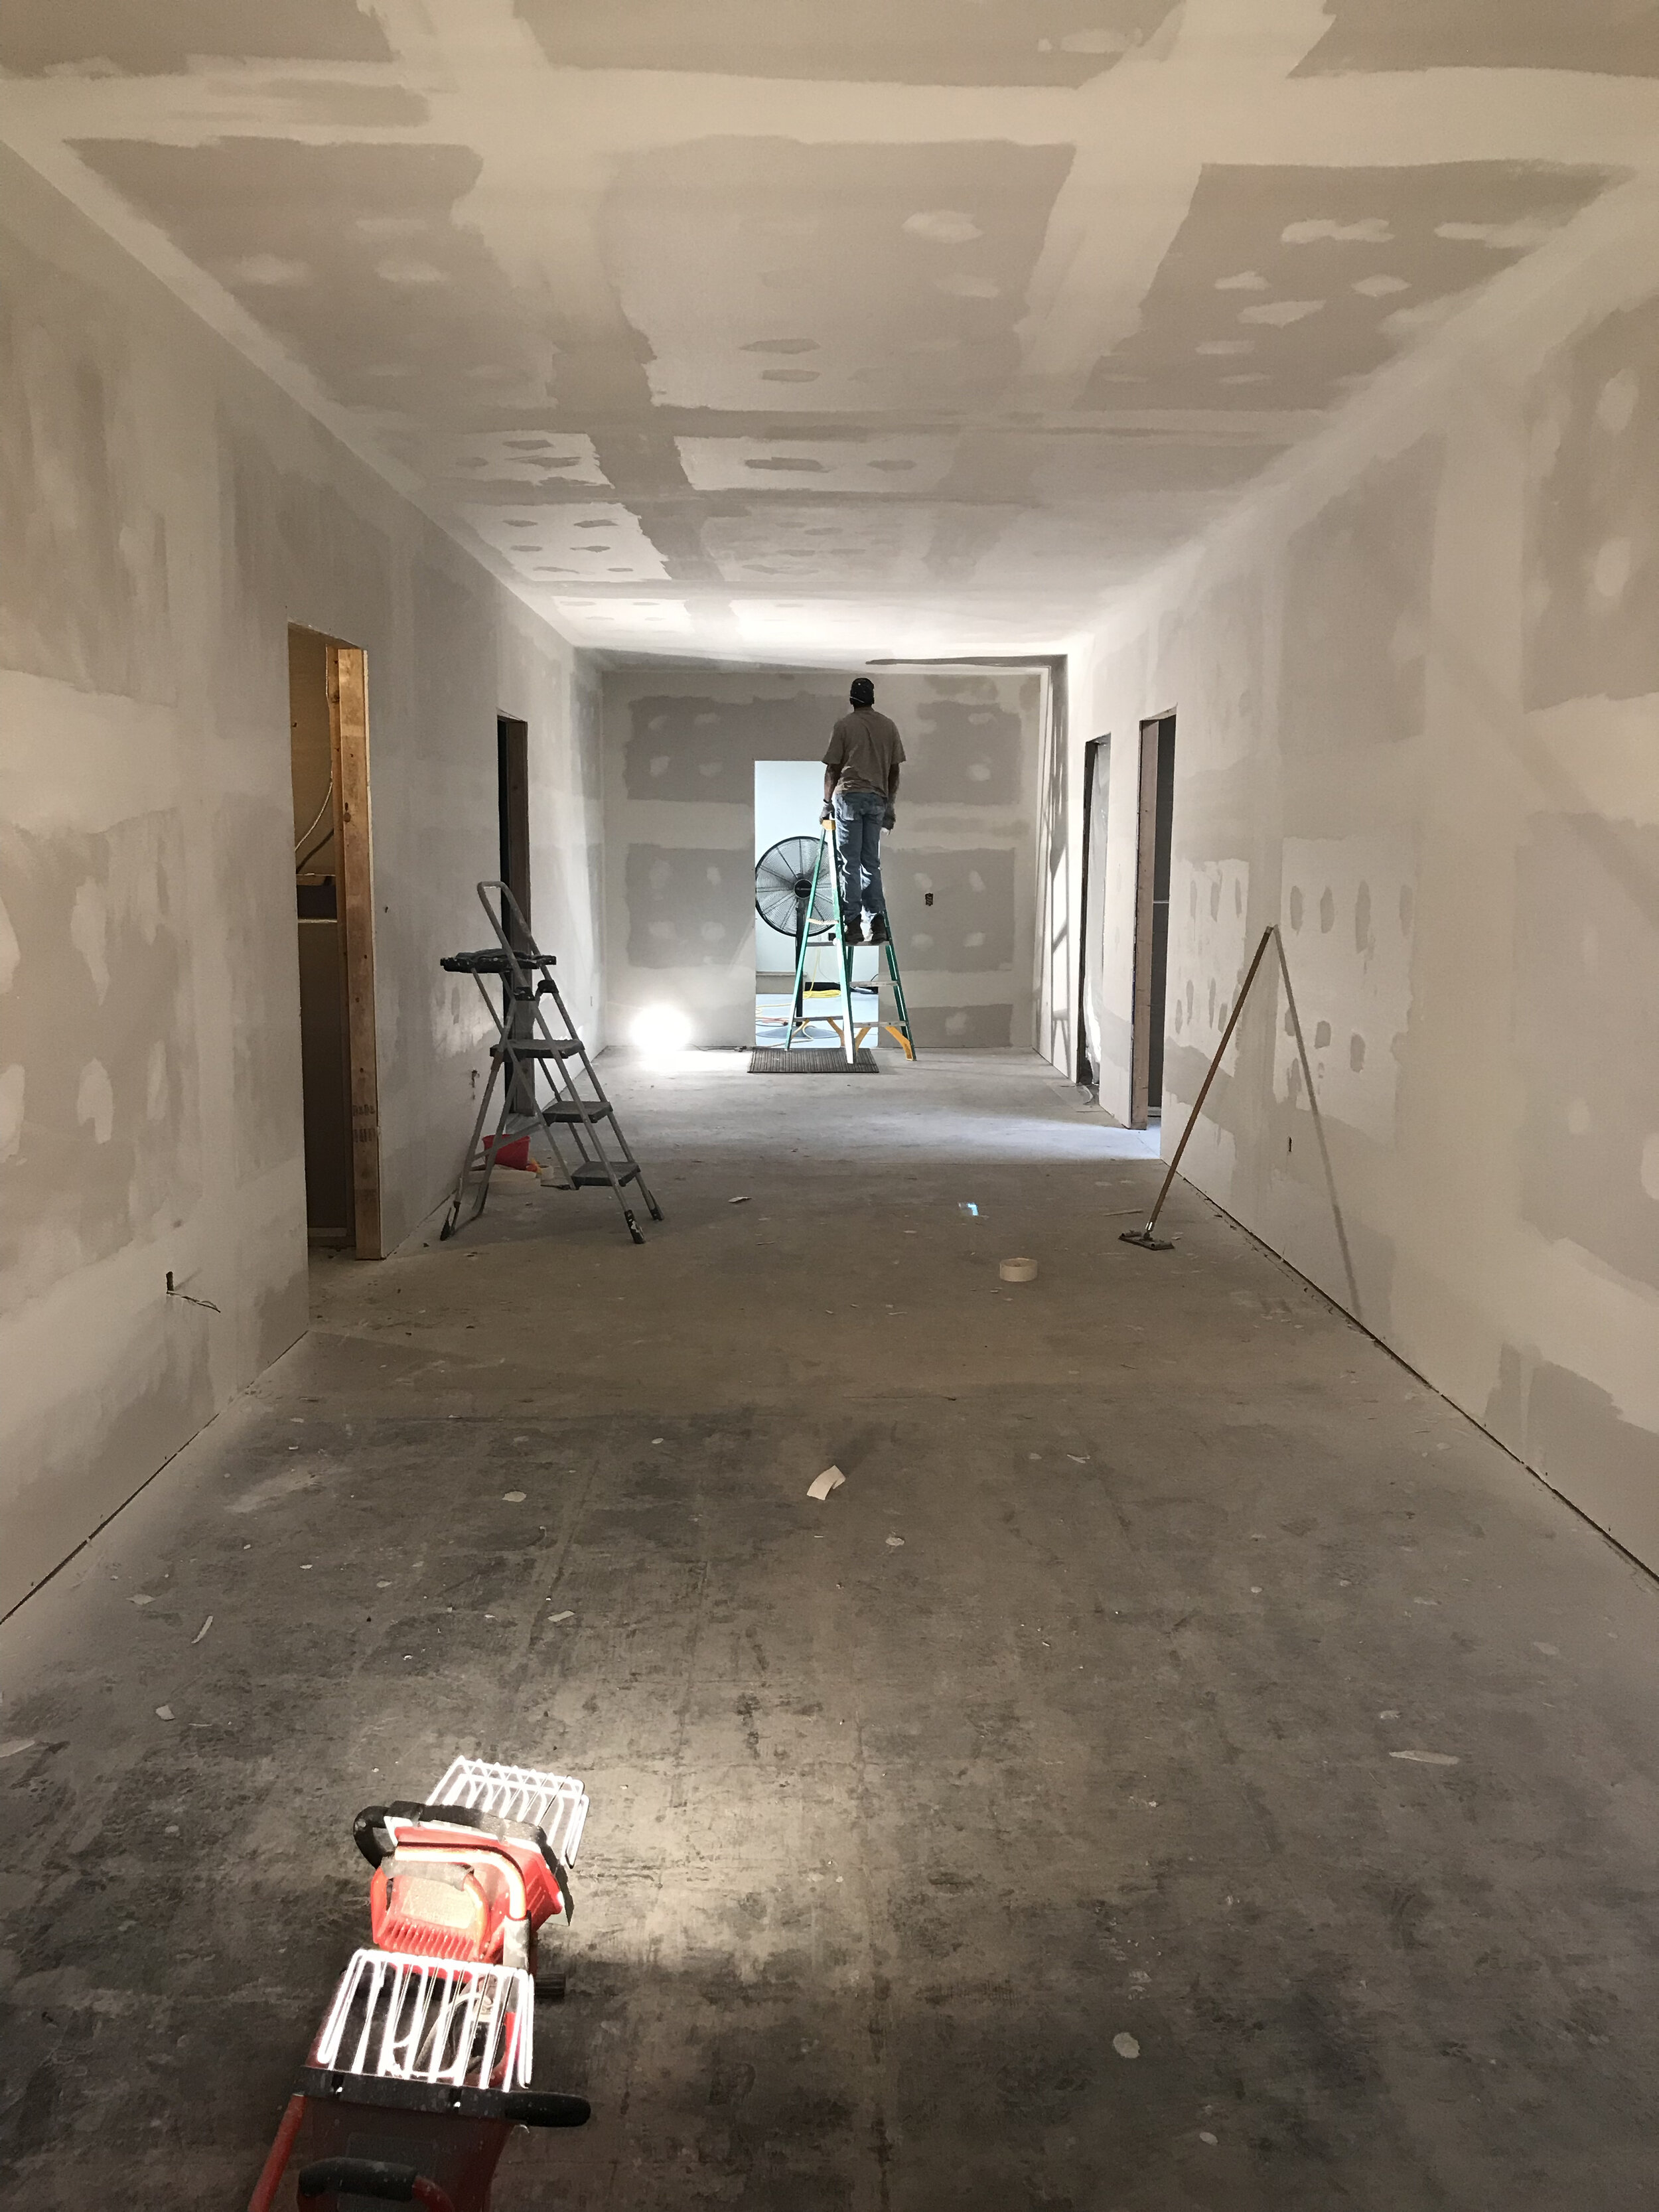
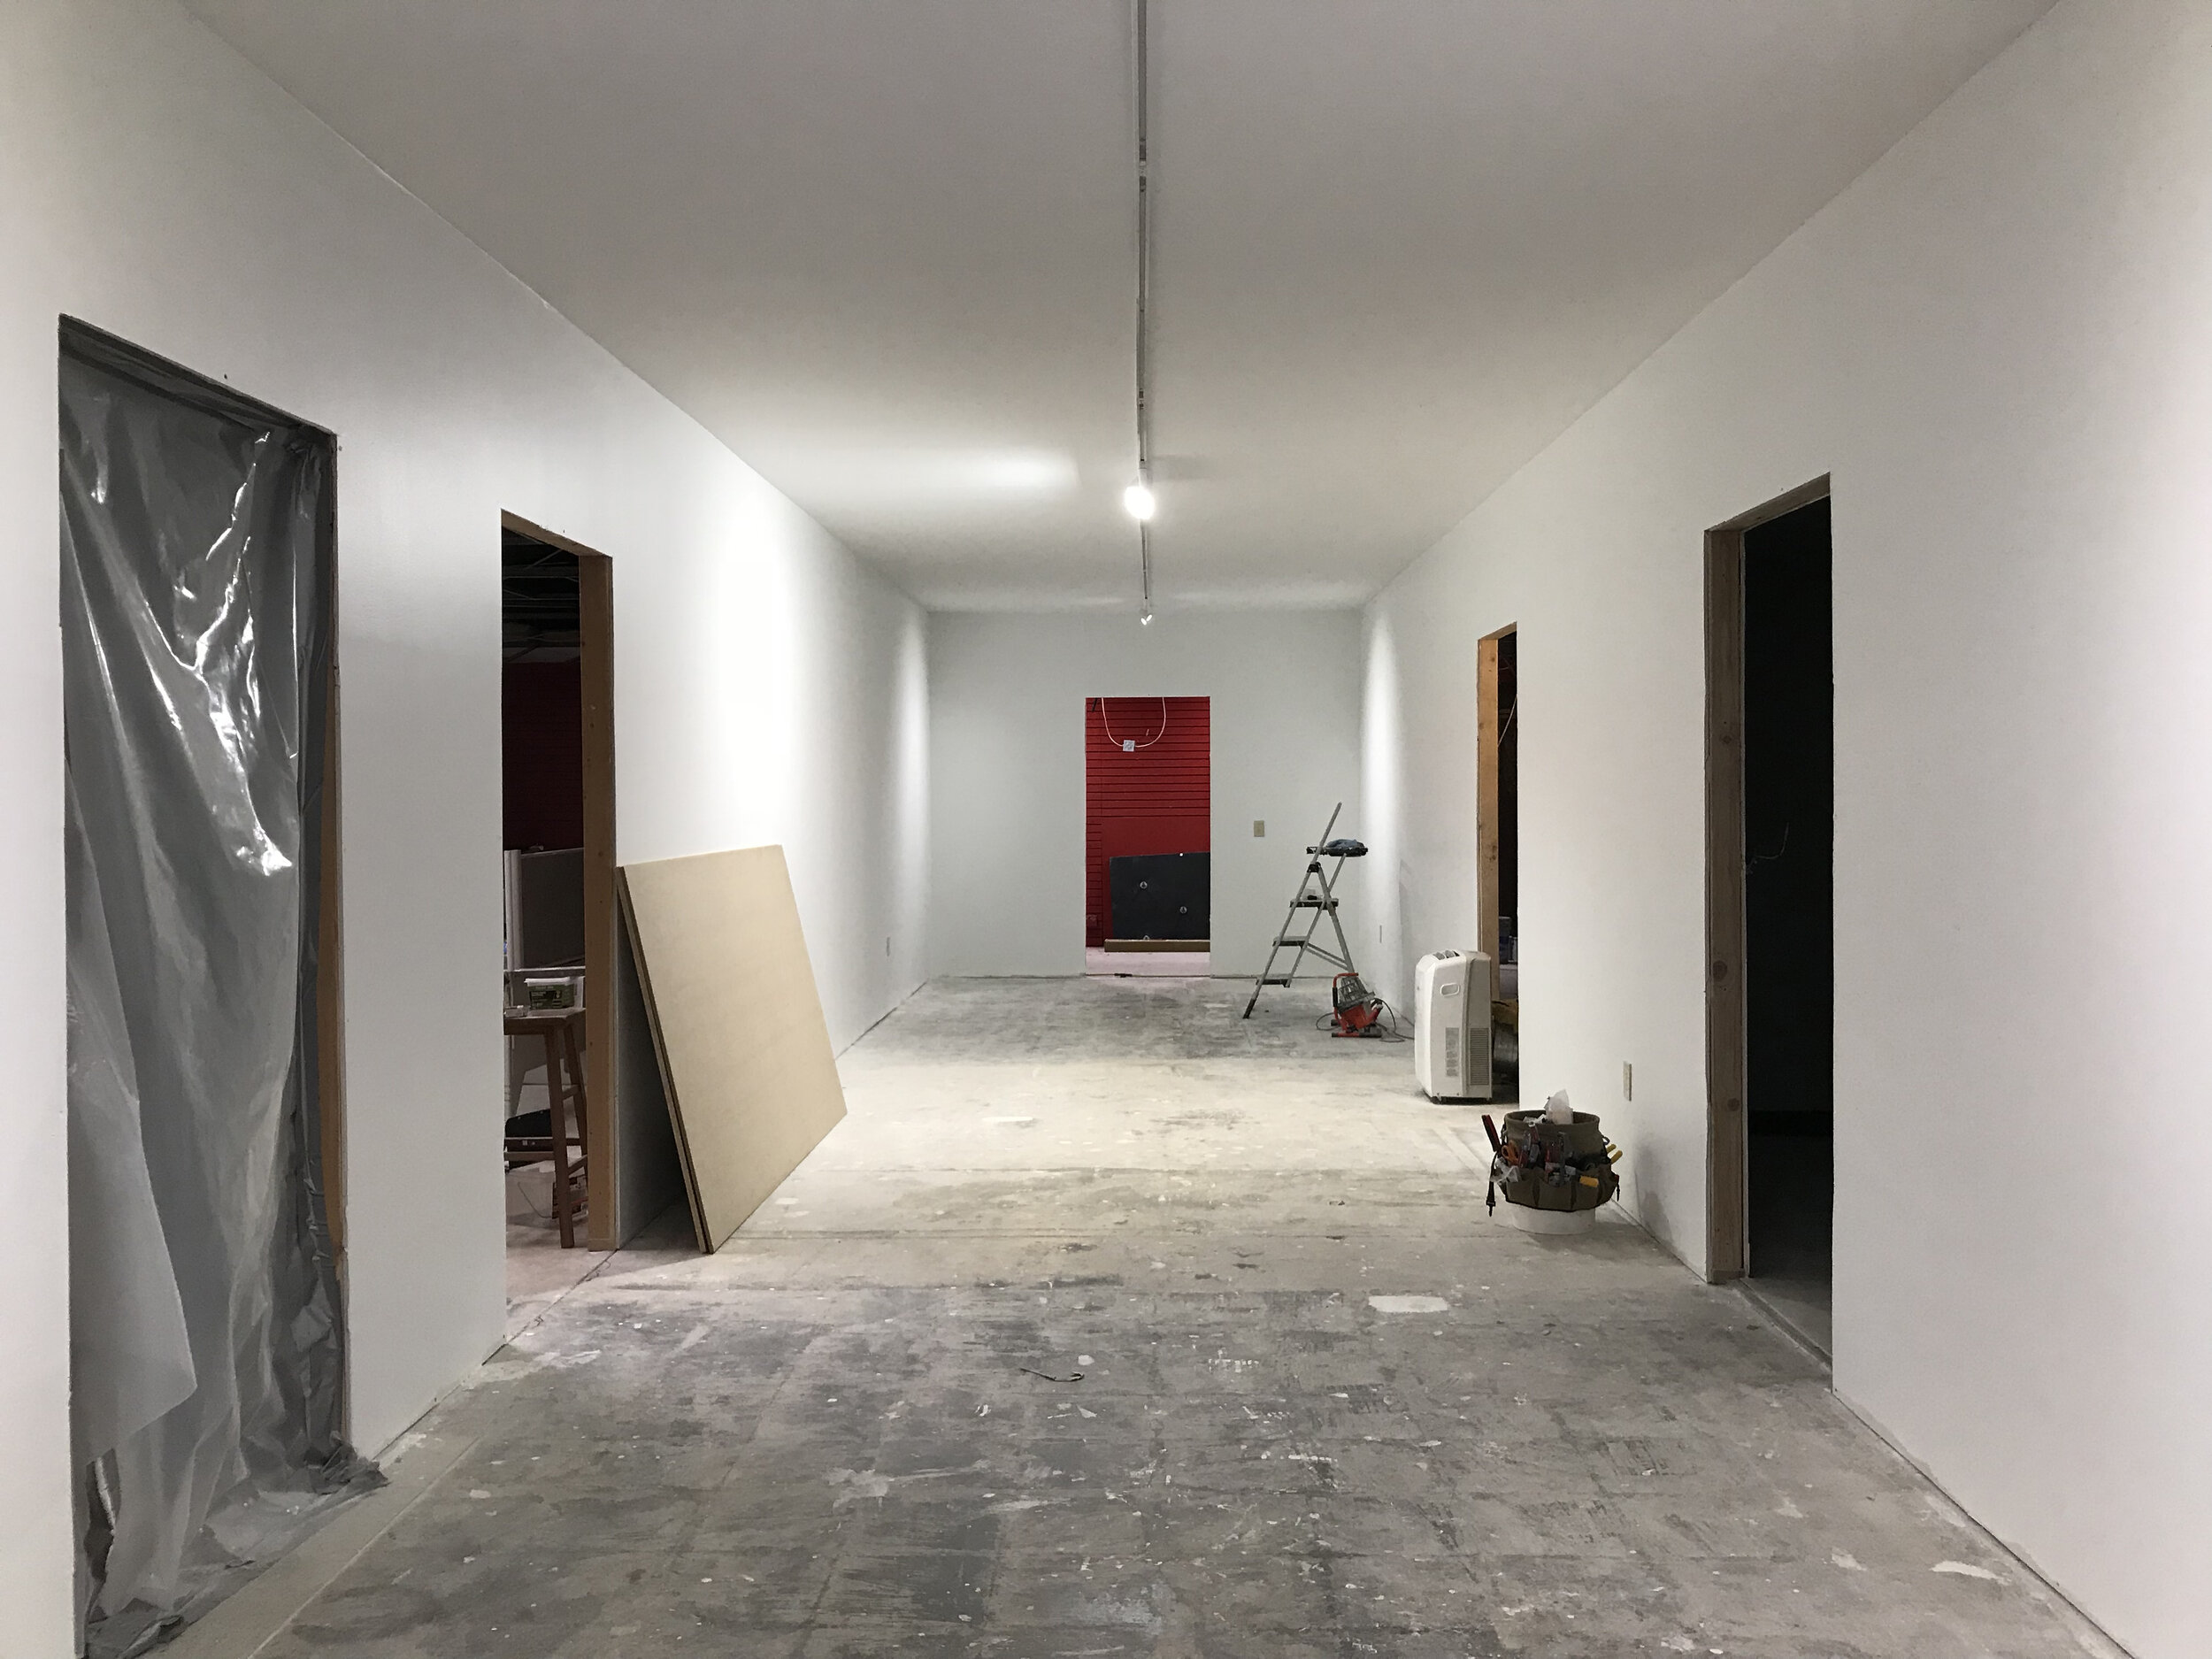
We raised the ceiling outside the darkroom in the dry working space to 10 feet and put in a strip of track lighting. At the time we were planning for that space, I really didn’t have much of a use for it, so I figured that it would be a good place to hang finished pieces, but it quickly became filled with useful equipment.
Putting it all Together
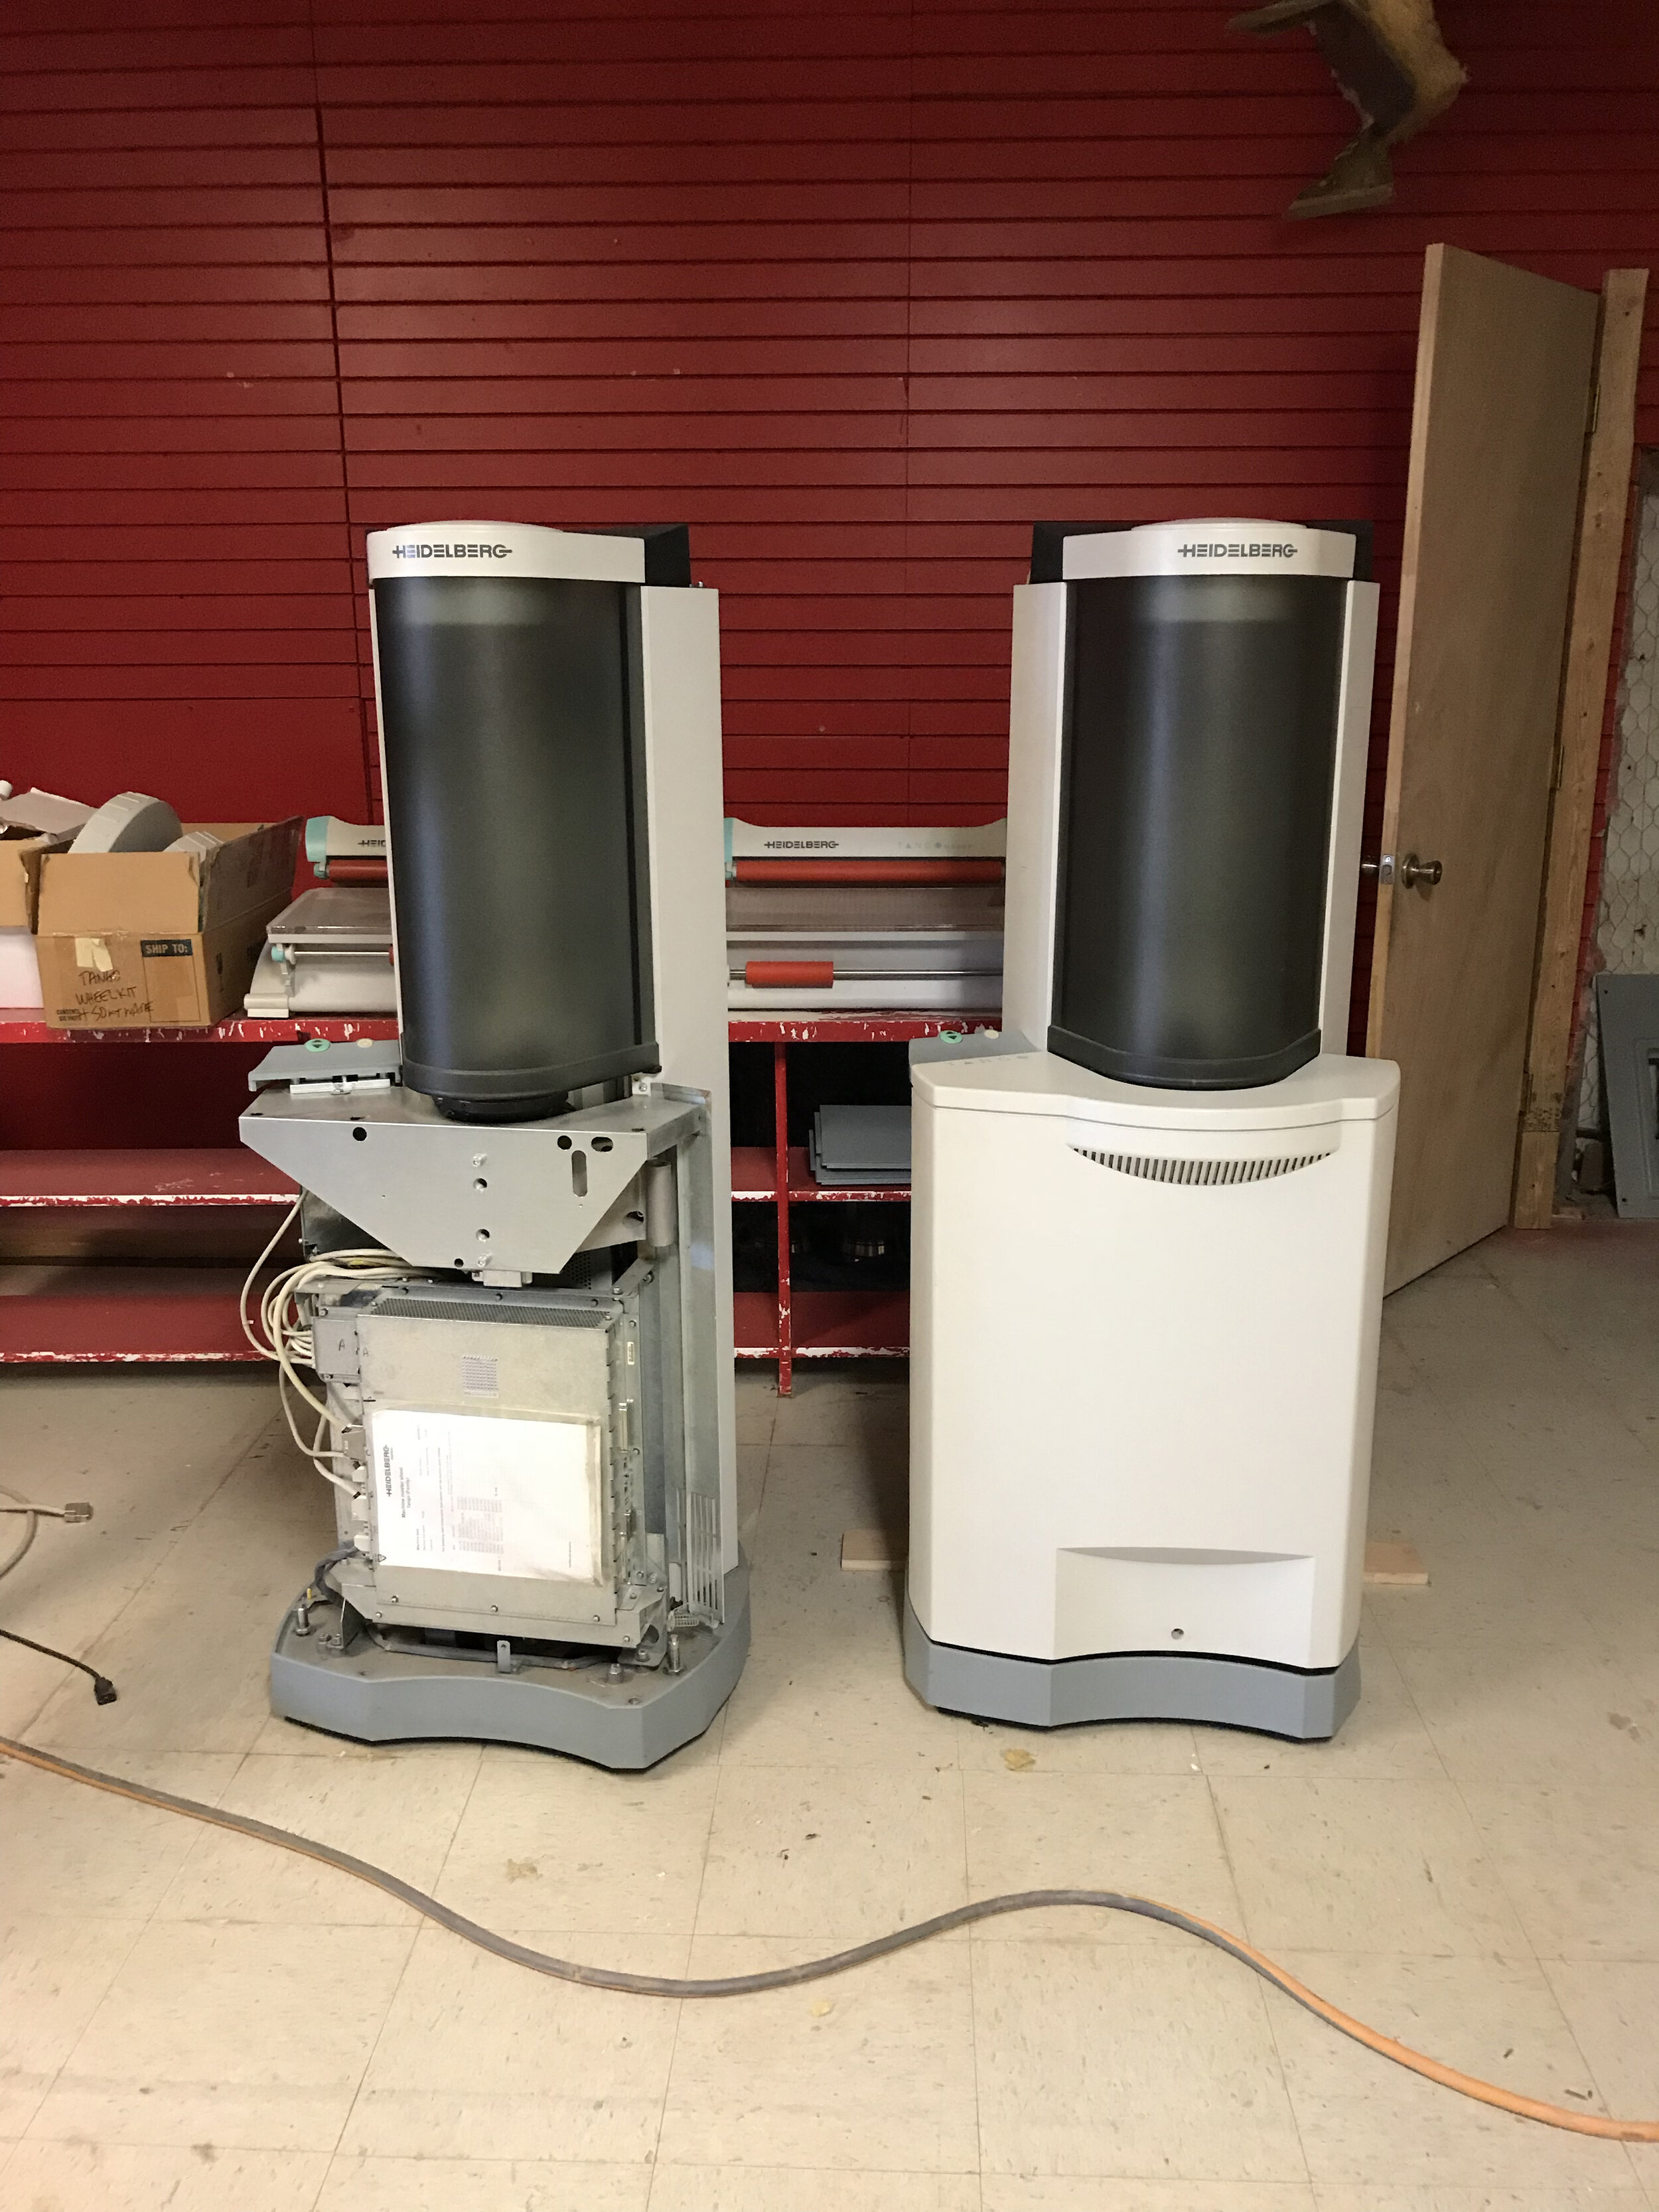
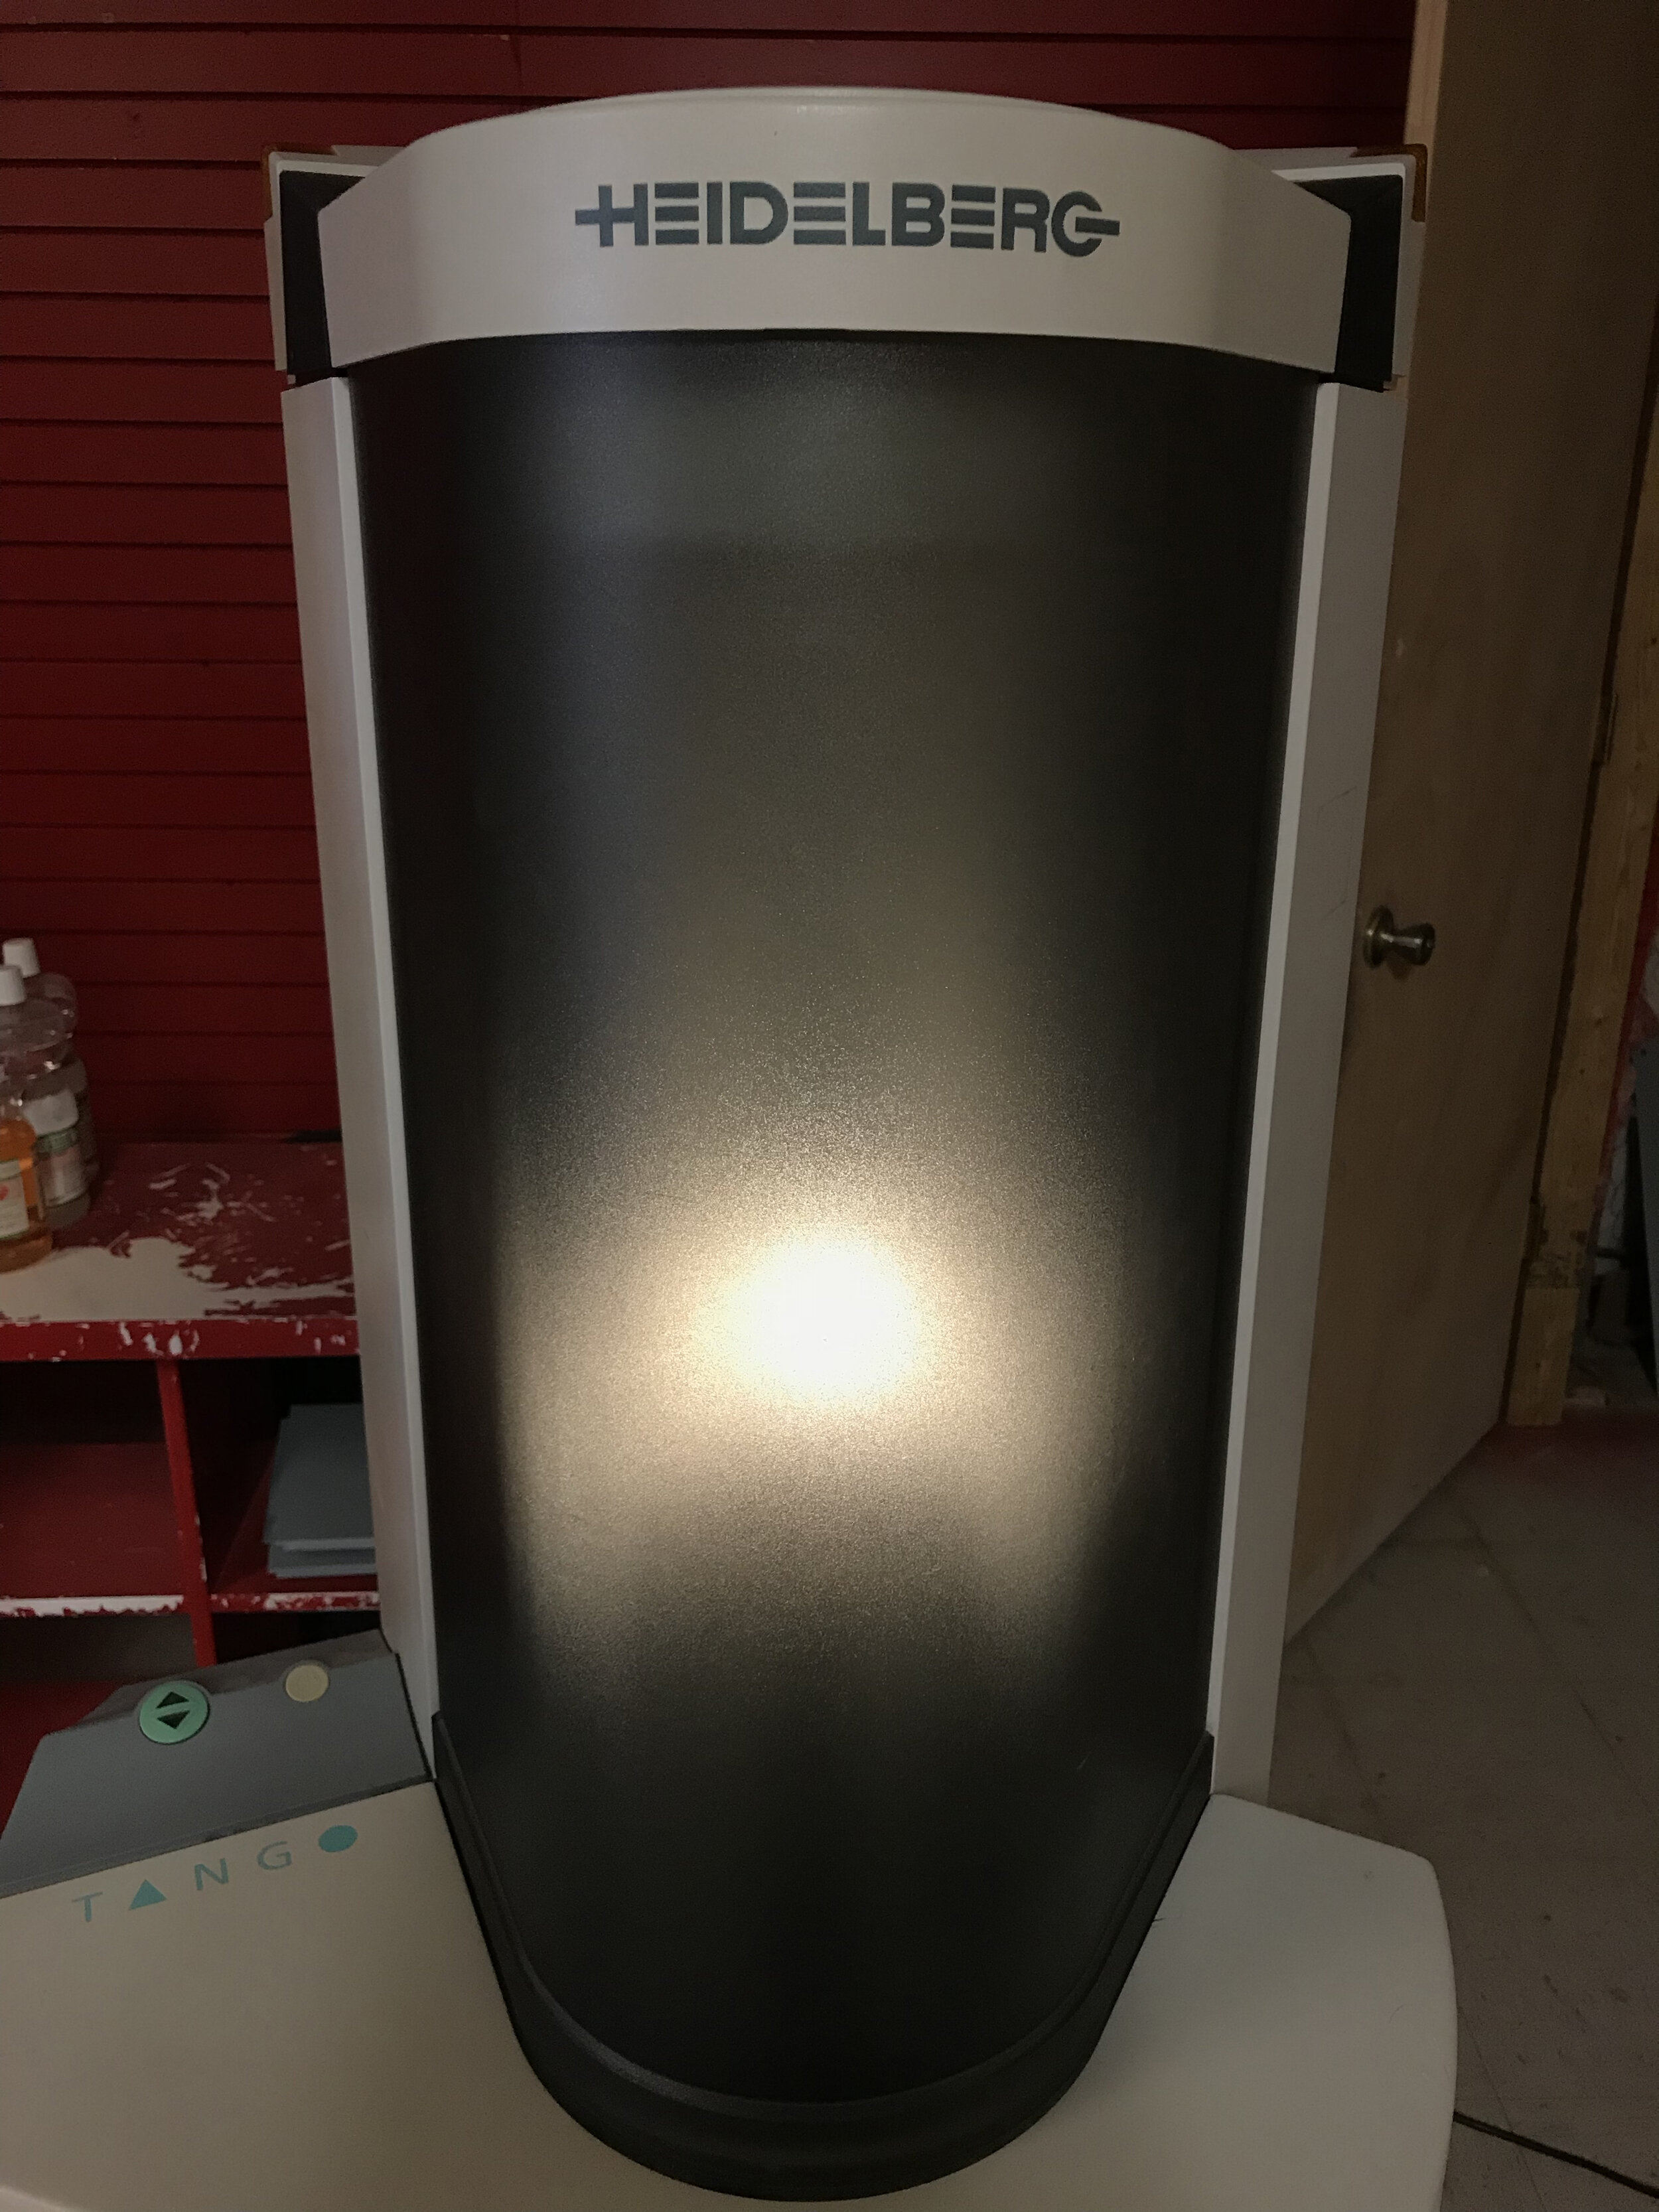
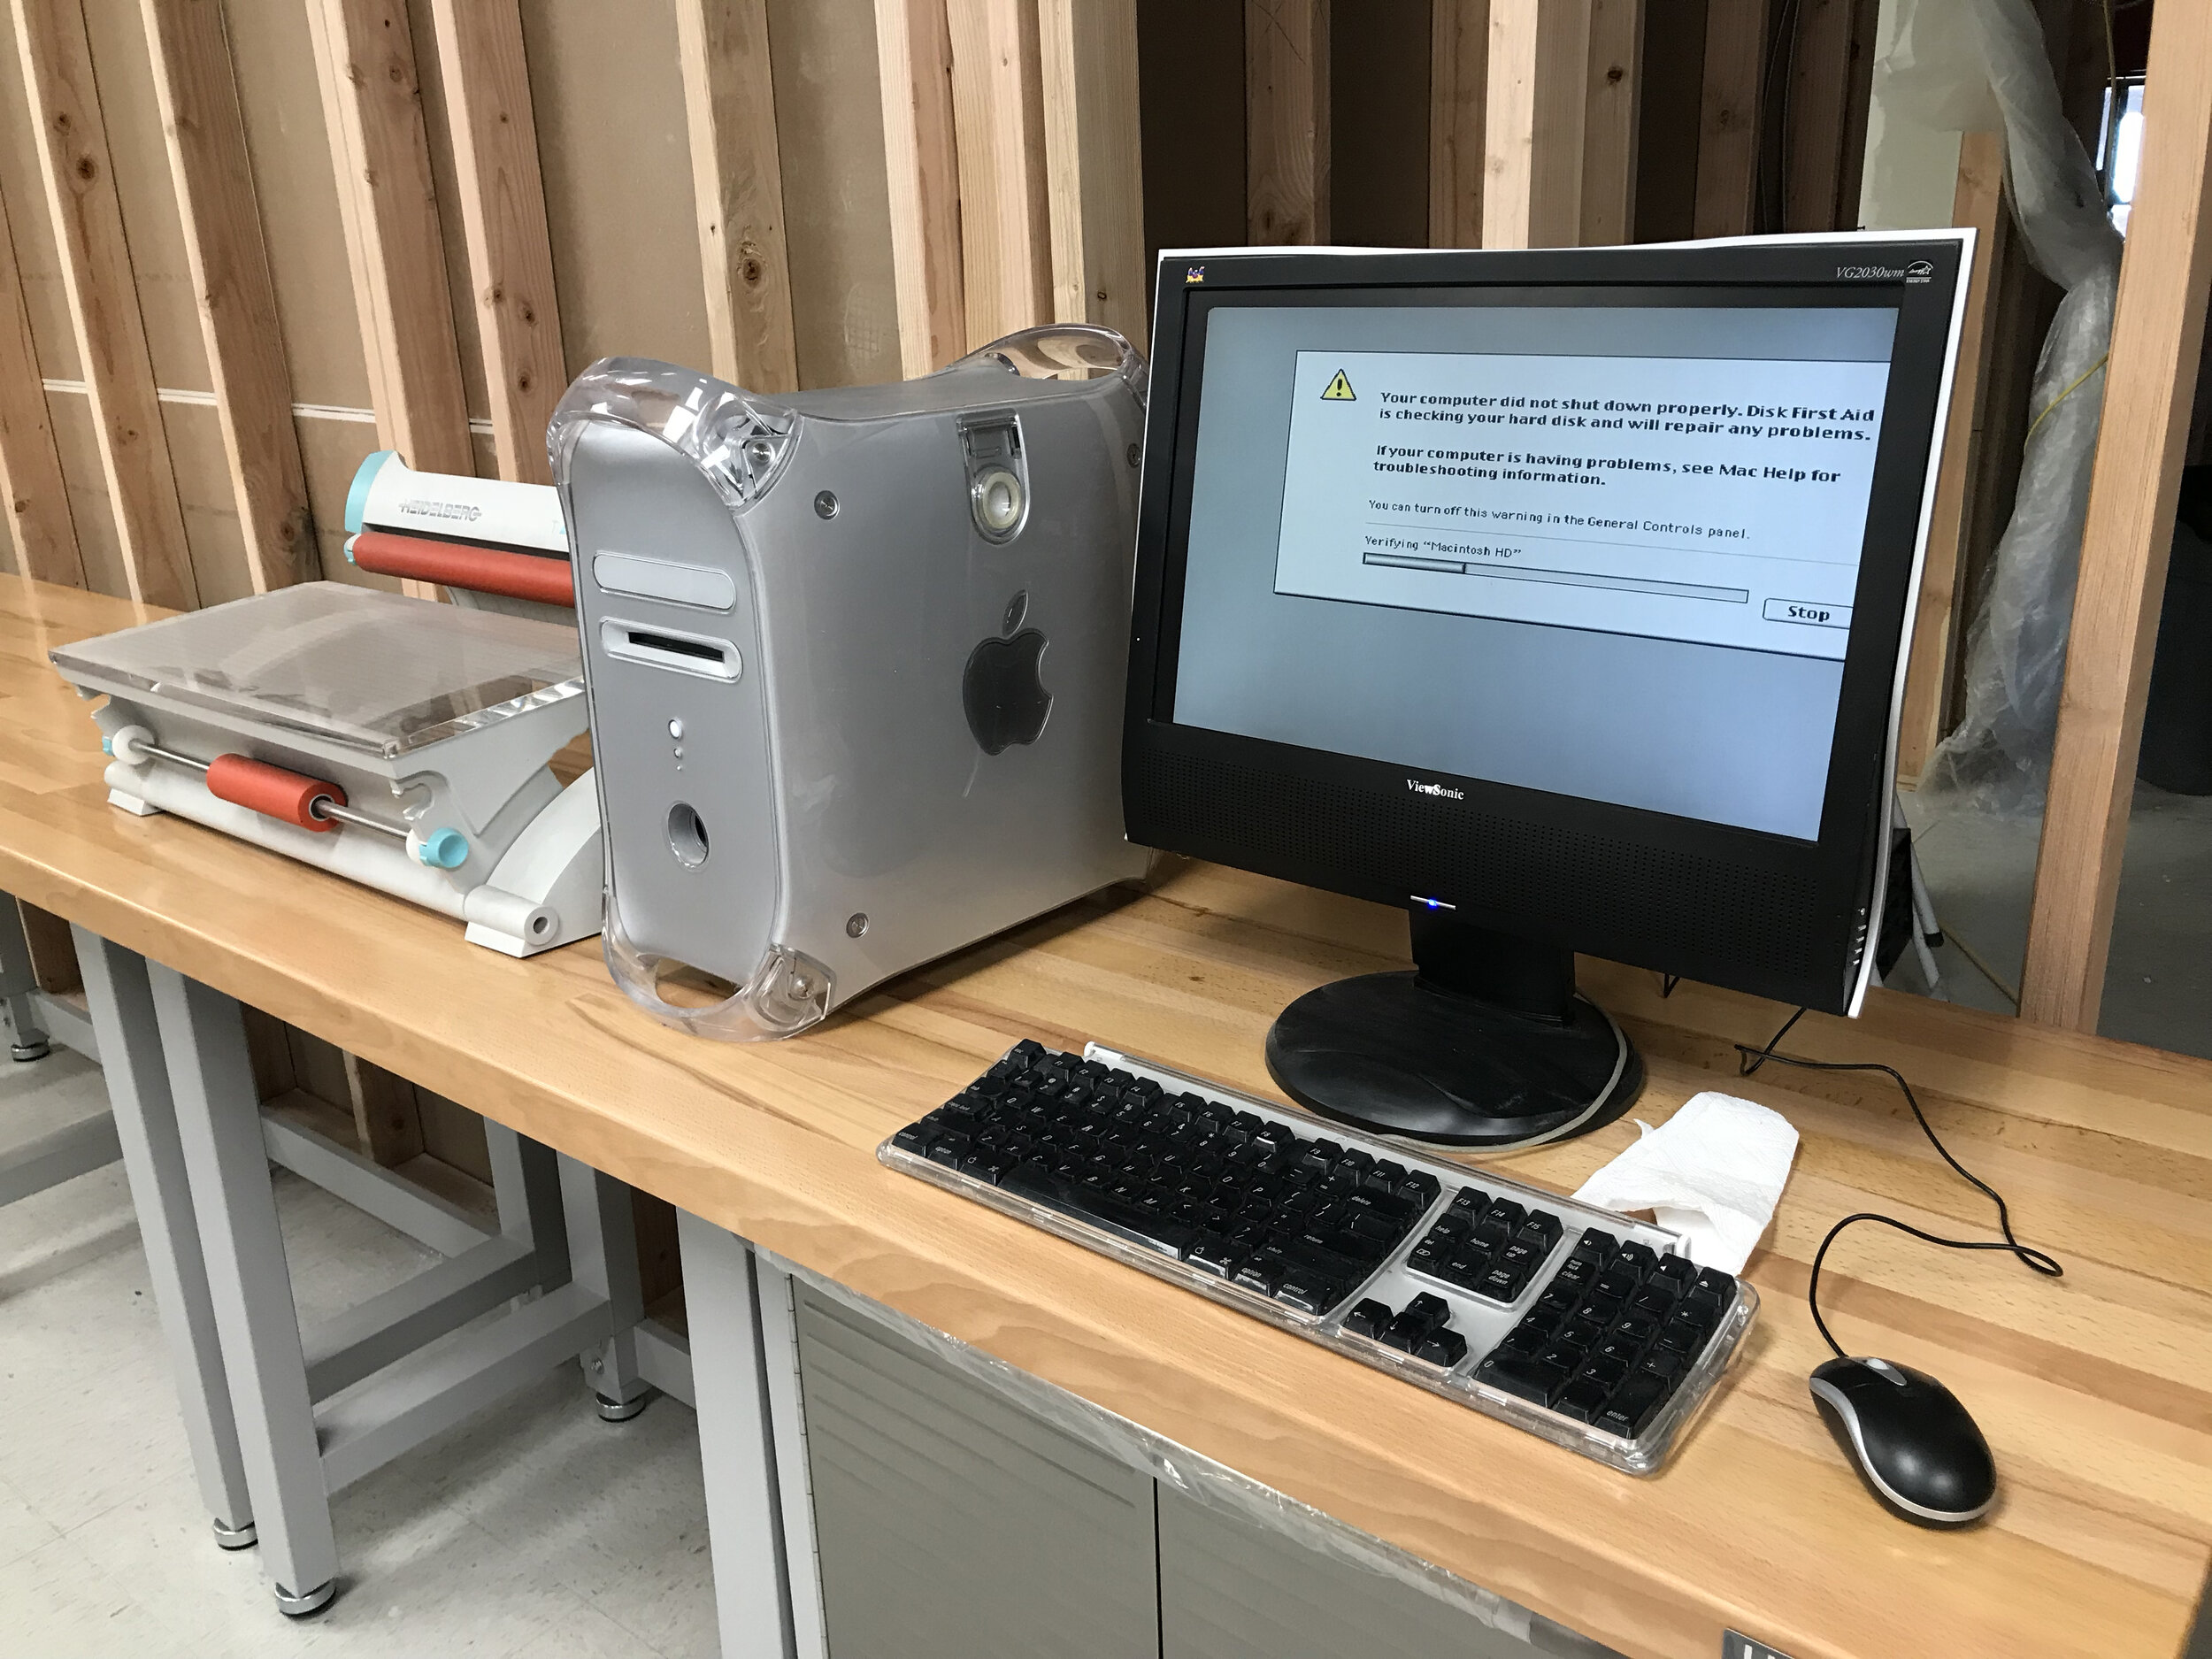
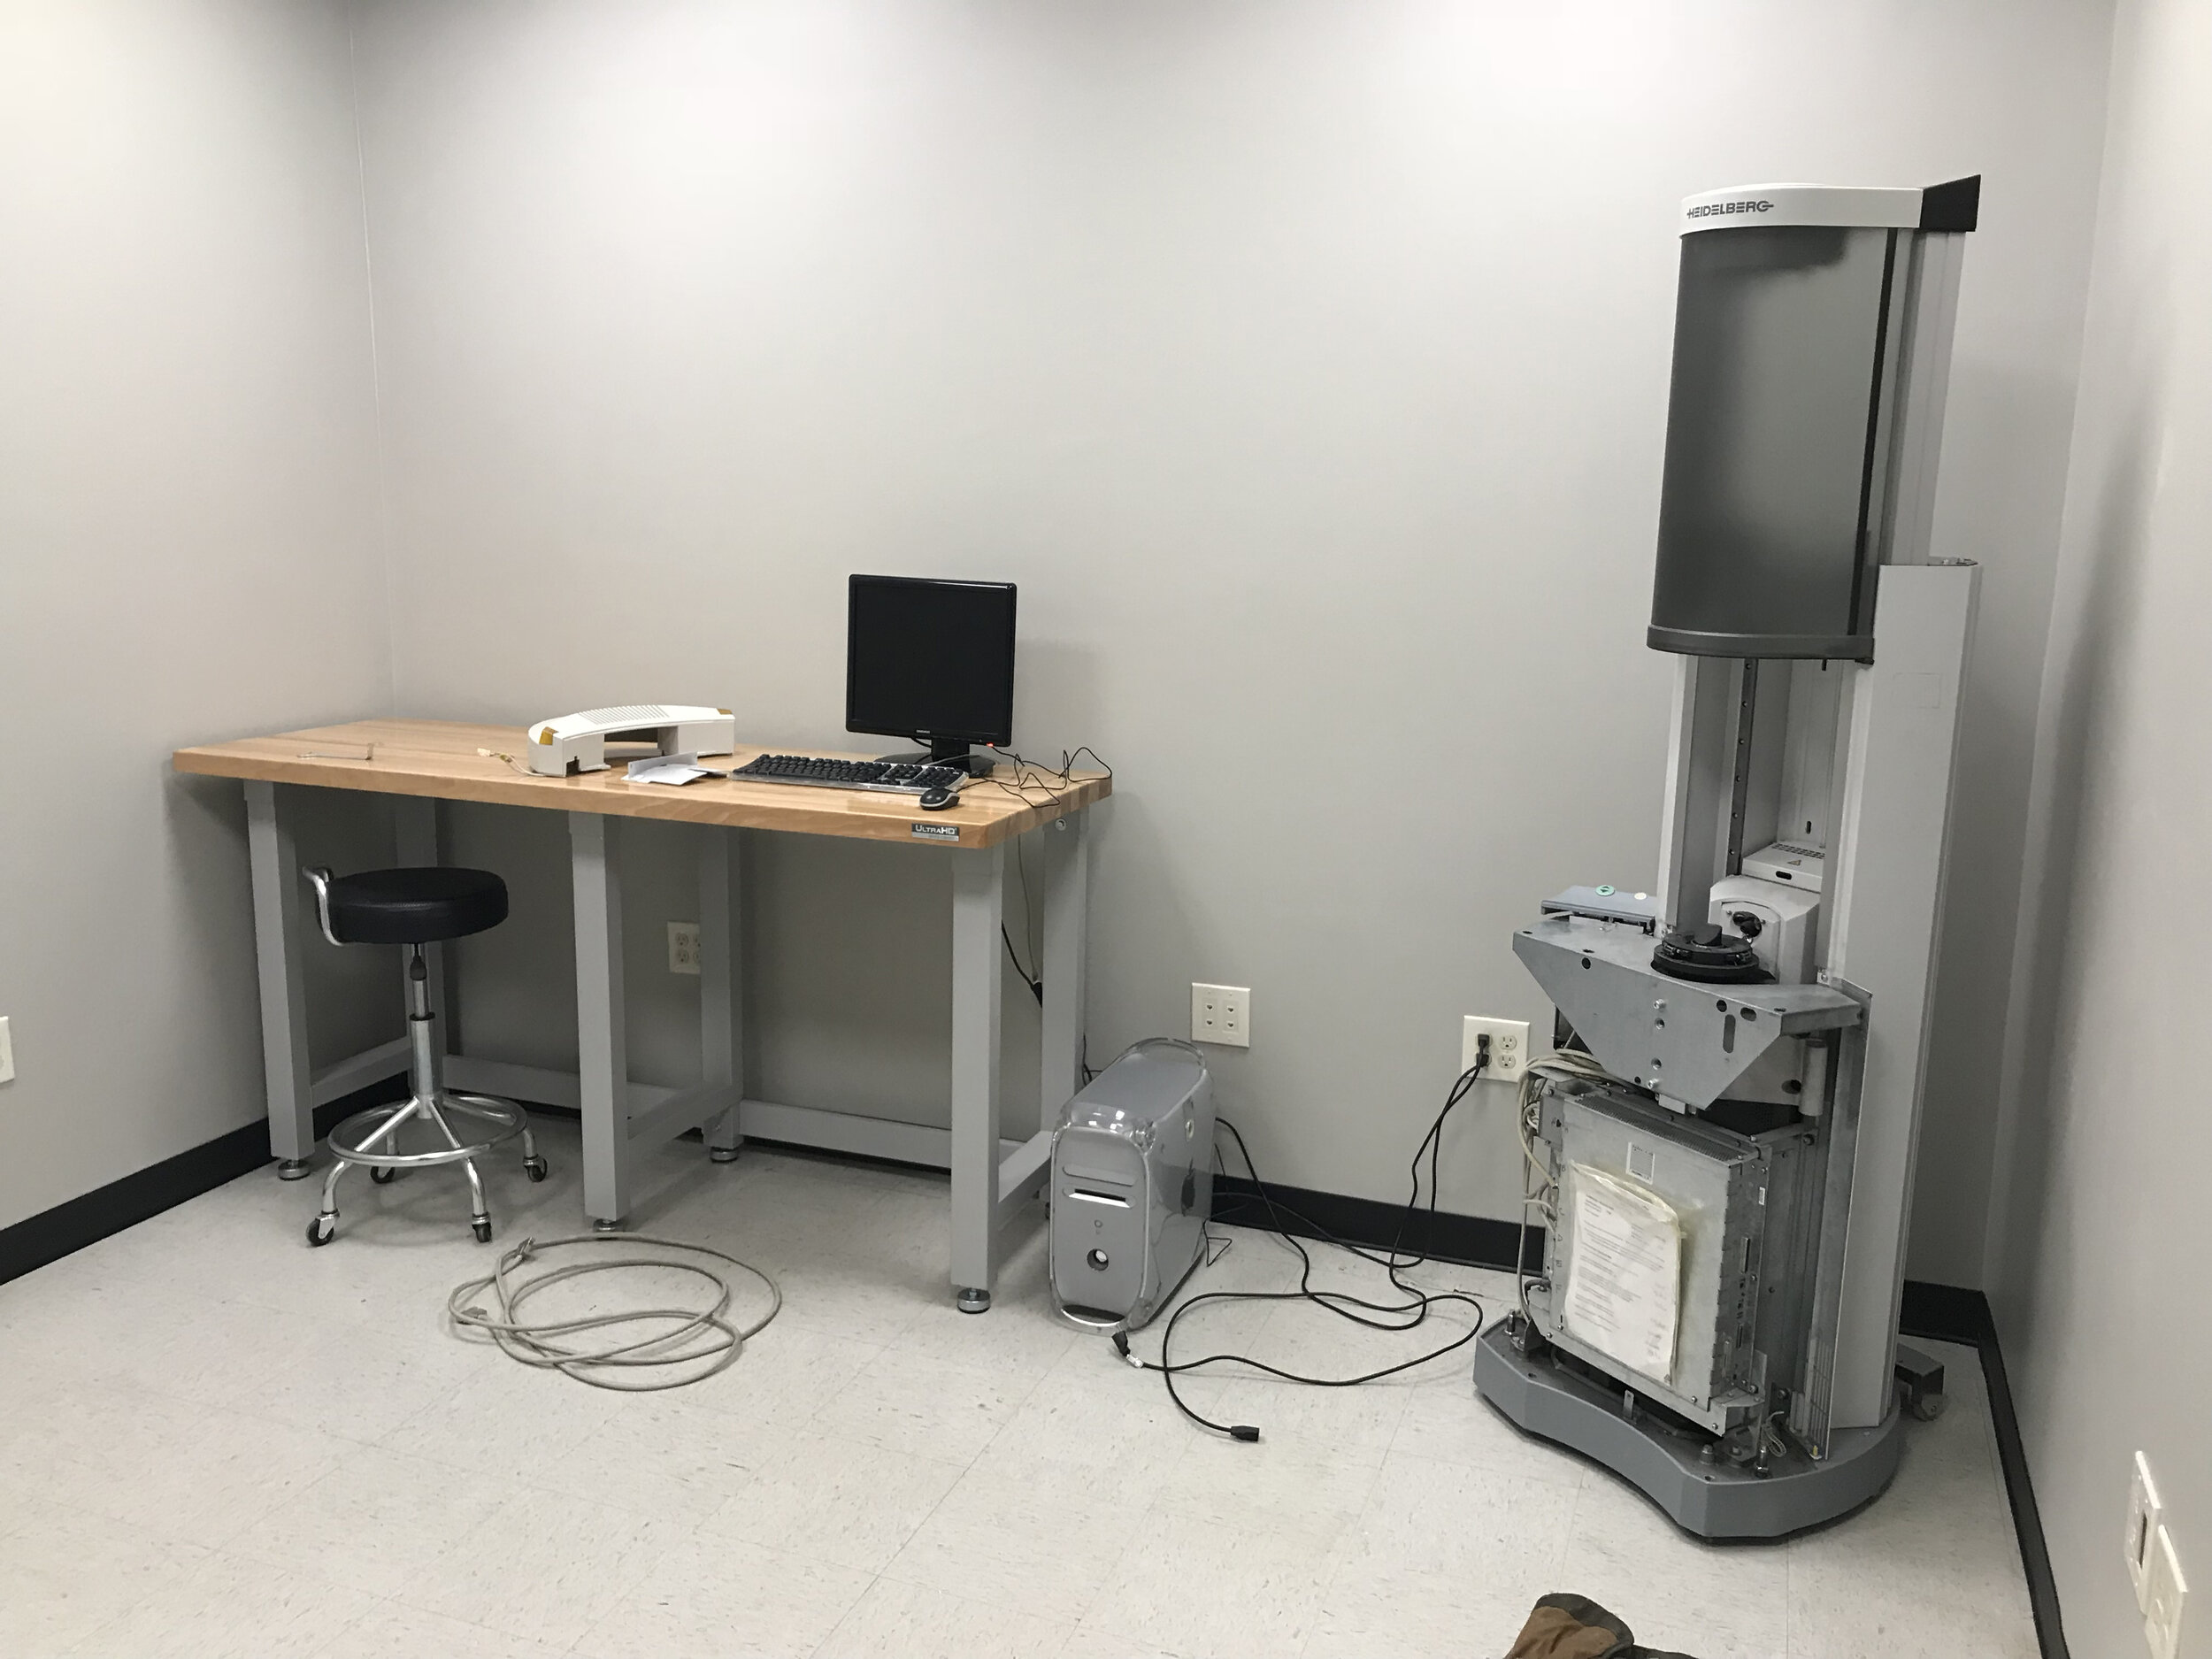
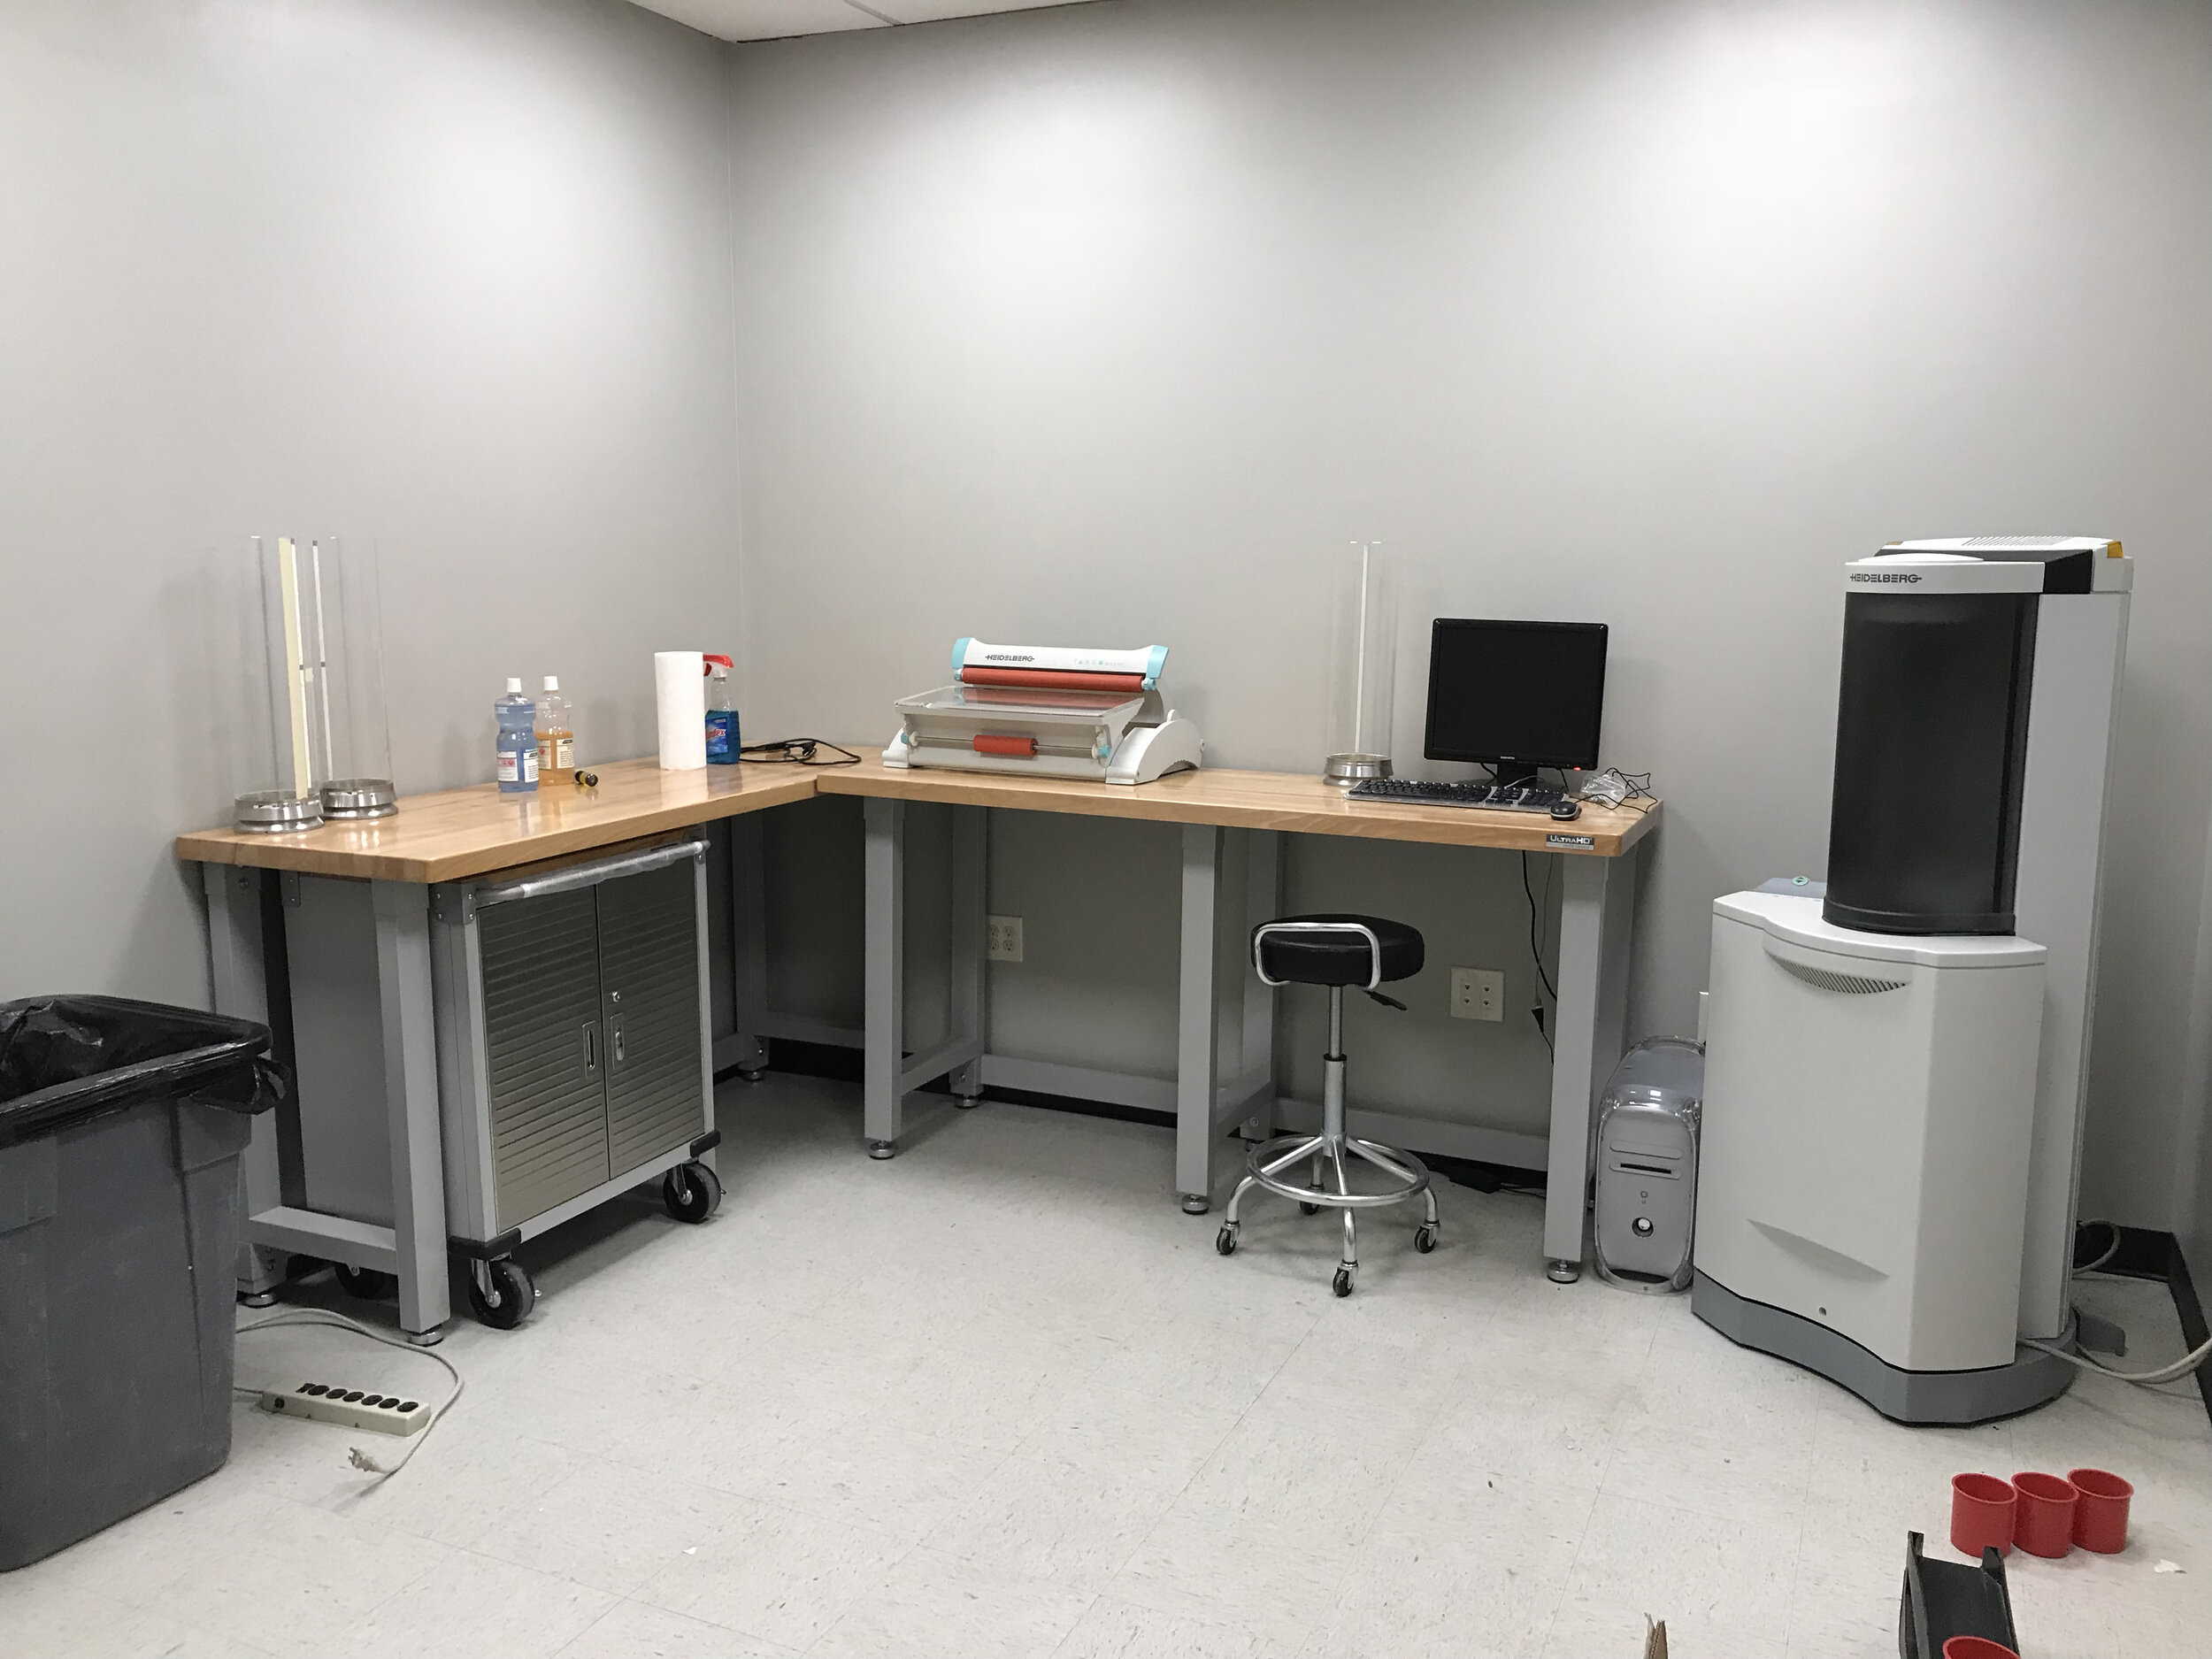
The scanning room was our first priority to finish, as I had Hudson Grafik coming in to service, refurbish, and setup the drum scanner.
There was no heat in the building, as the gas had been shut off years prior, so getting sheetrock mud to dry in an efficient amount of time was also a nightmare. What was supposed to take a matter of a few days to finish the room ended up taking a week, and when the service tech showed up for the Tango, we were in the process of moving in a few pieces of furniture and watching the paint dry.
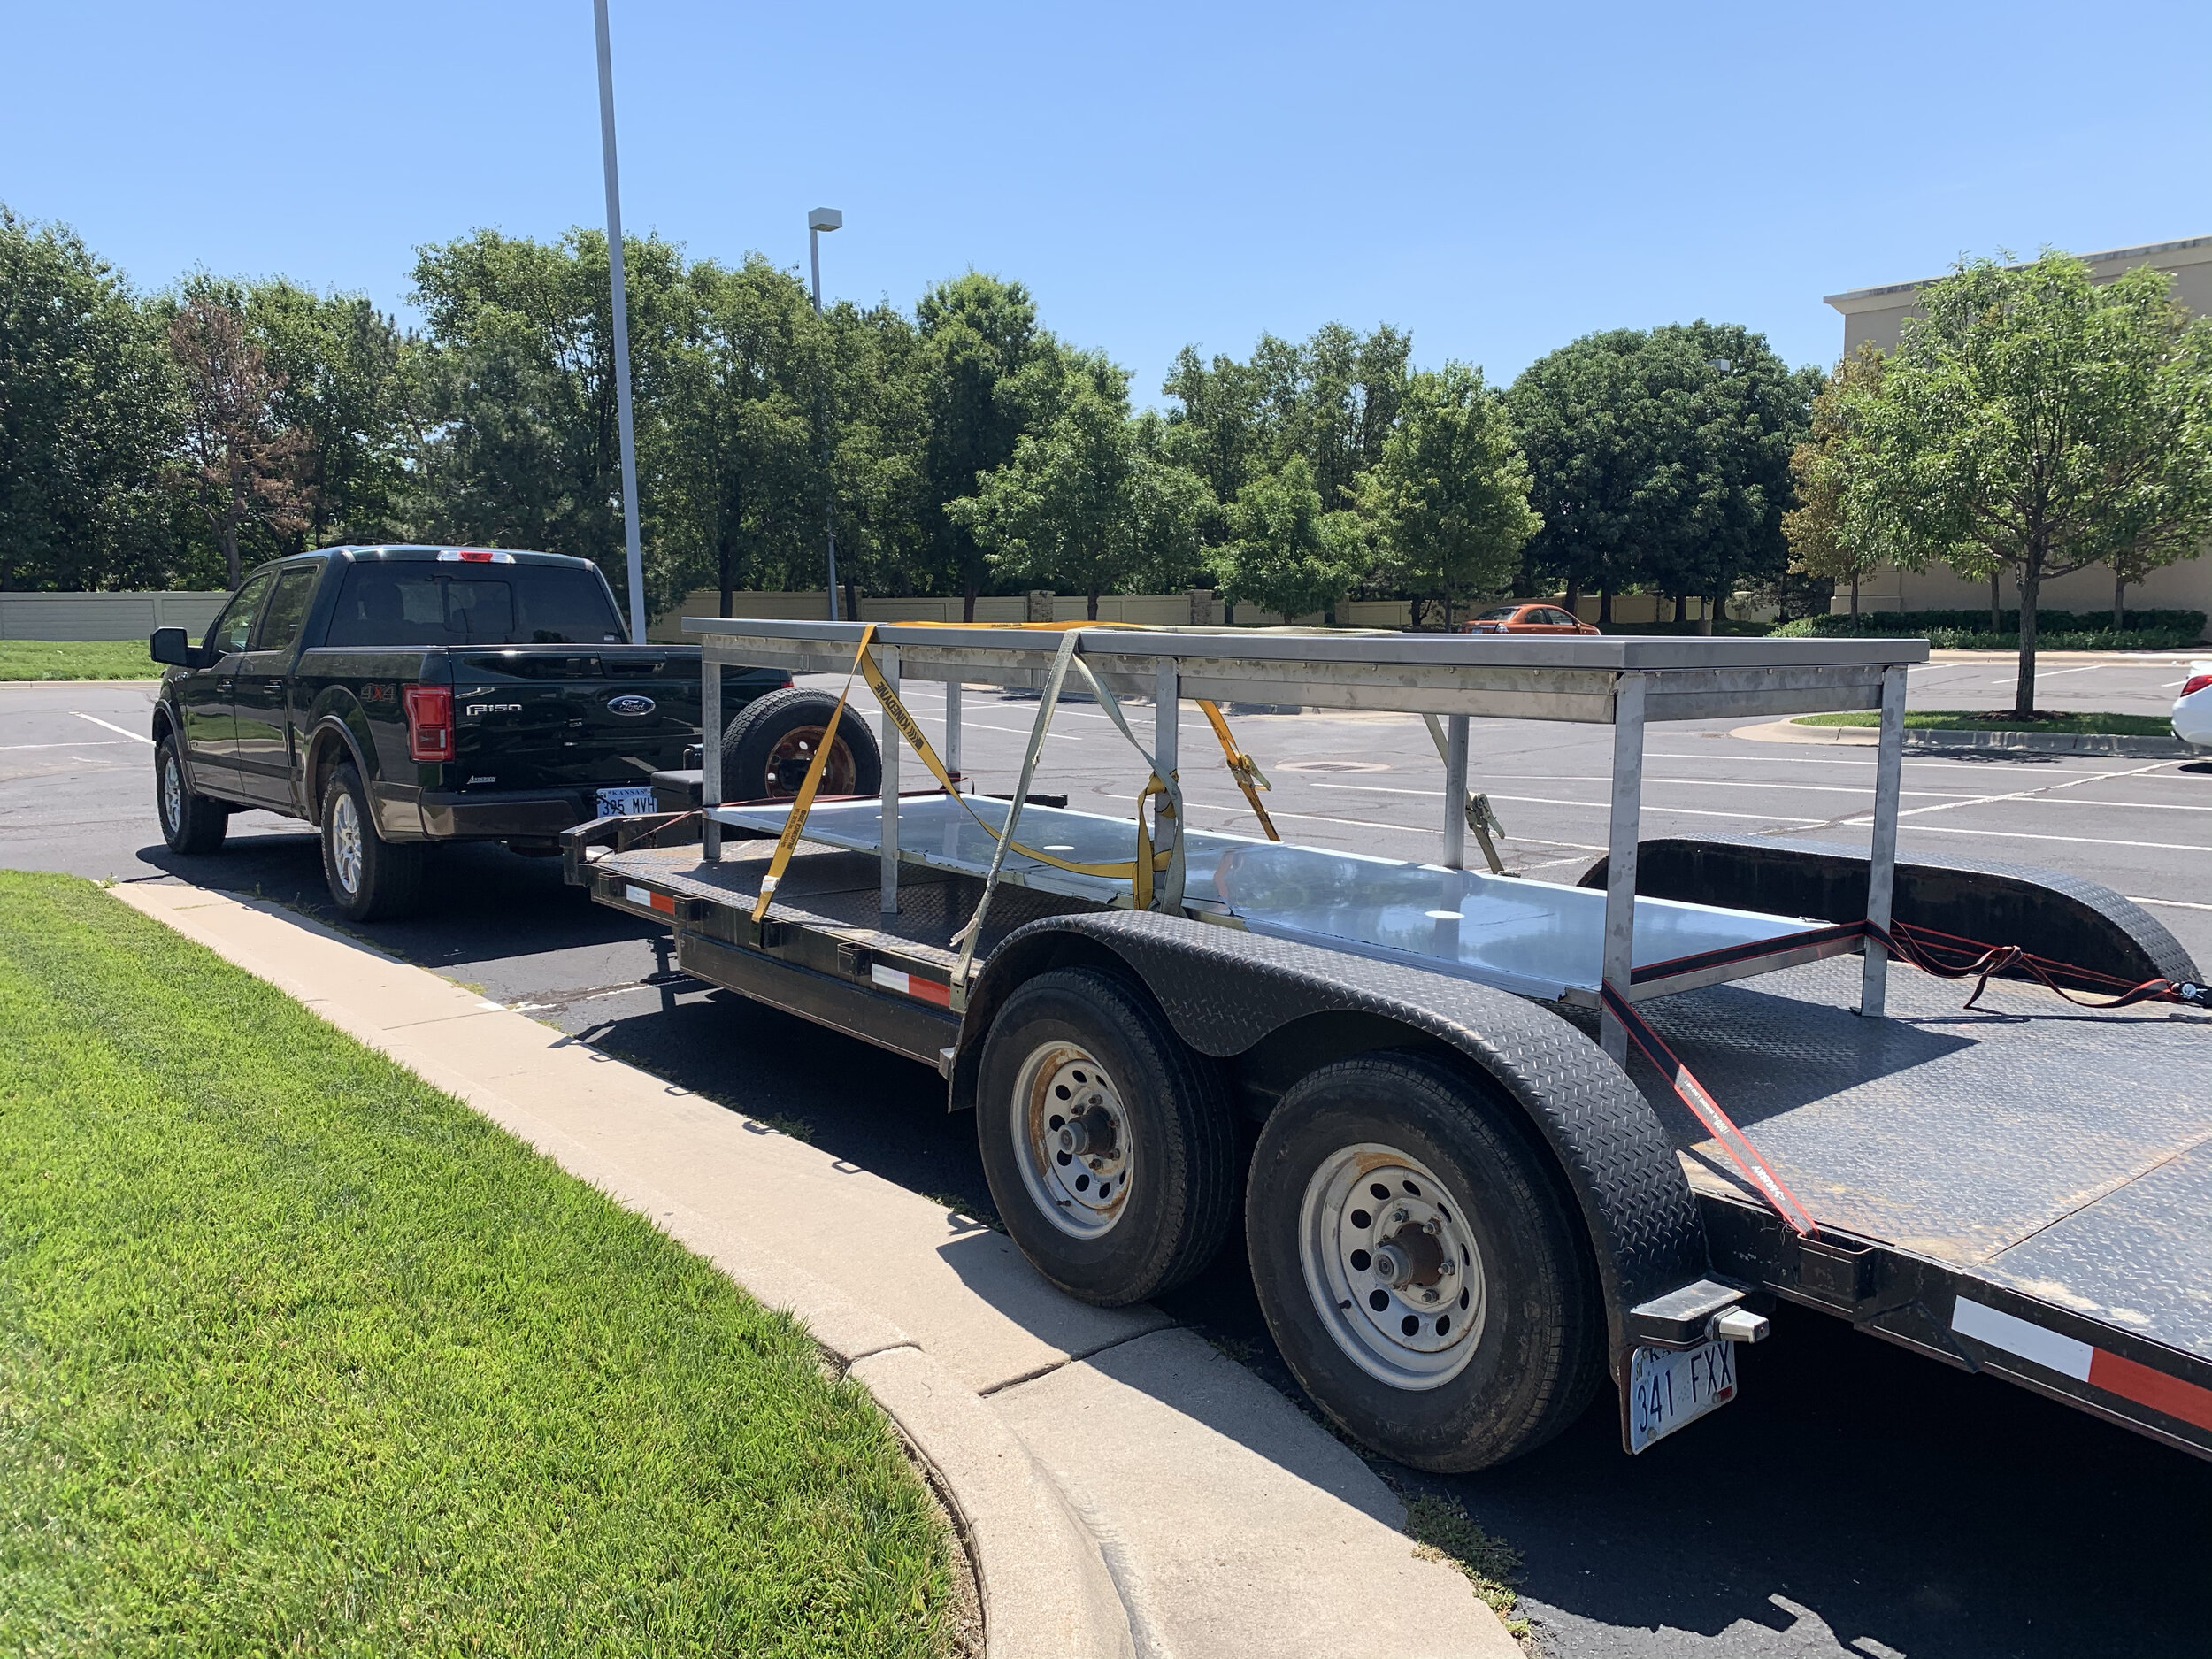
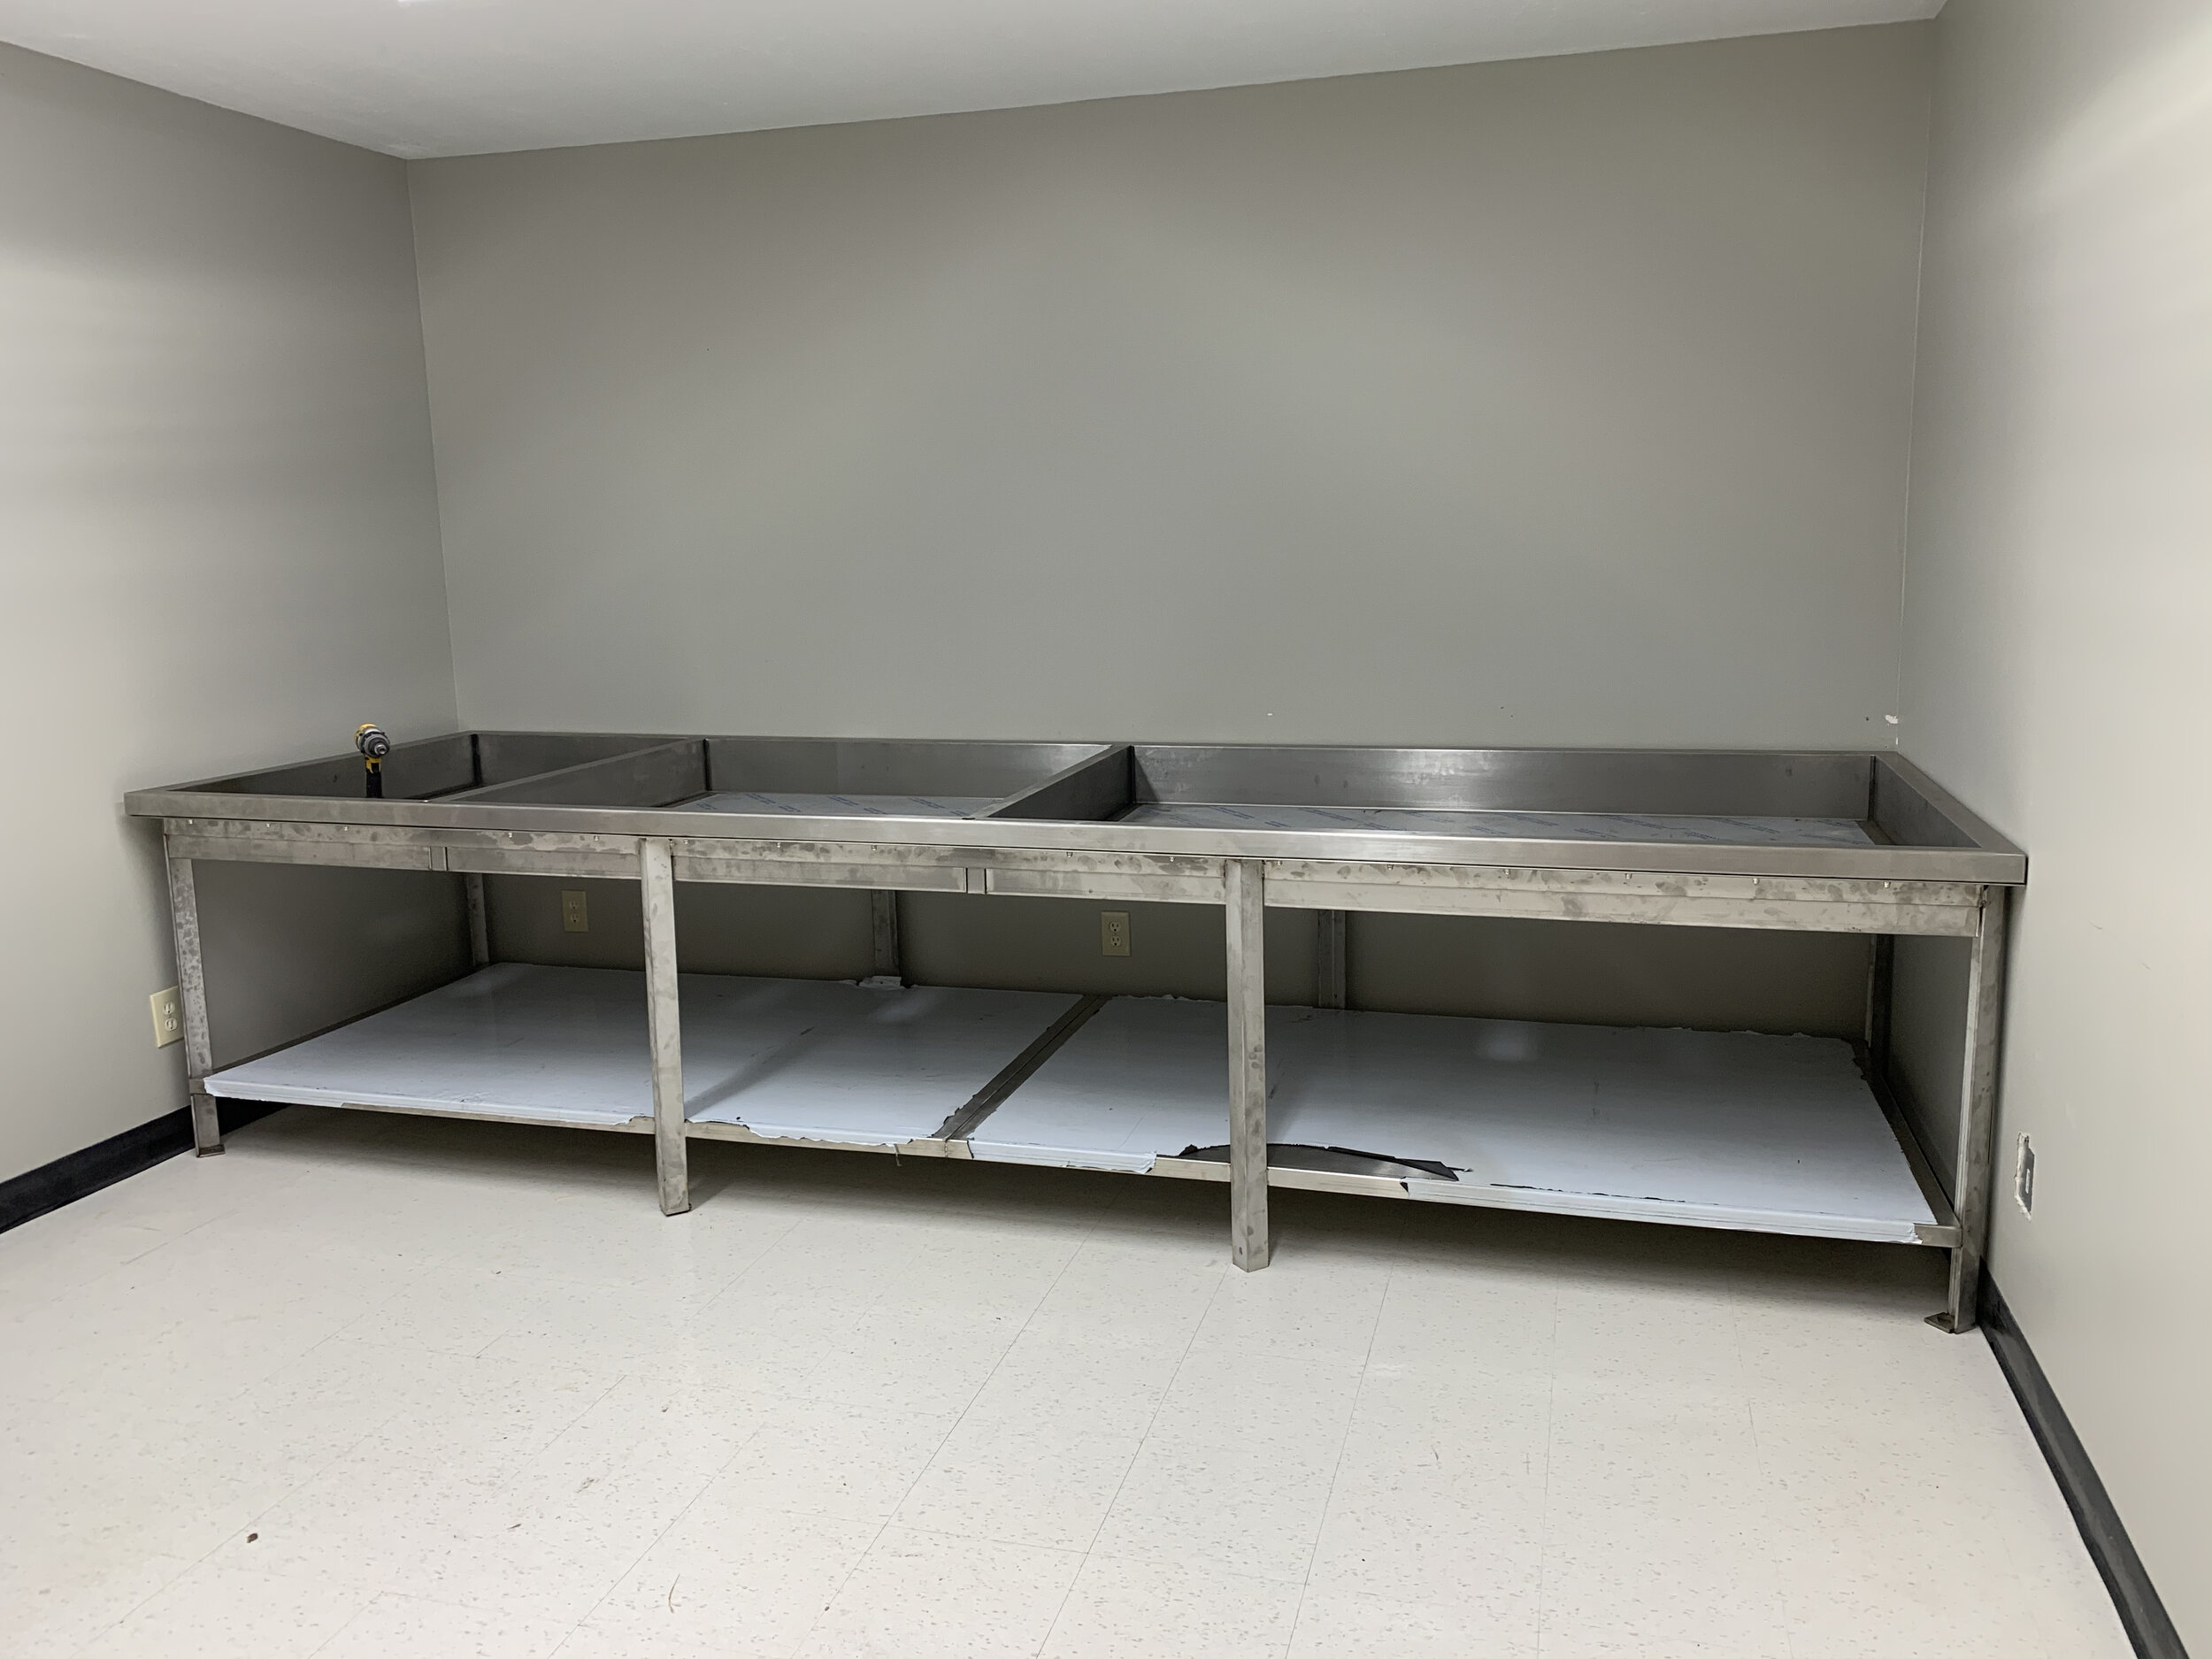
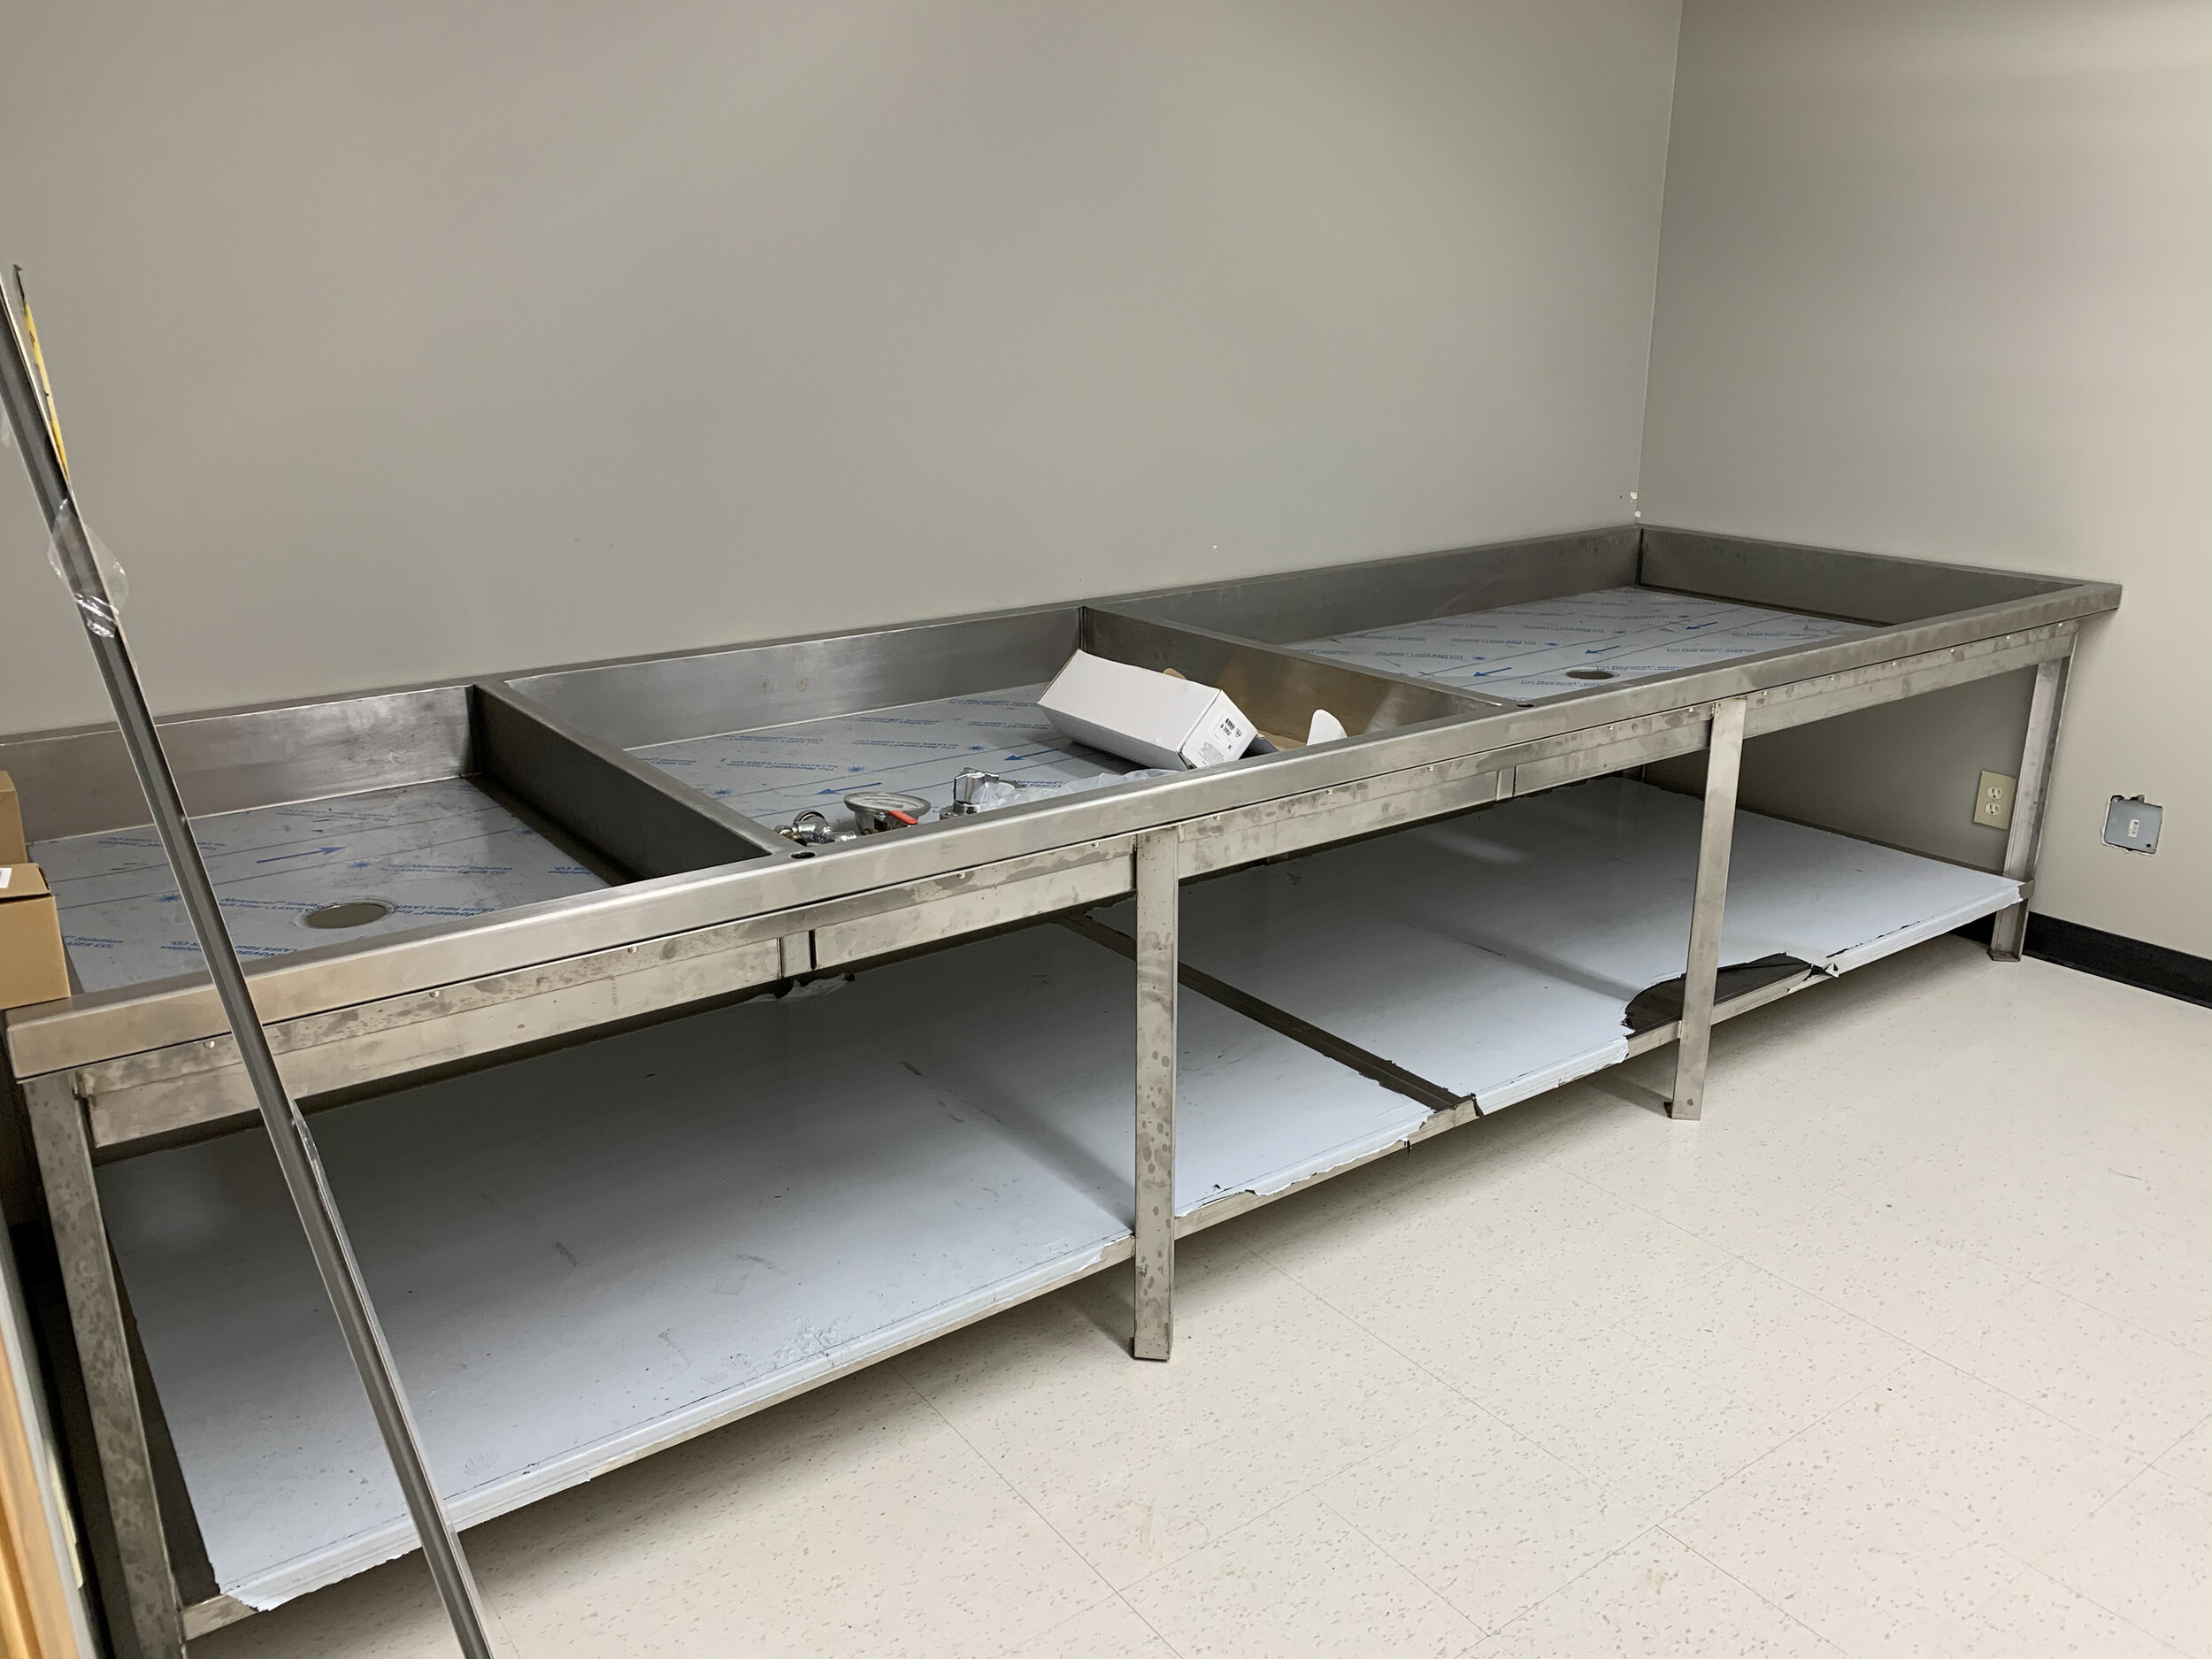

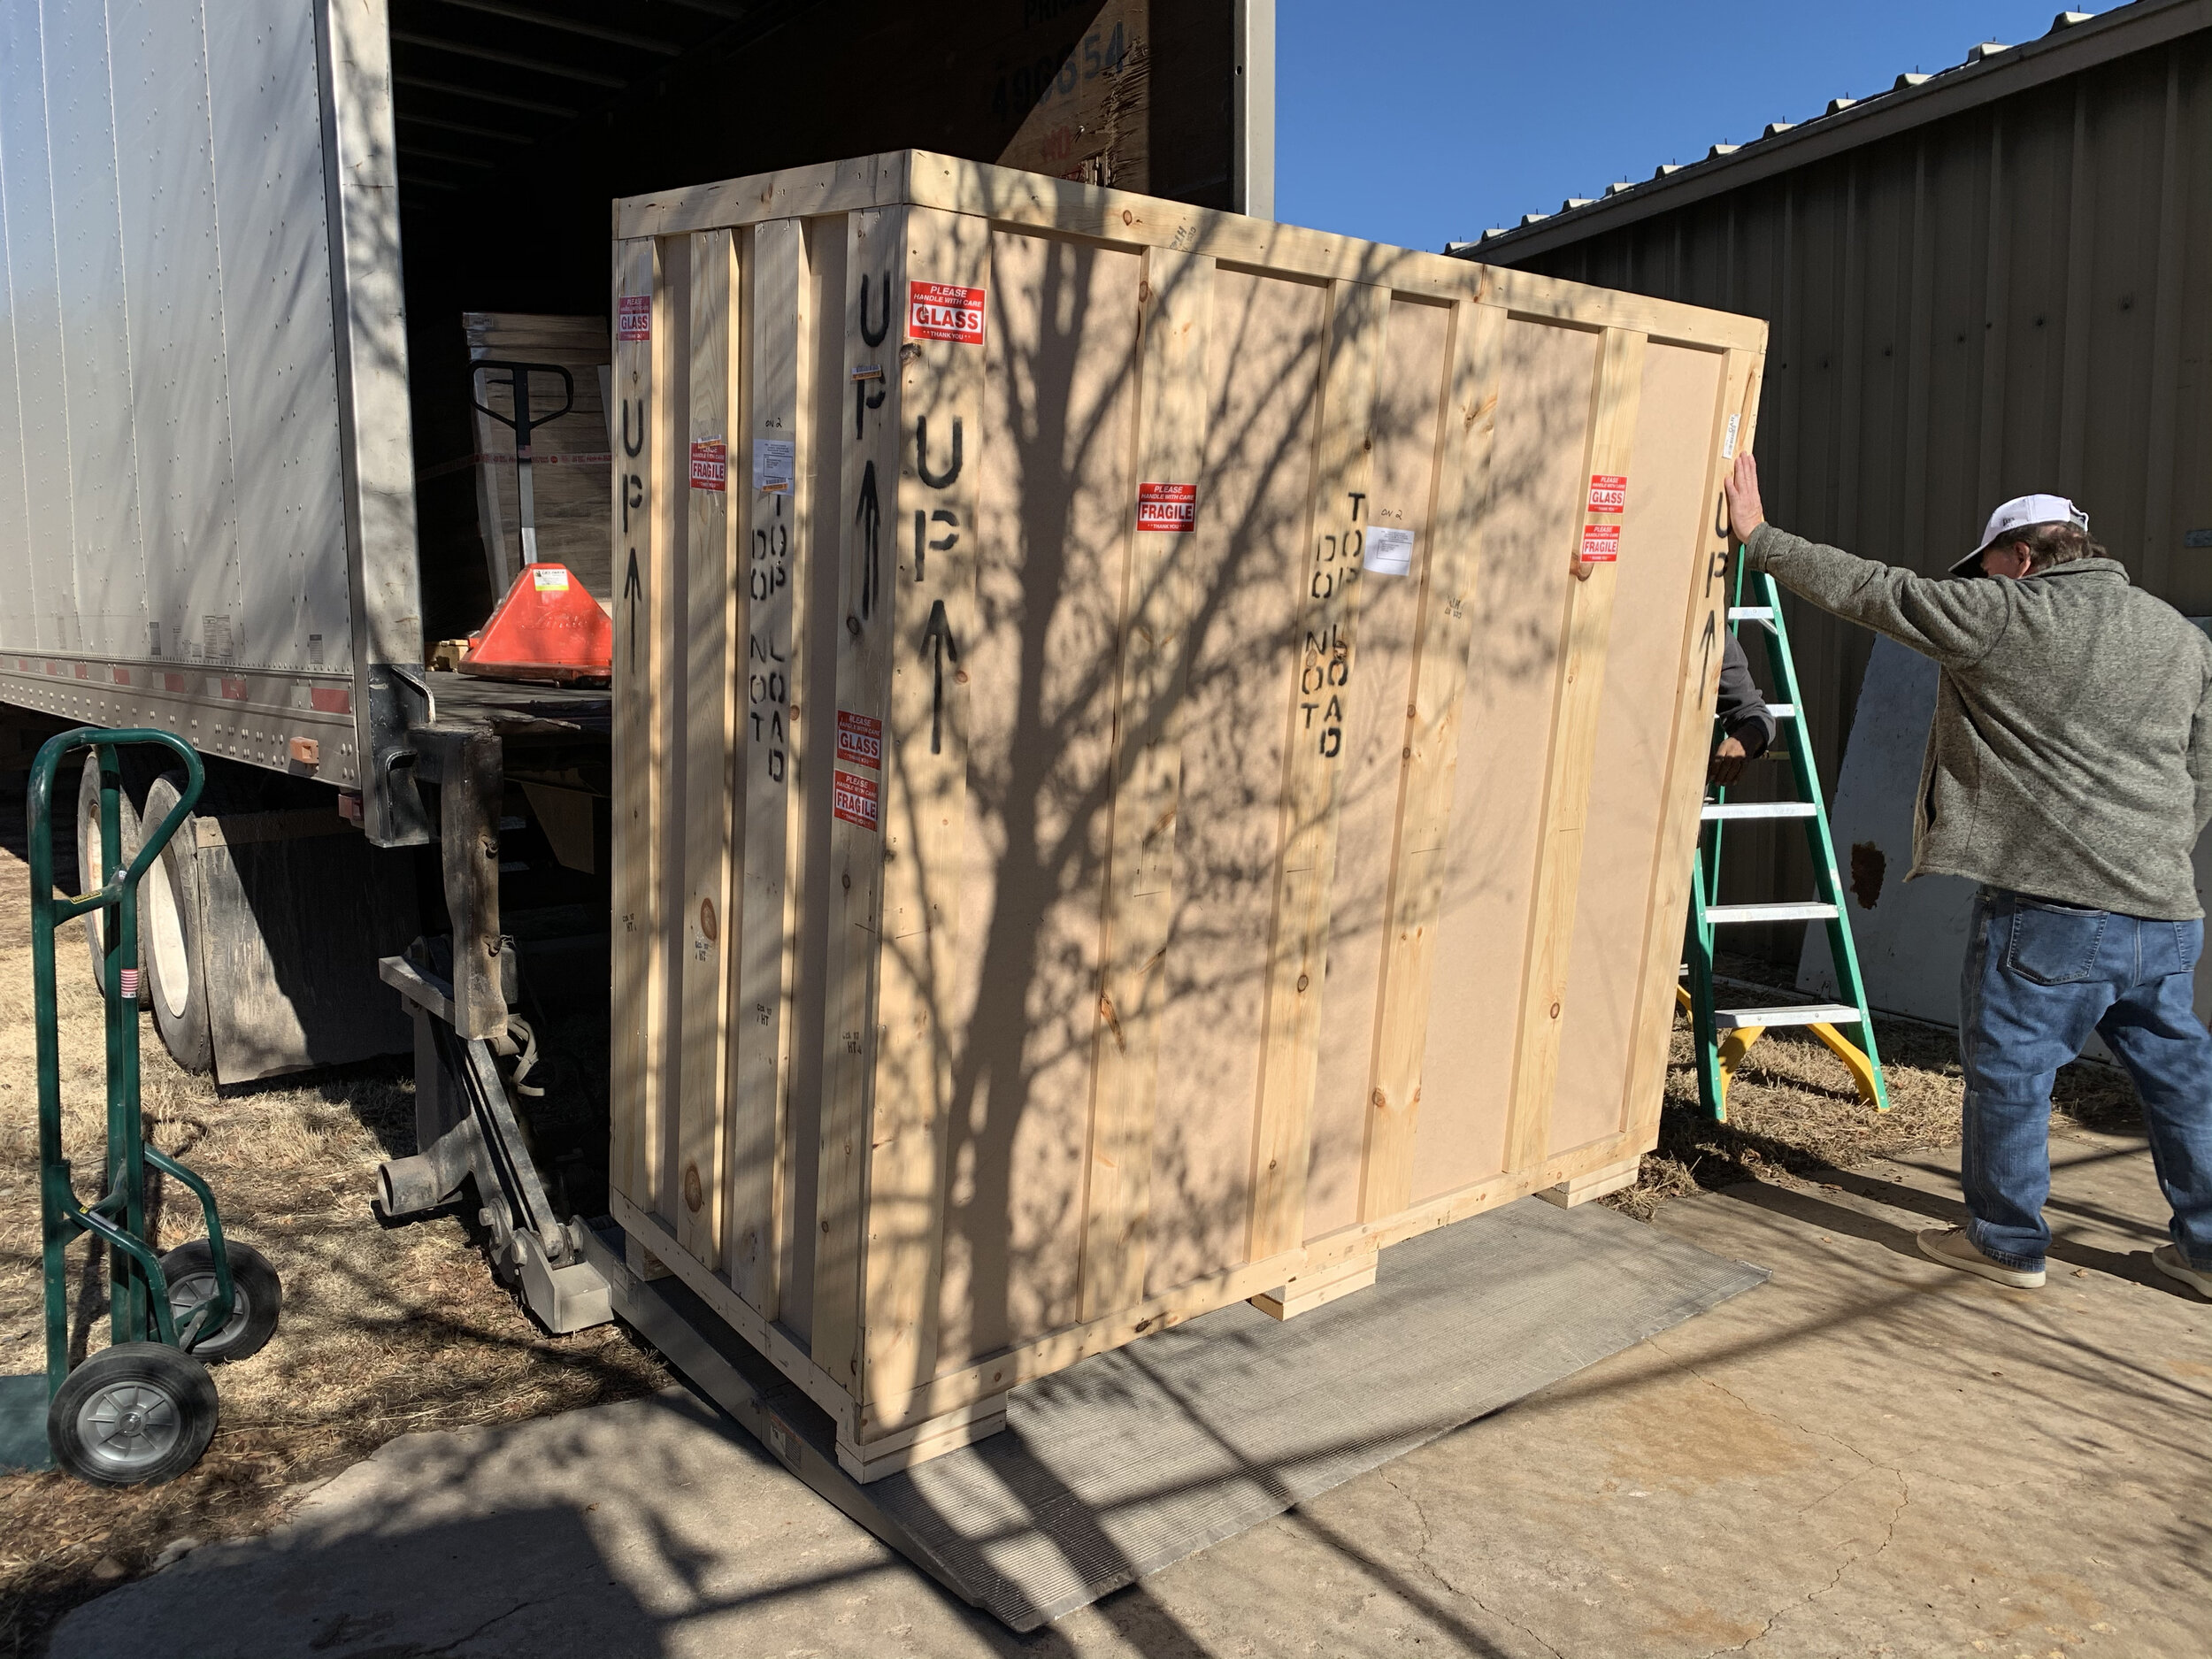
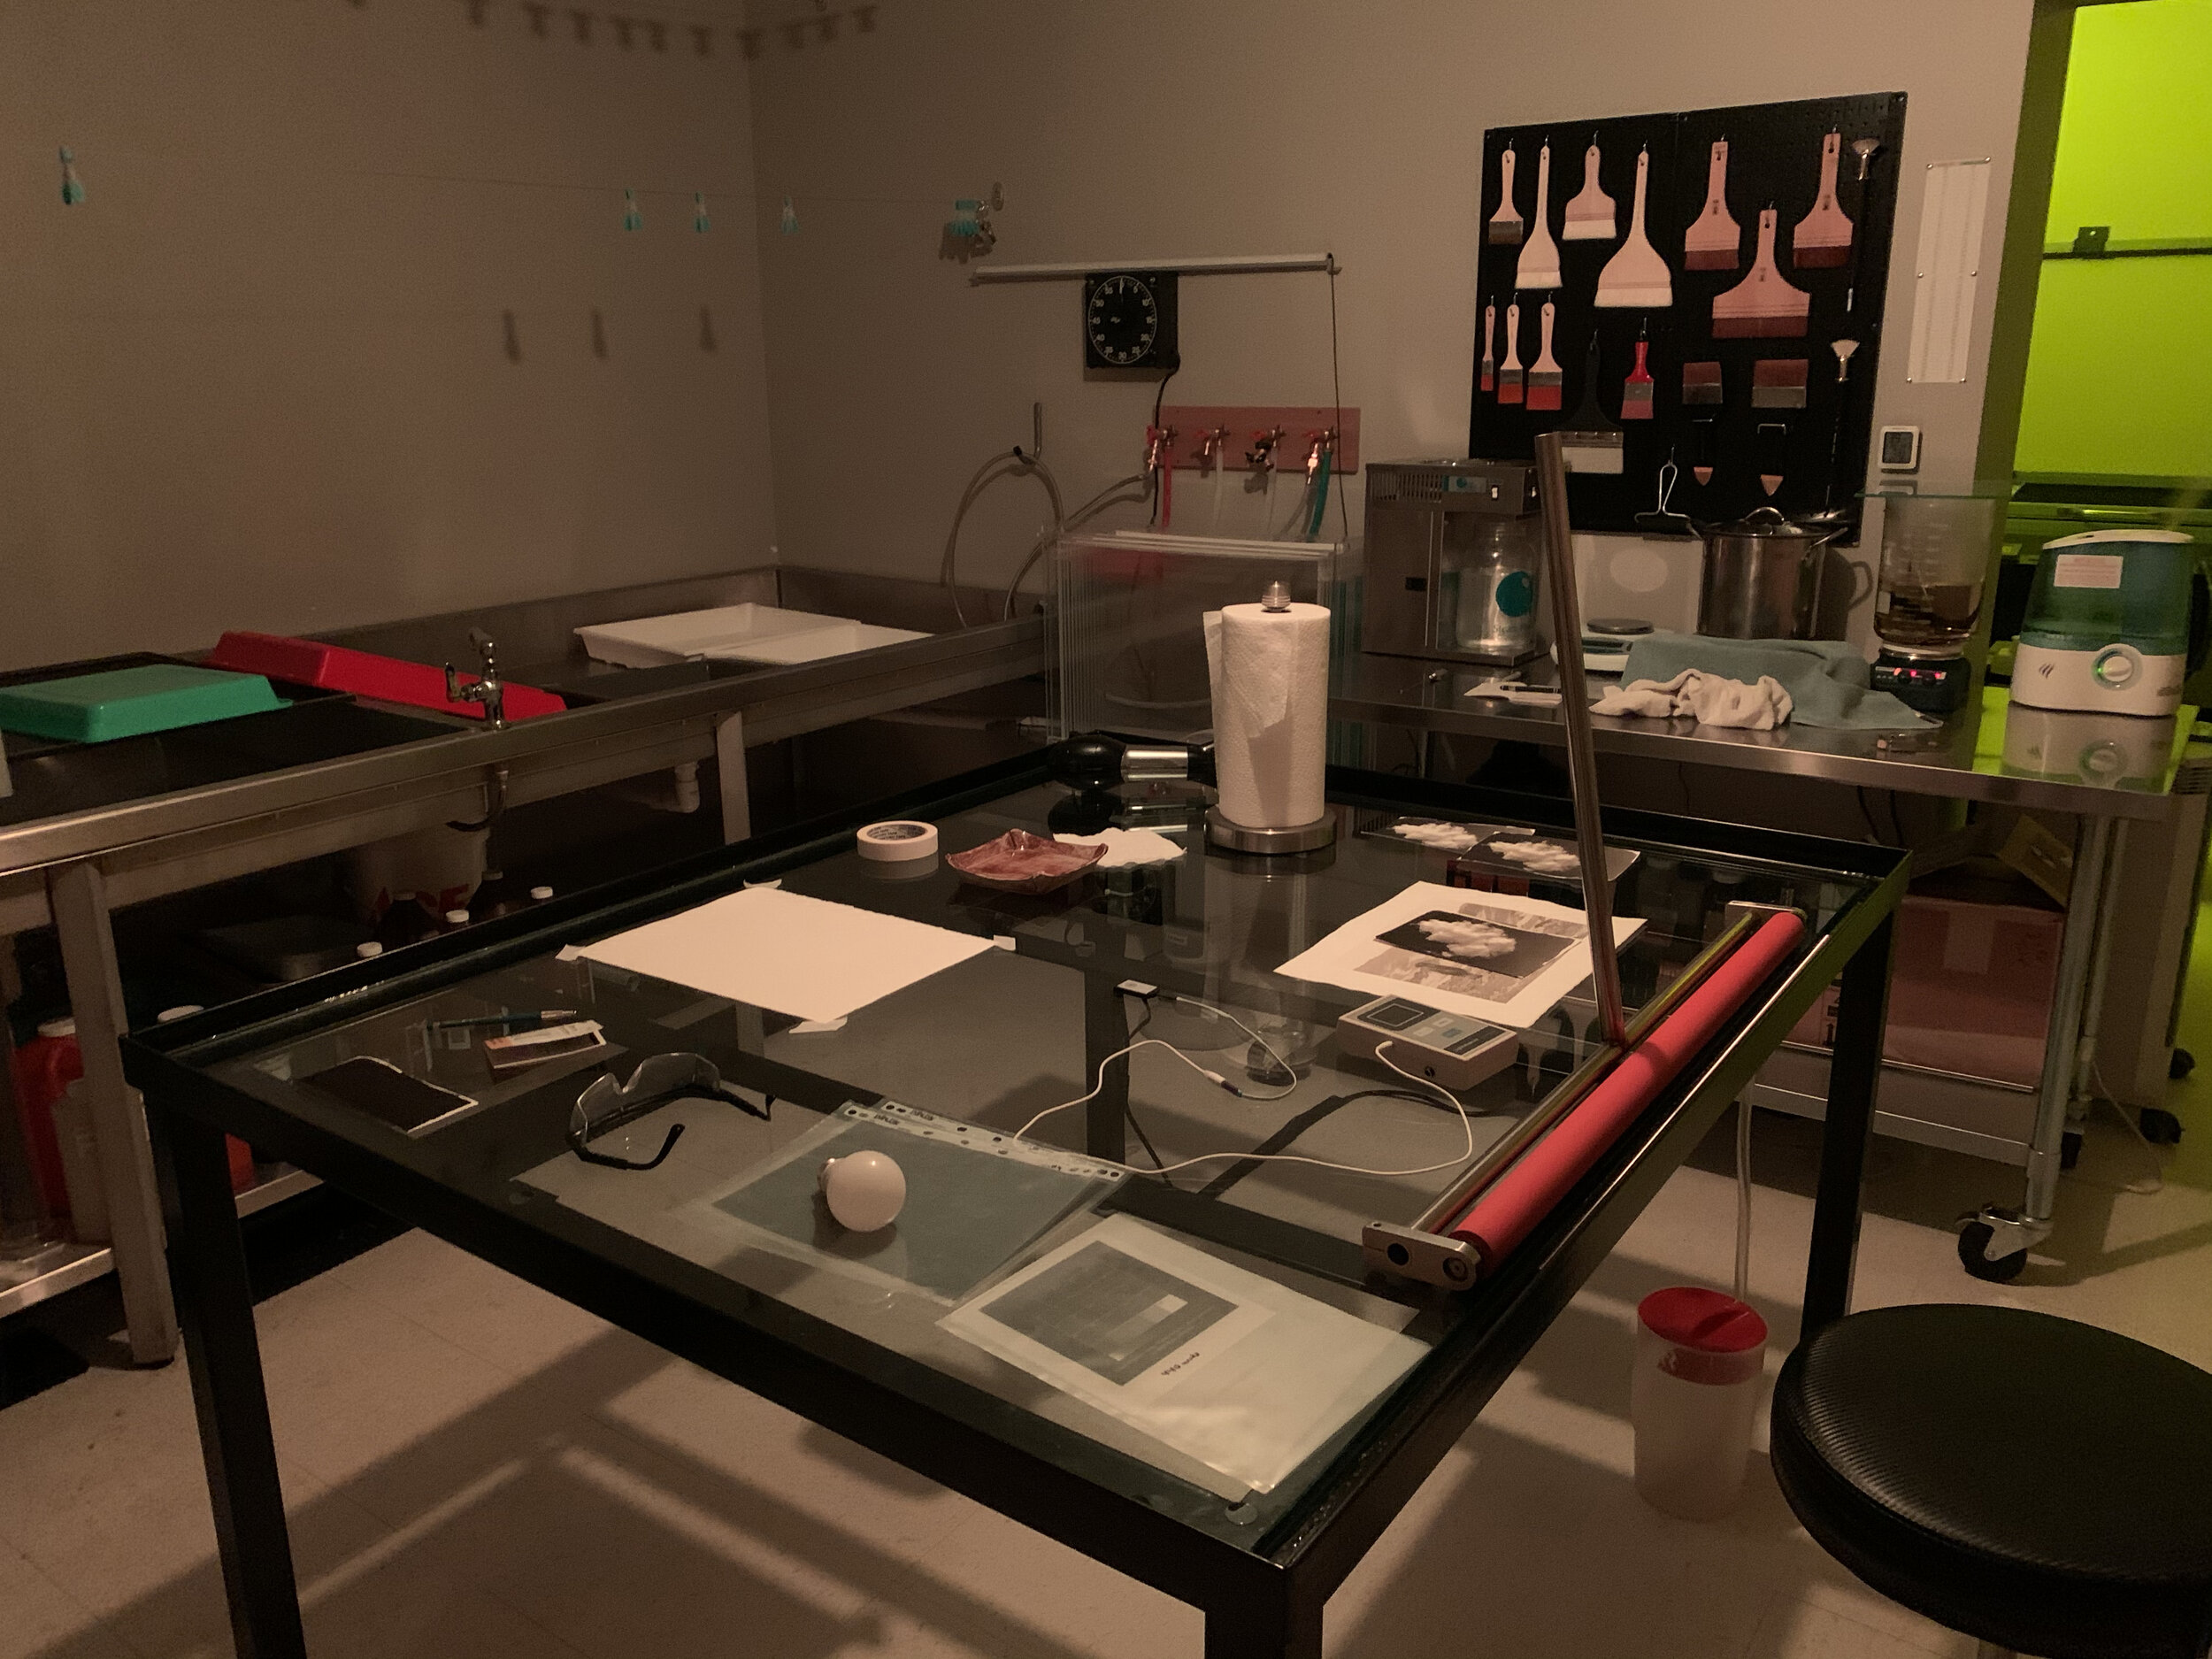
The scanning room was completed back in 2017 and the majority of the rest of the project had been left unfinished until March of 2020, when I started working on the space again. While all the major construction and design was relatively finished, assembling everything and getting the last pieces of equipment needed to be done. One of the biggest hurtles was getting the sink designed and installed. The entire dimensions ended up being about 12.5 feet by 4 feet and was made from stainless steel. No local stainless shop would even touch it and a dedicated “darkroom sink” was far too expensive to have custom made, so I went to a stainless steel shop in Wichita, KS called Starflite Custom Manufacturing, who quickly and affordably made the sink for me. The problem then was getting it delivered…or rather, delivering it myself. The sink with the stand weighed around 700 lbs and was loaded onto our trailer with a forklift (and 4 guys to stabilize it.) So getting it off, through all the doors and into the darkroom was a challenge. With 6 of us, we managed to get it in place after about an hour and a half with no missing fingers or damaged egos.
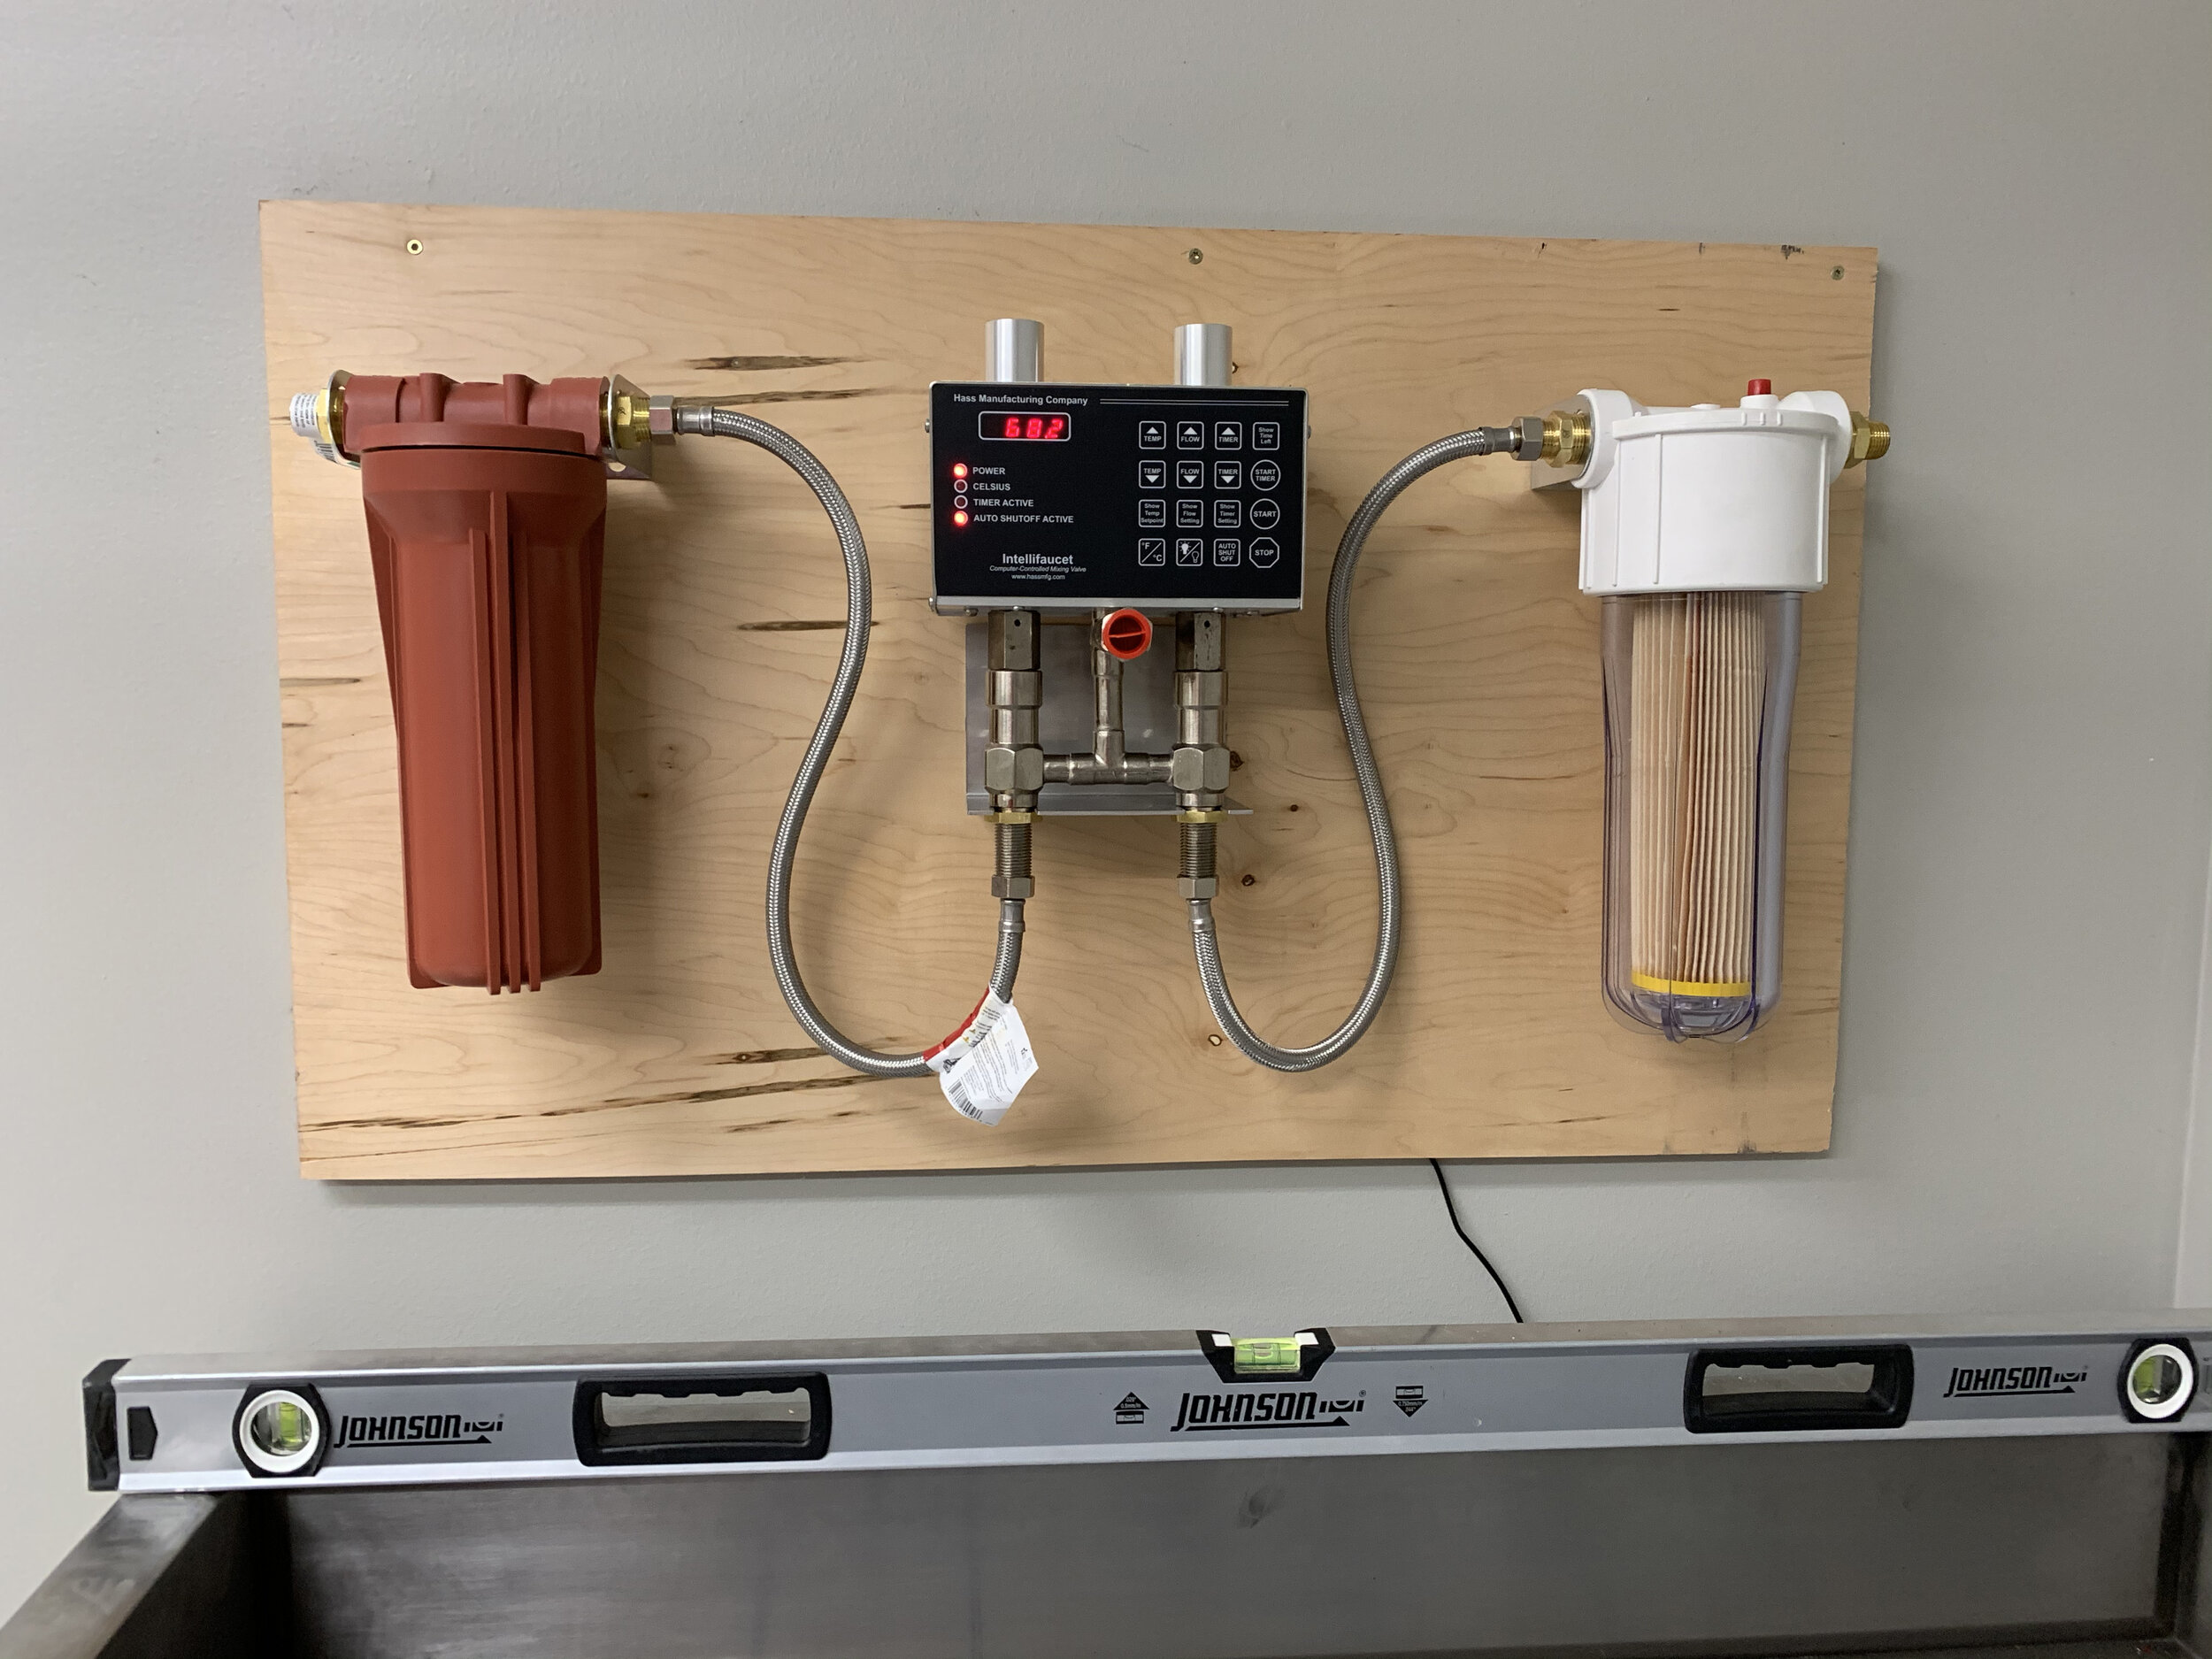
I installed a water mixing valve from Hass Manufacturing, and plumbed in the three drains, two faucets, two spray hoses, and a few other points of water along the sides of the sink for print washers, mixed water access, hot water access, and cold water access.
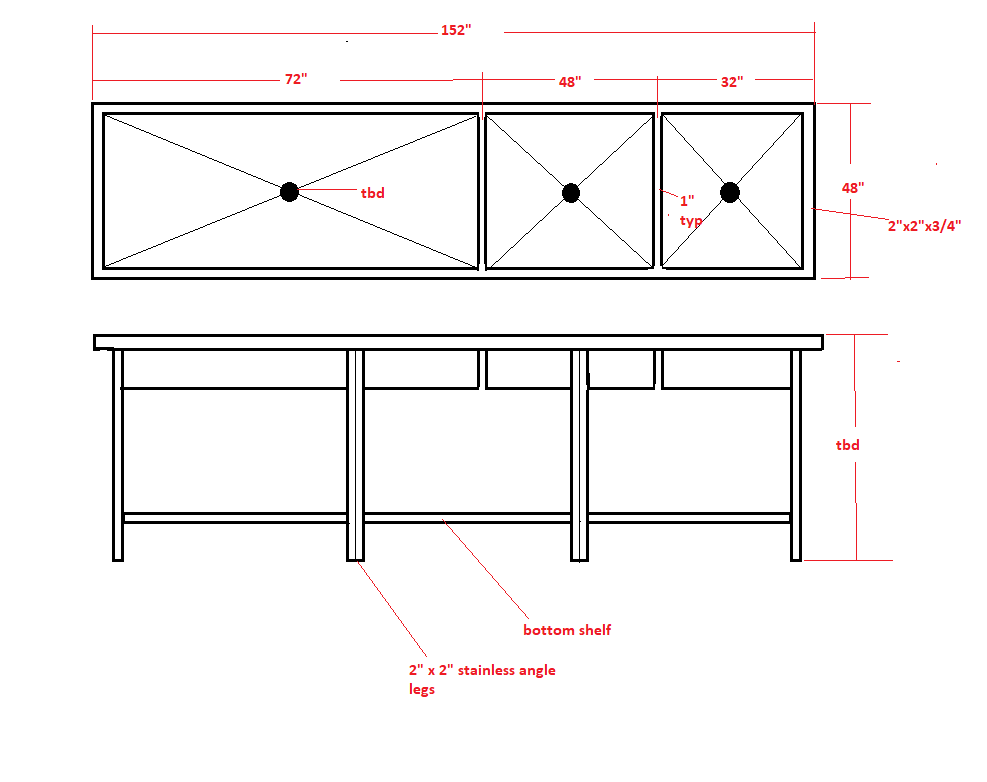
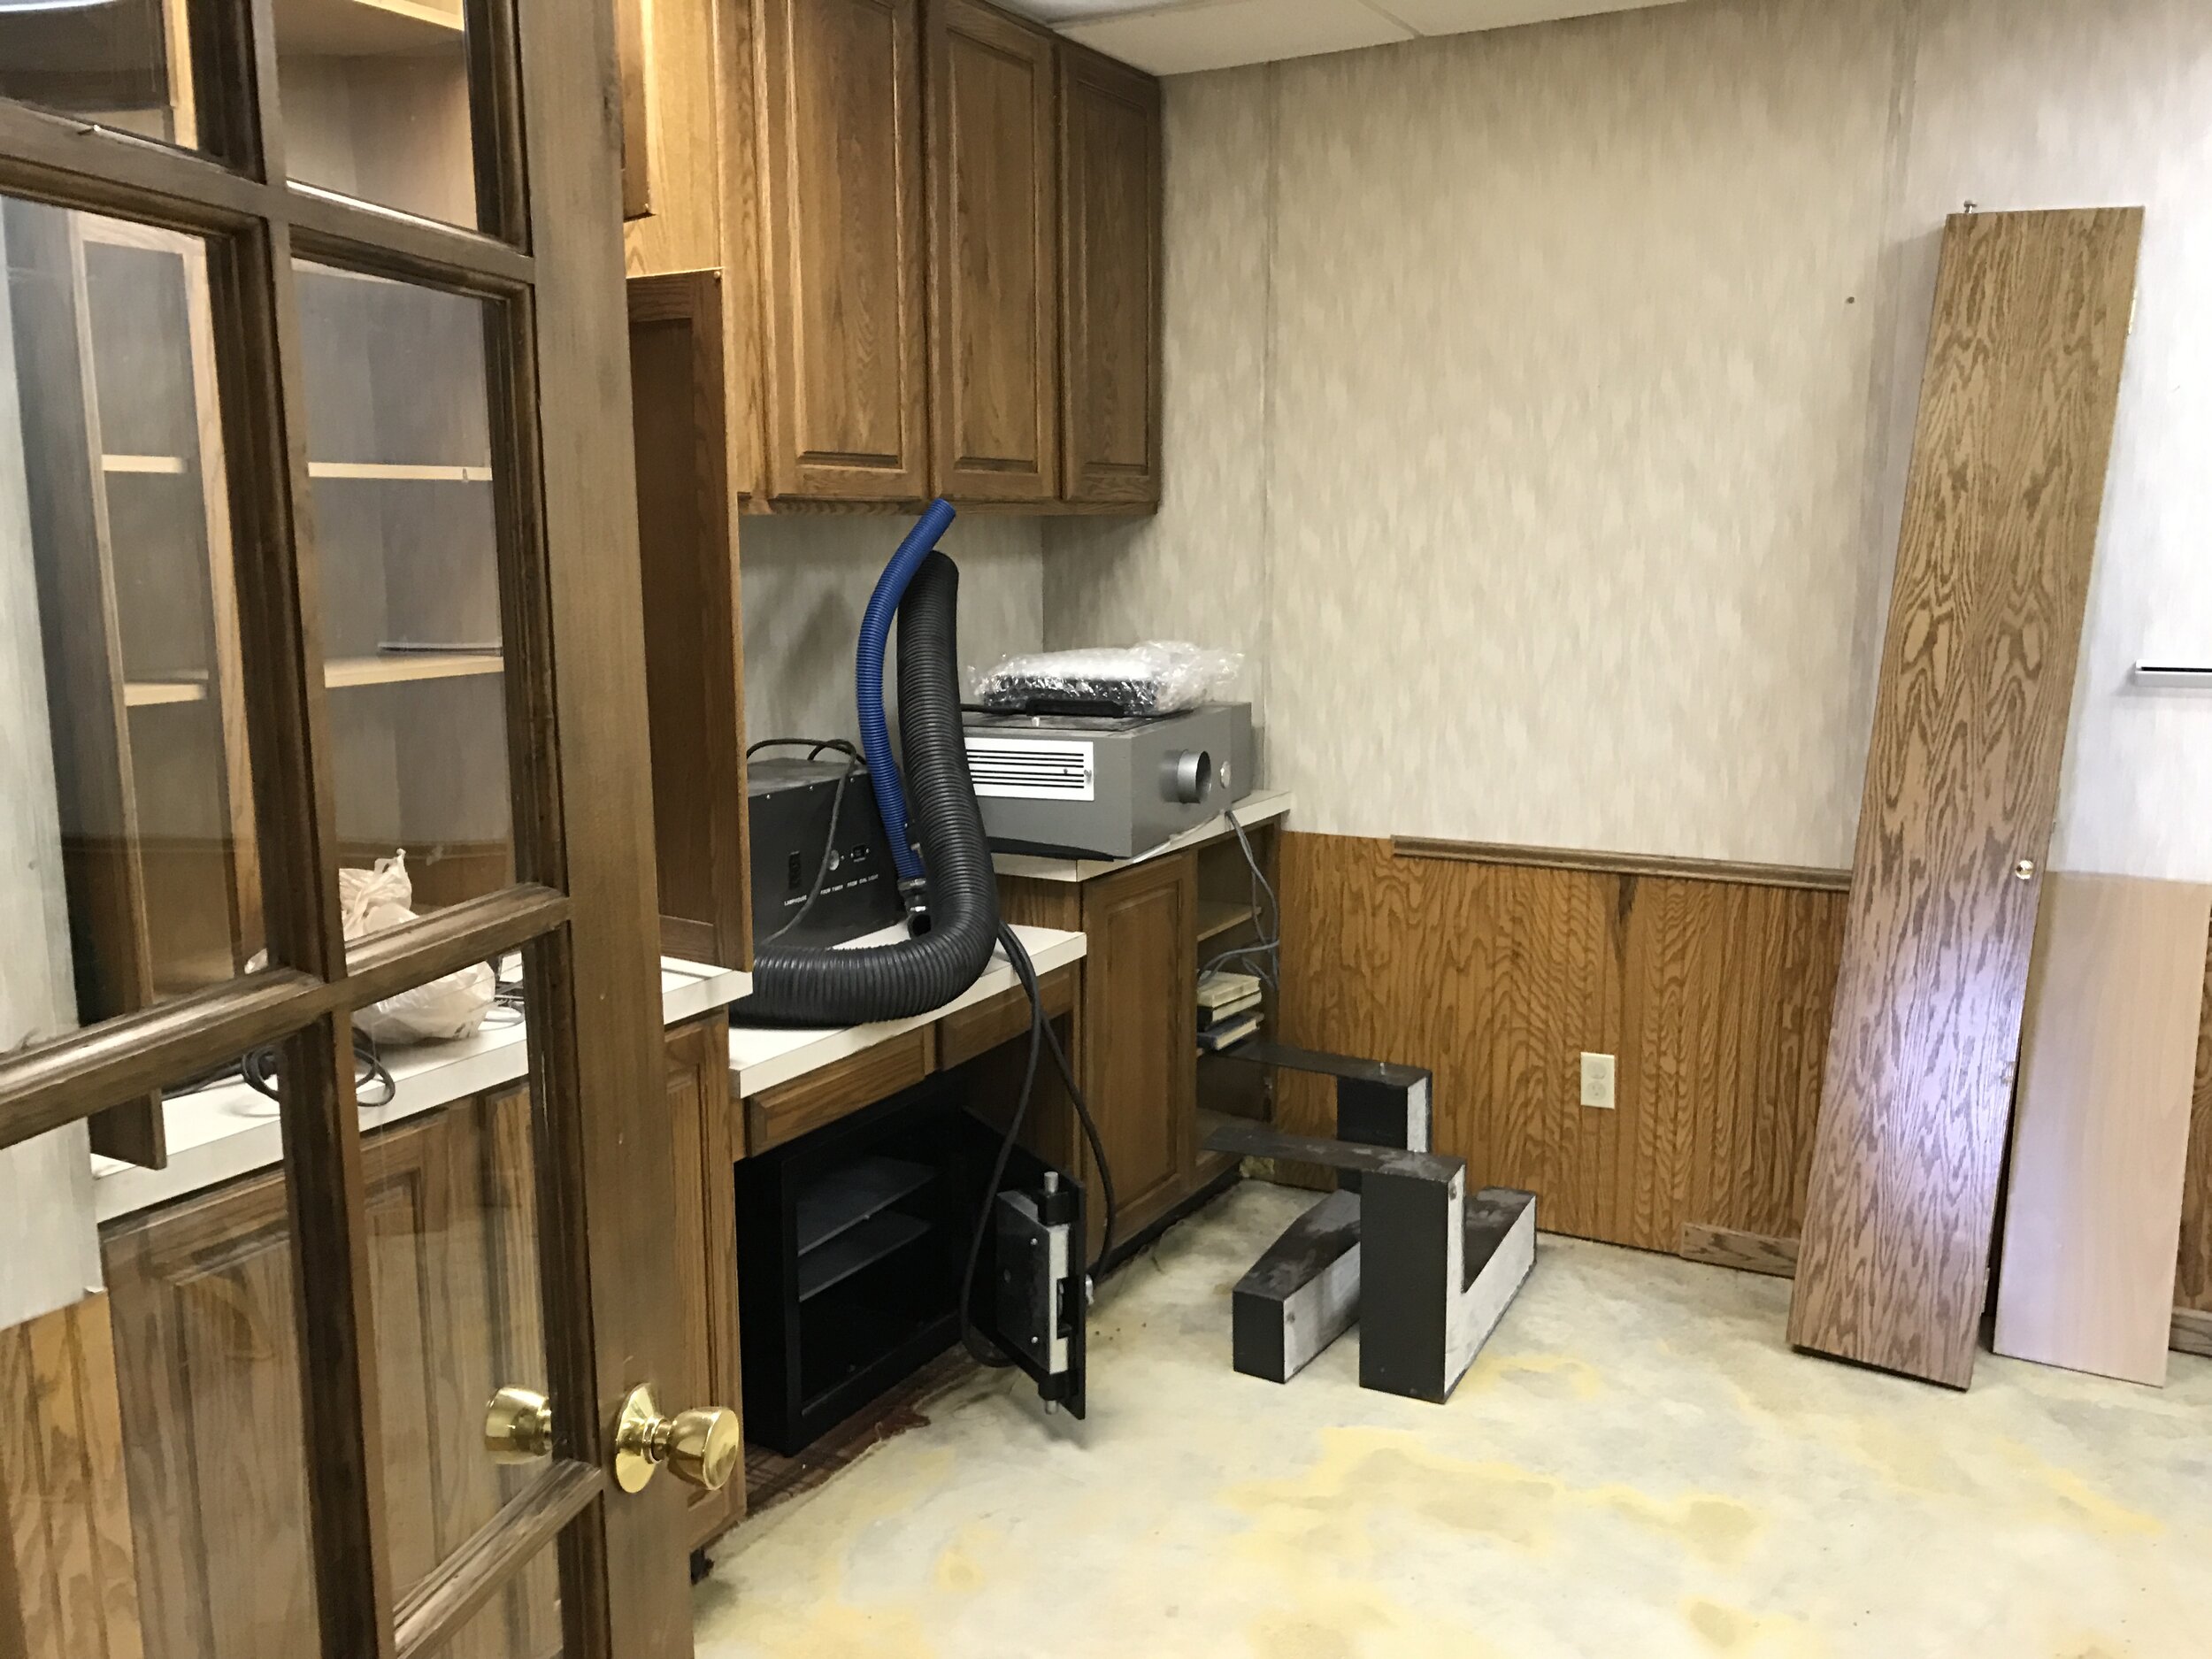
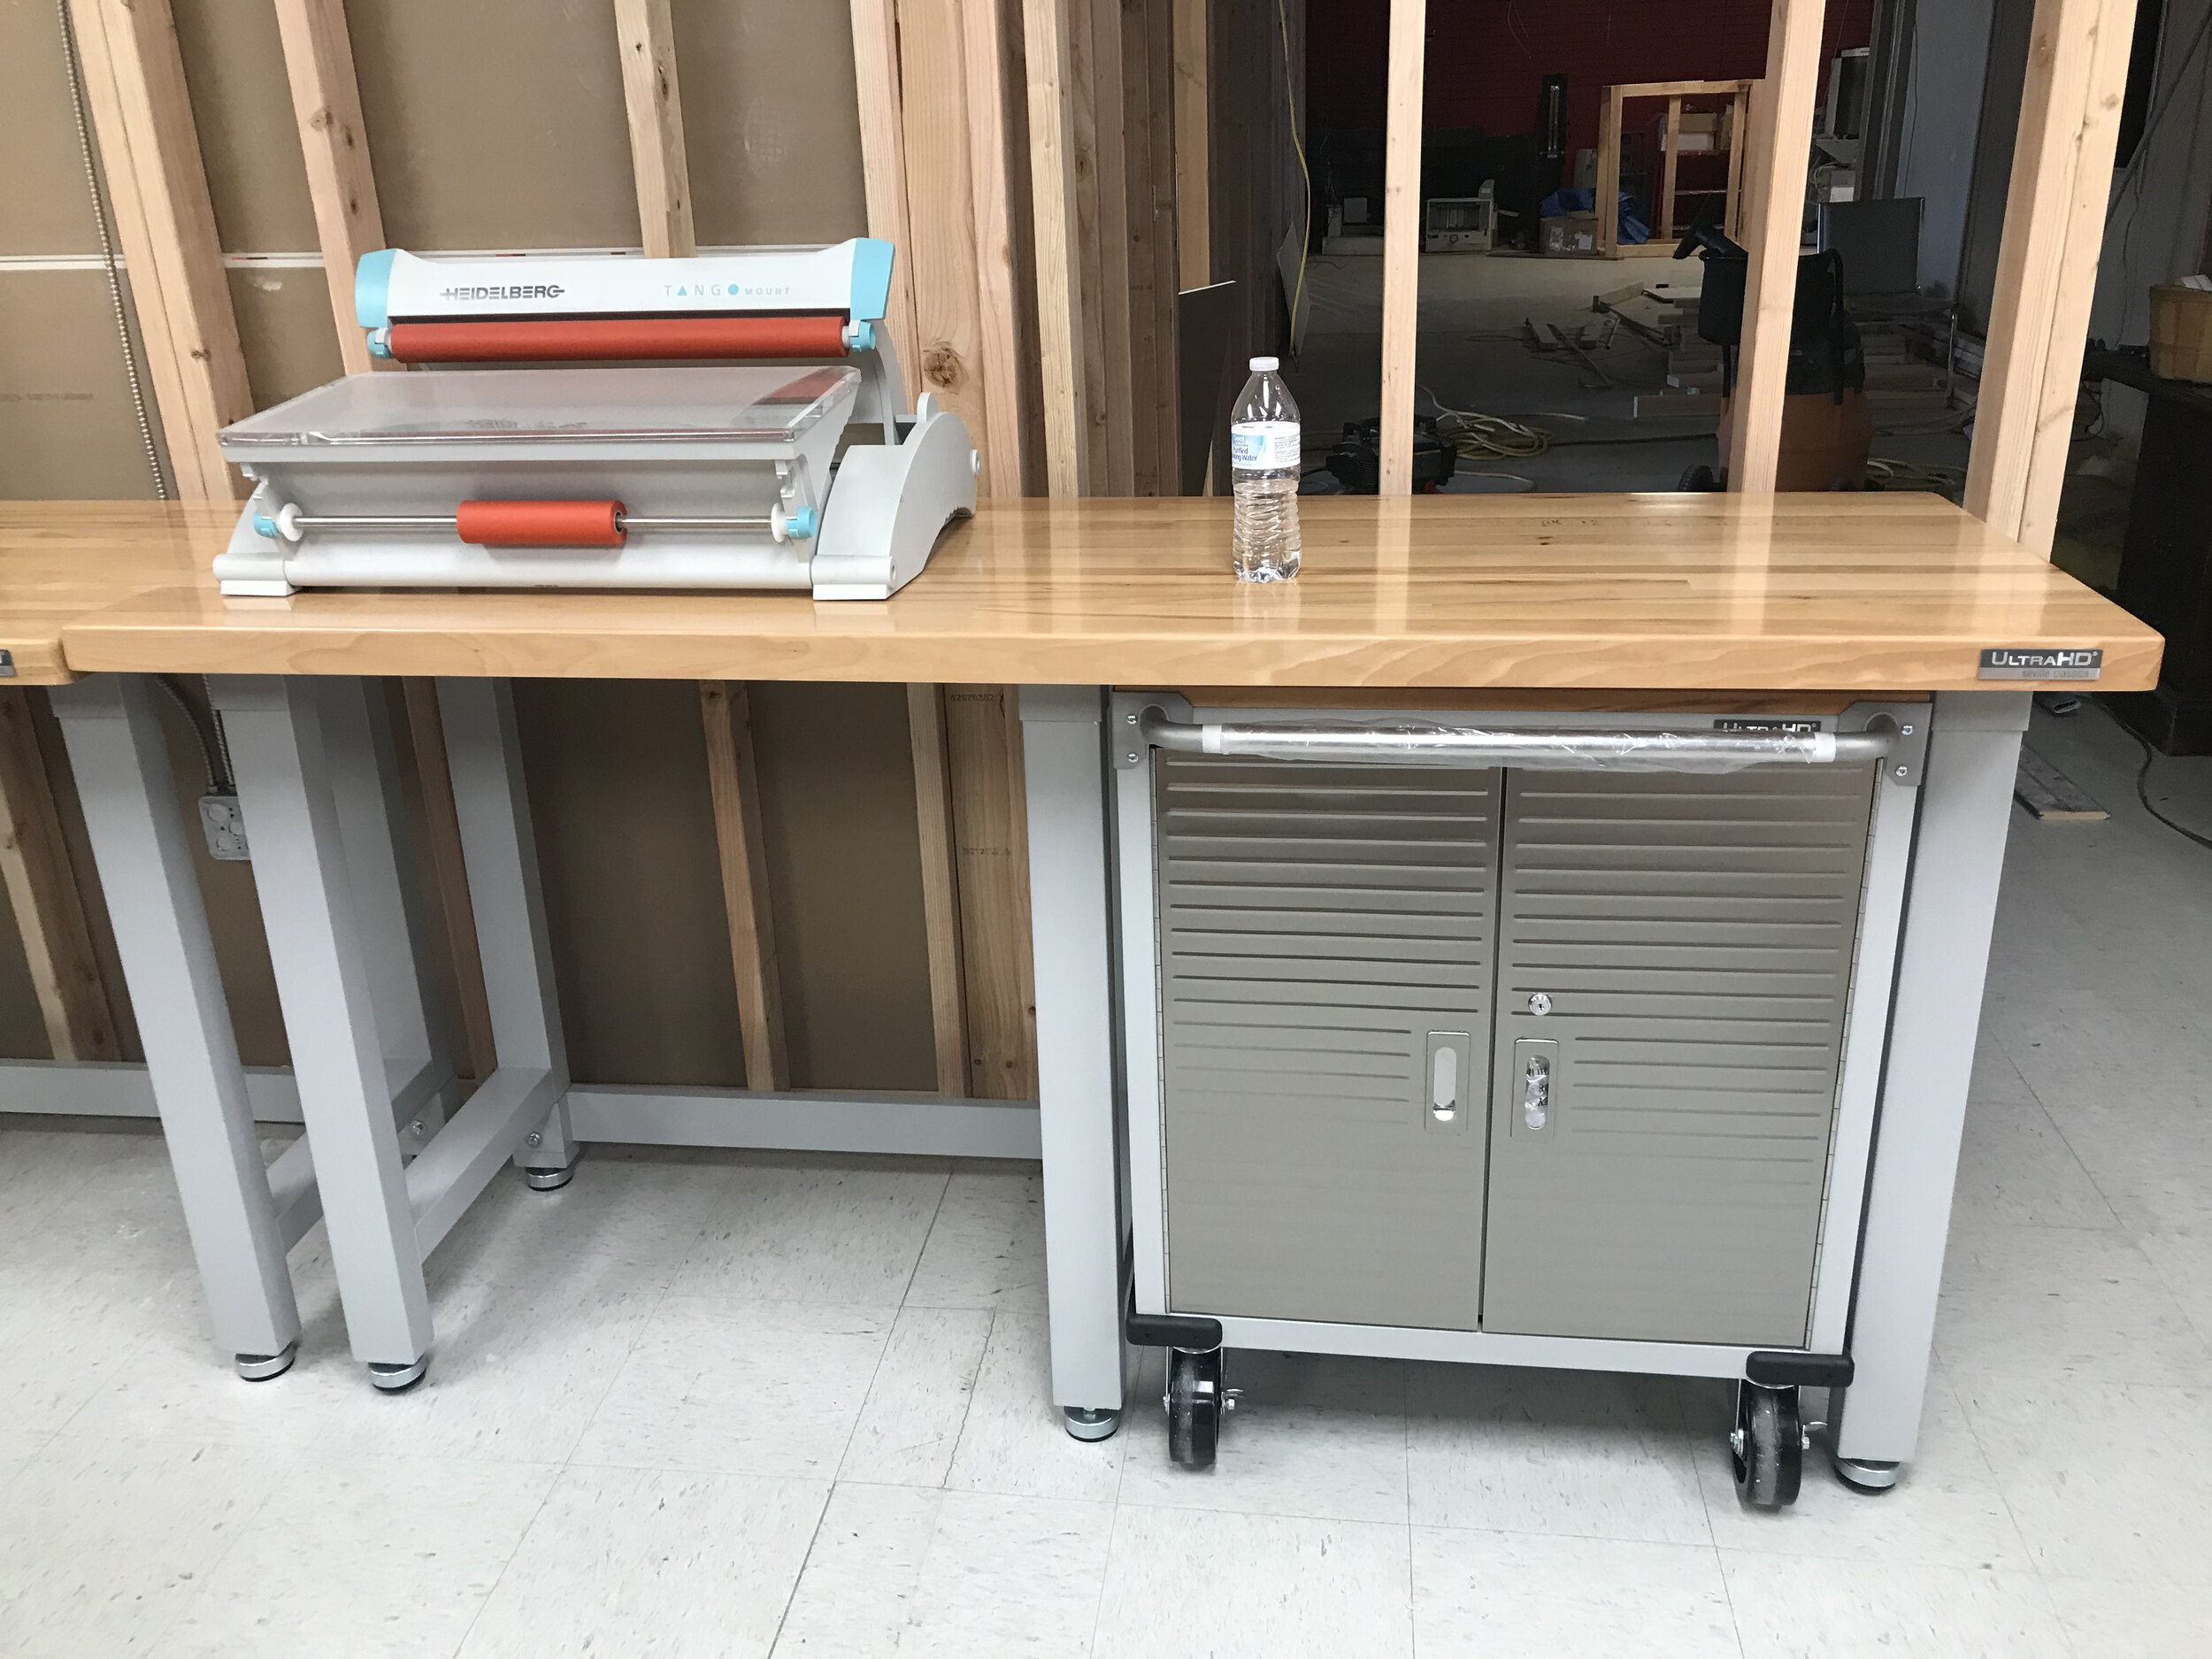
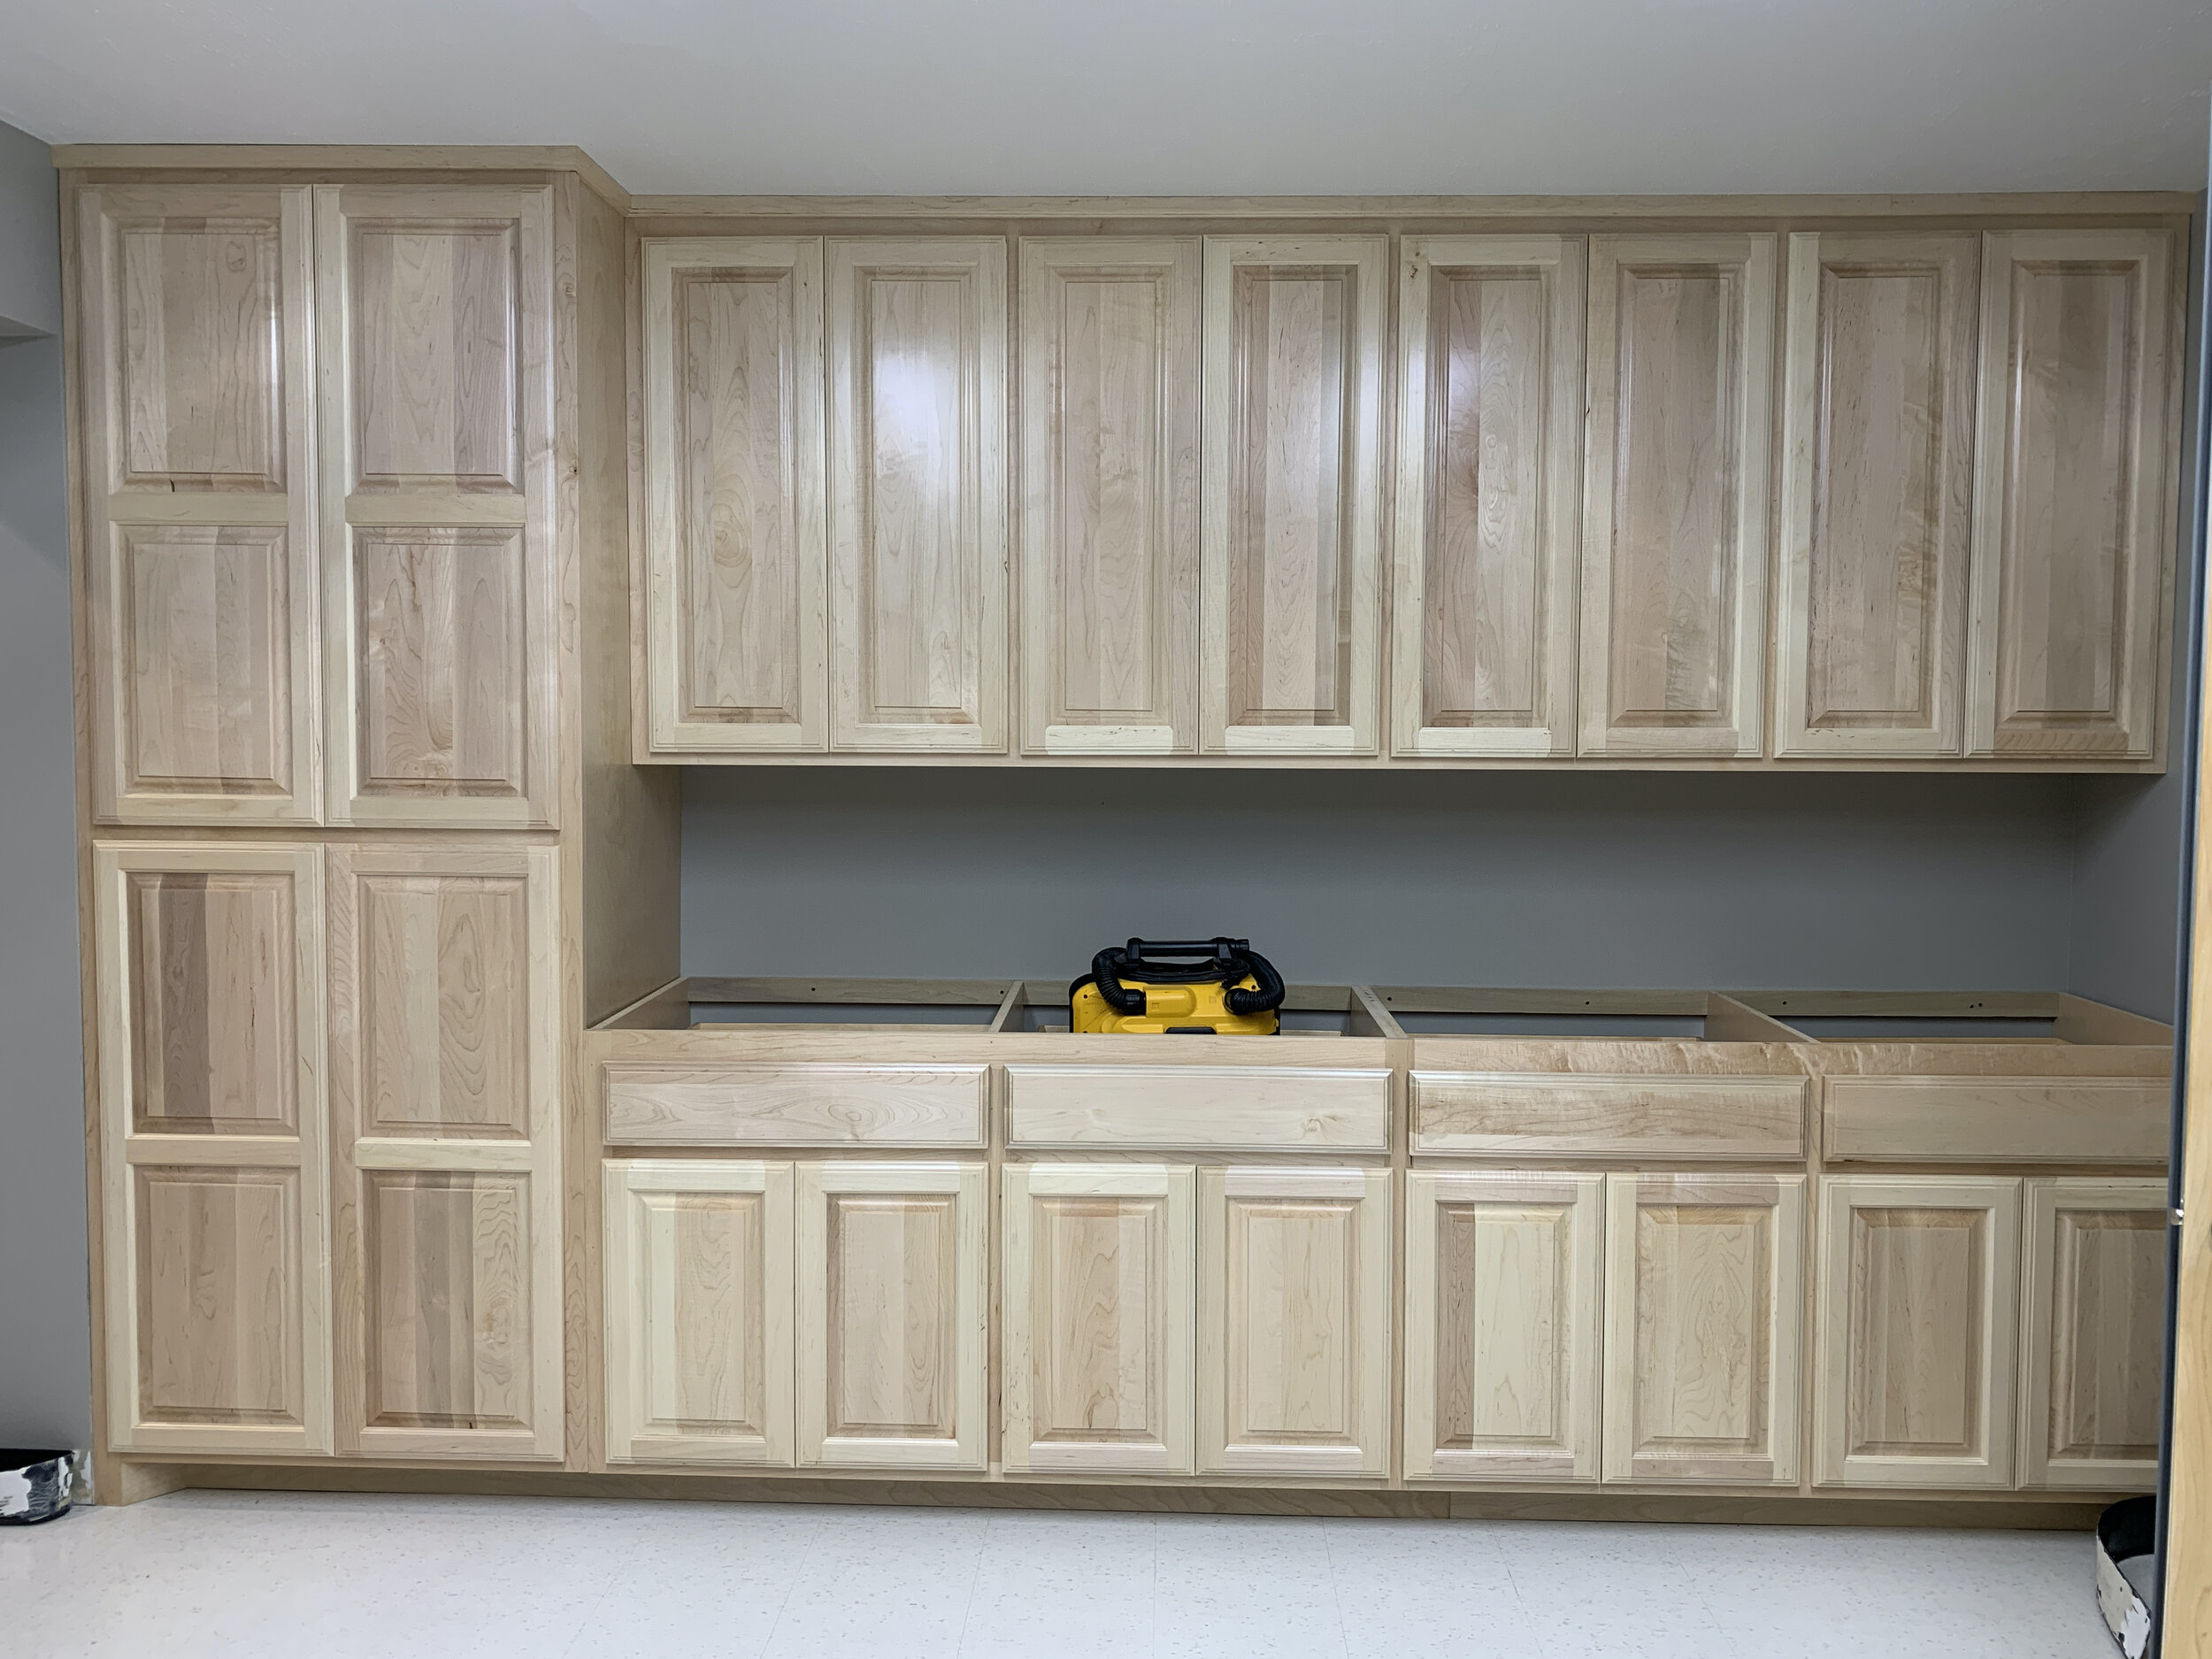
A local cabinet maker, who had just refinished my wife and I’s kitchen, made me a line of cabinets and a countertop for a bit of a working space and some in-darkroom storage.
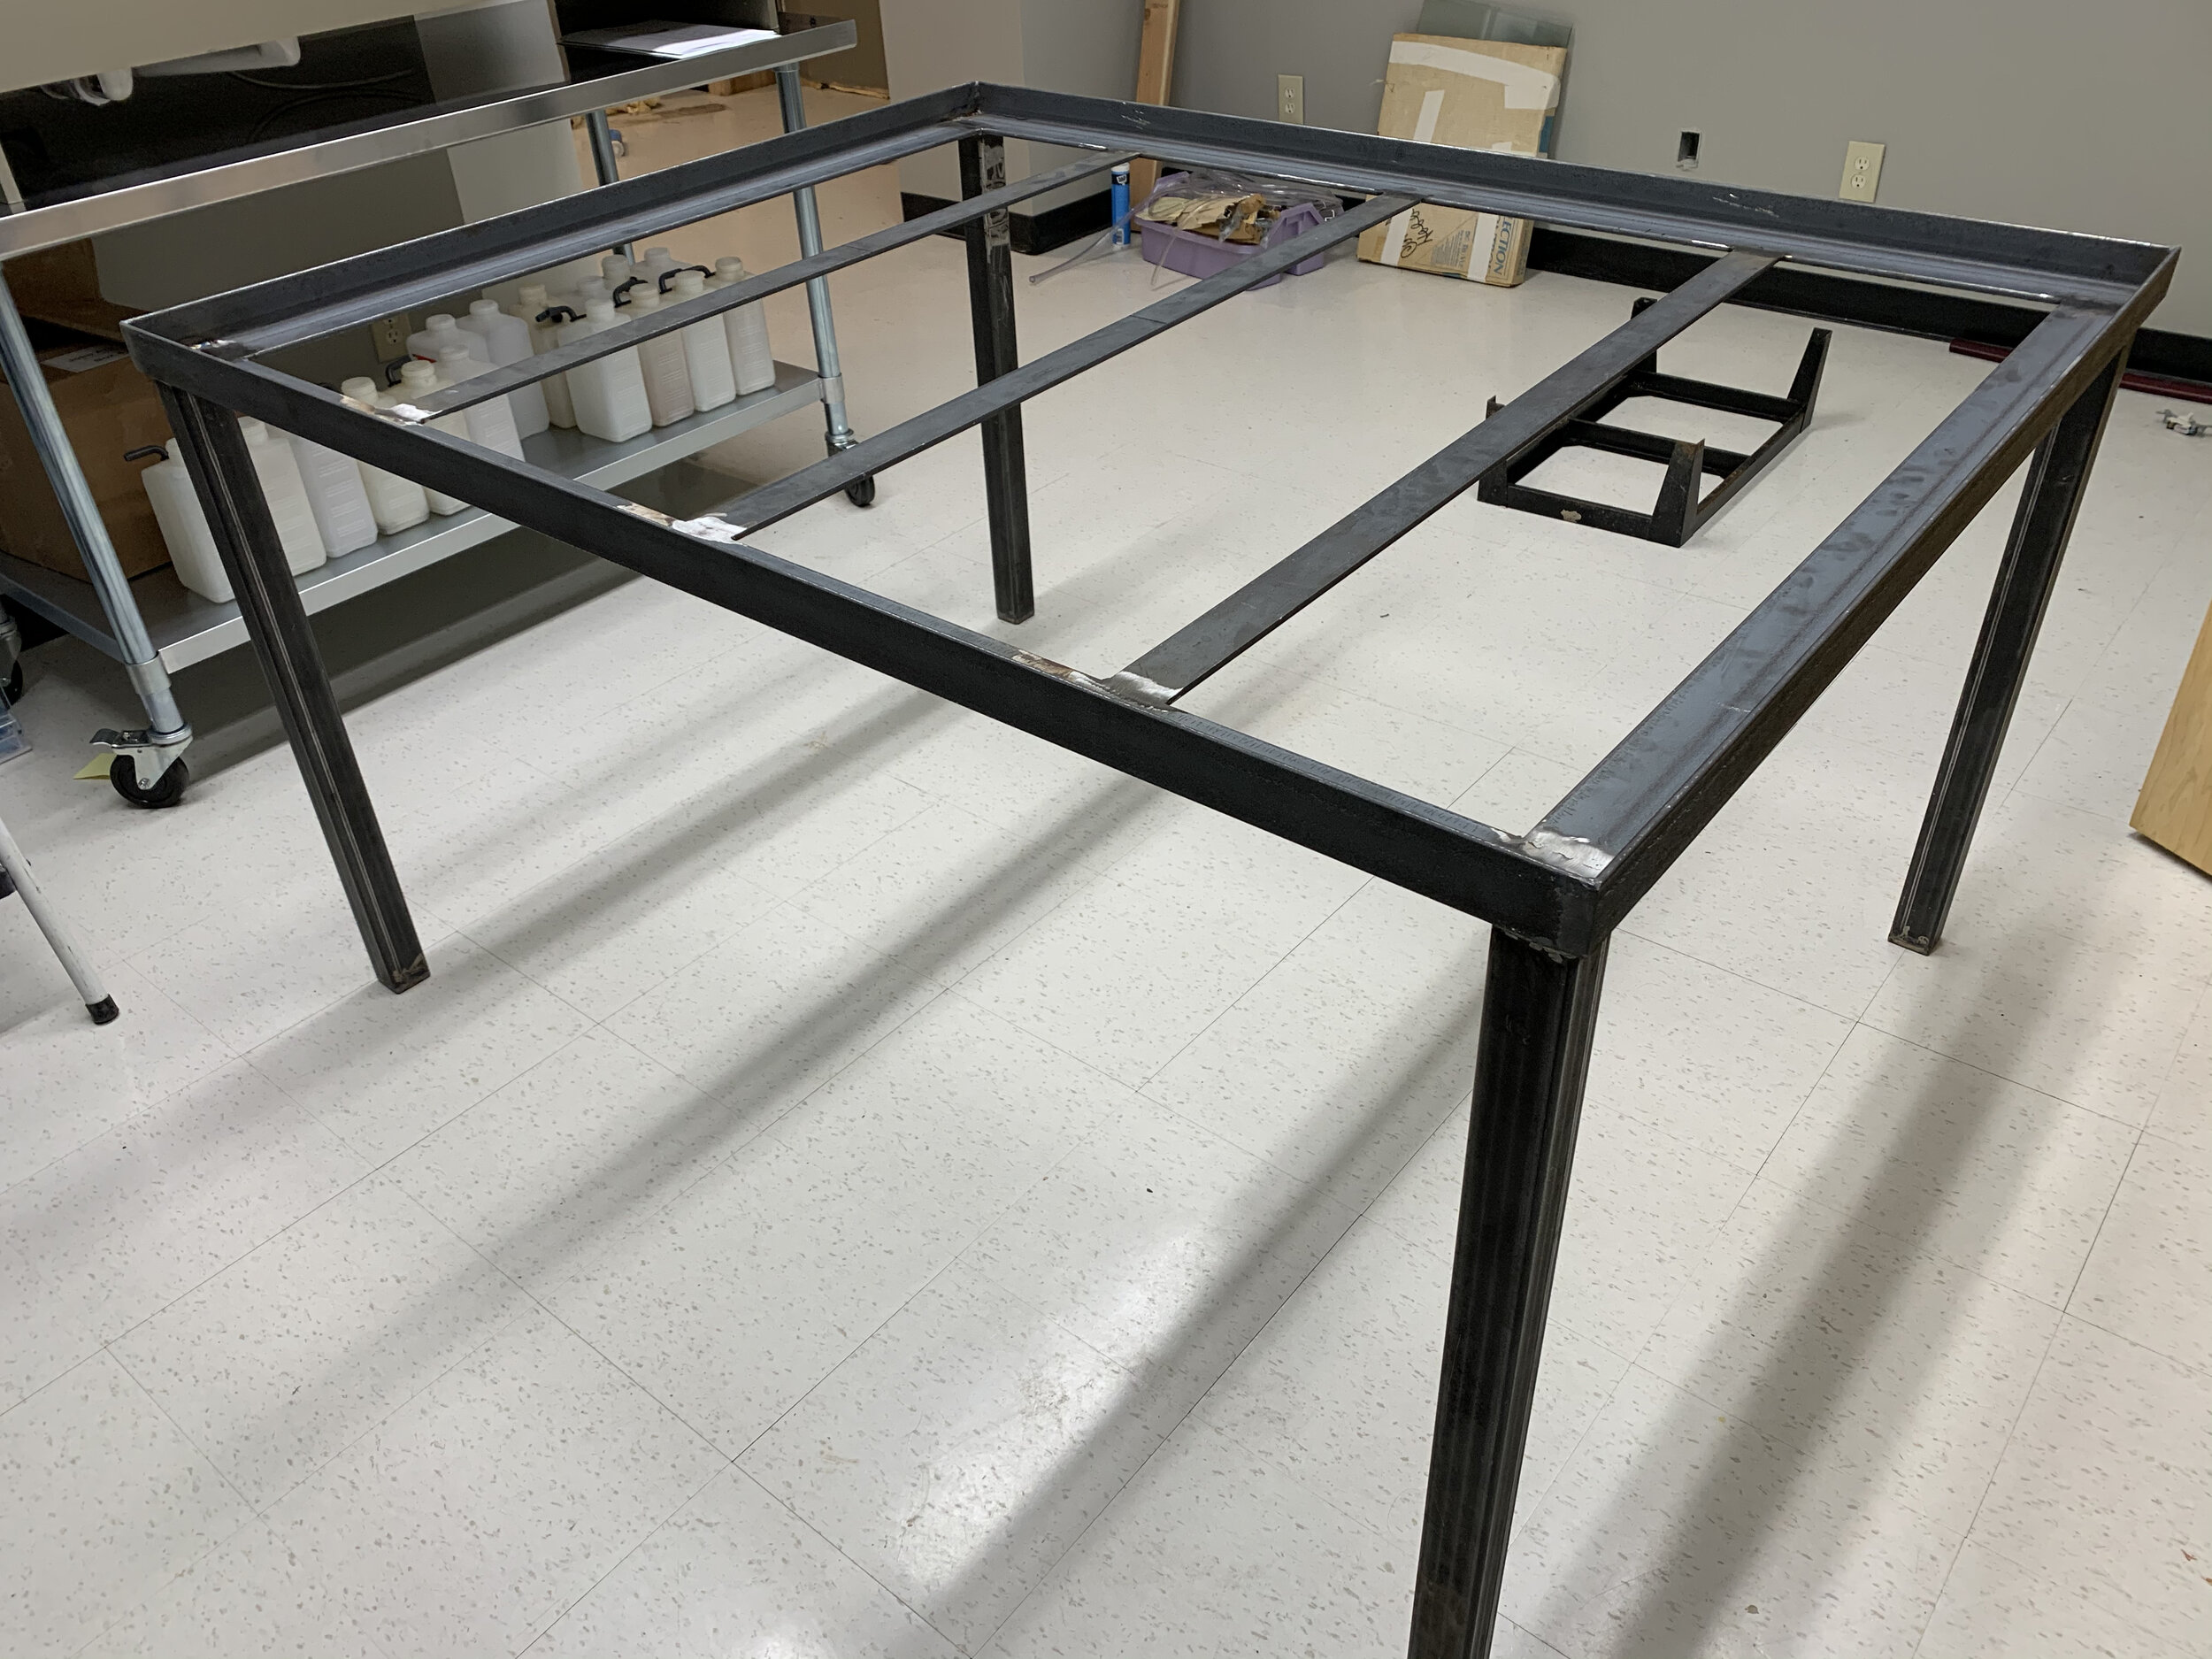
I also had a local welder and friend, Louie Lemmert, make me a metal frame for a coating table that I had powder coated and would be used for pouring emulsions, coating paper for platinum prints, etc. The tabletop is a 5/8” piece of 48x60” annealed glass that was machine leveled for flatness and overall level.
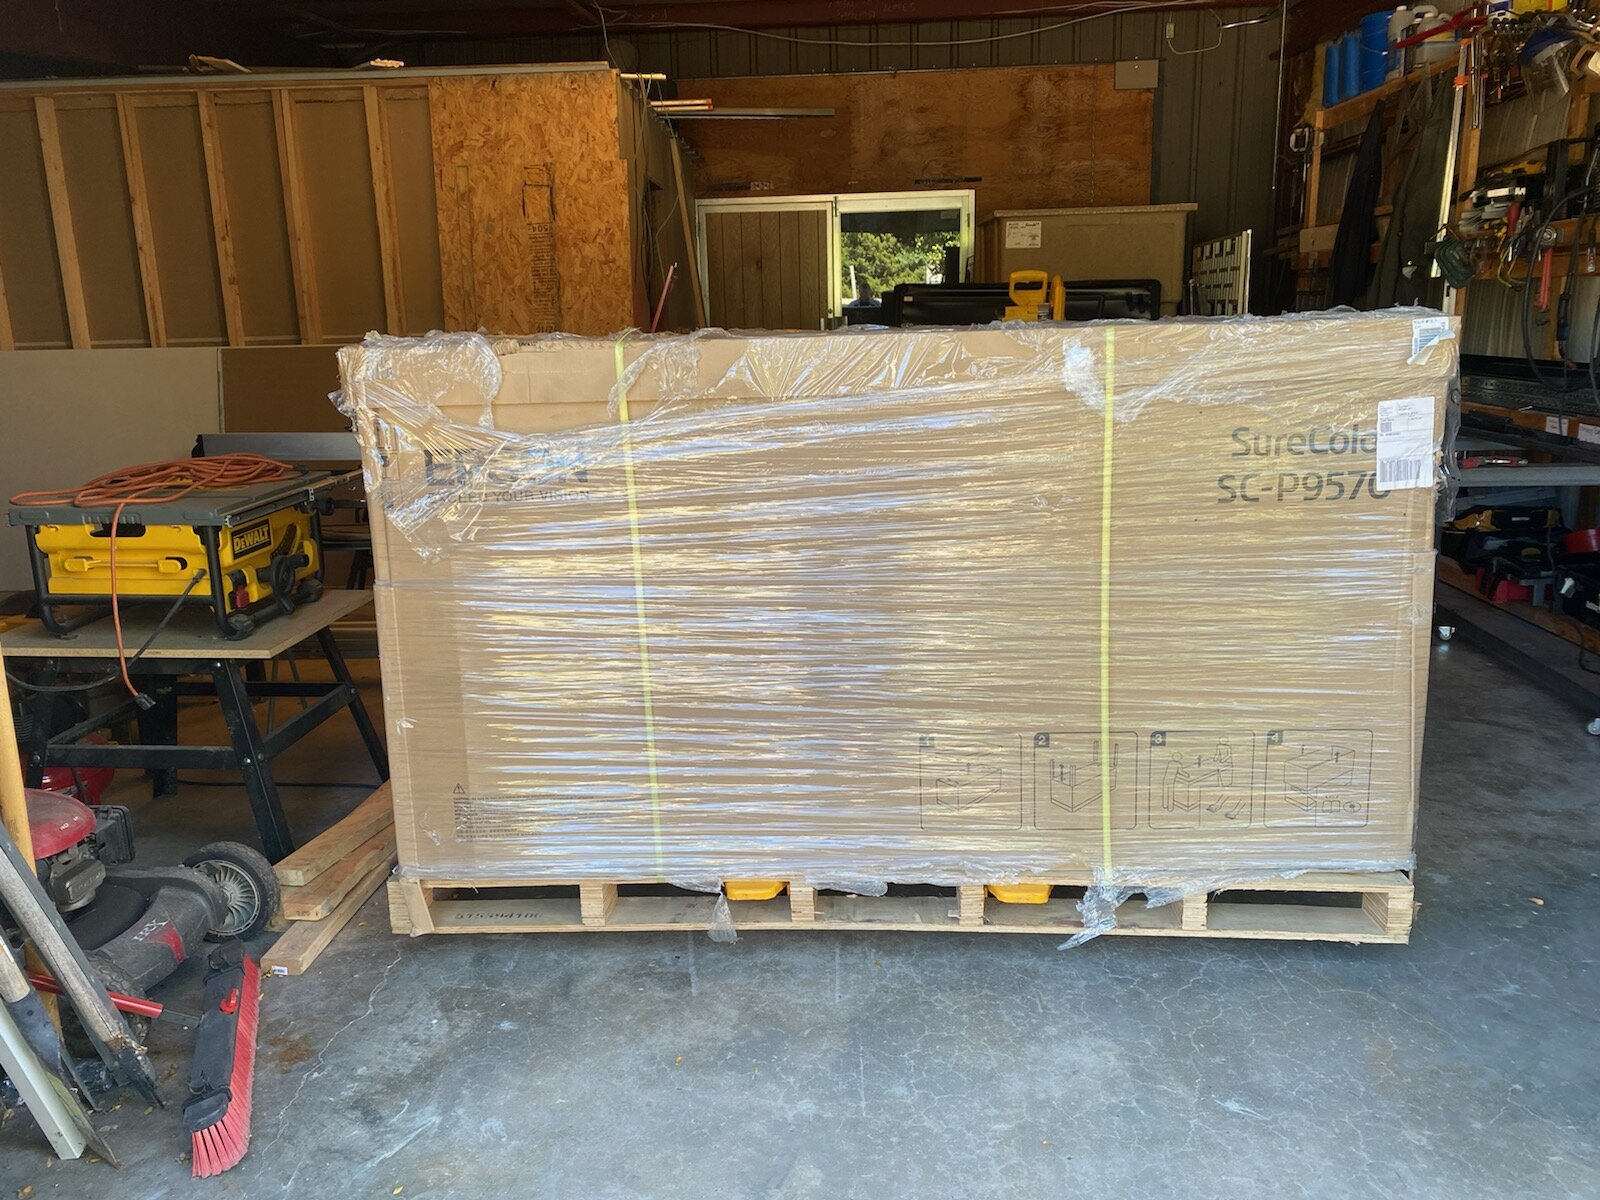
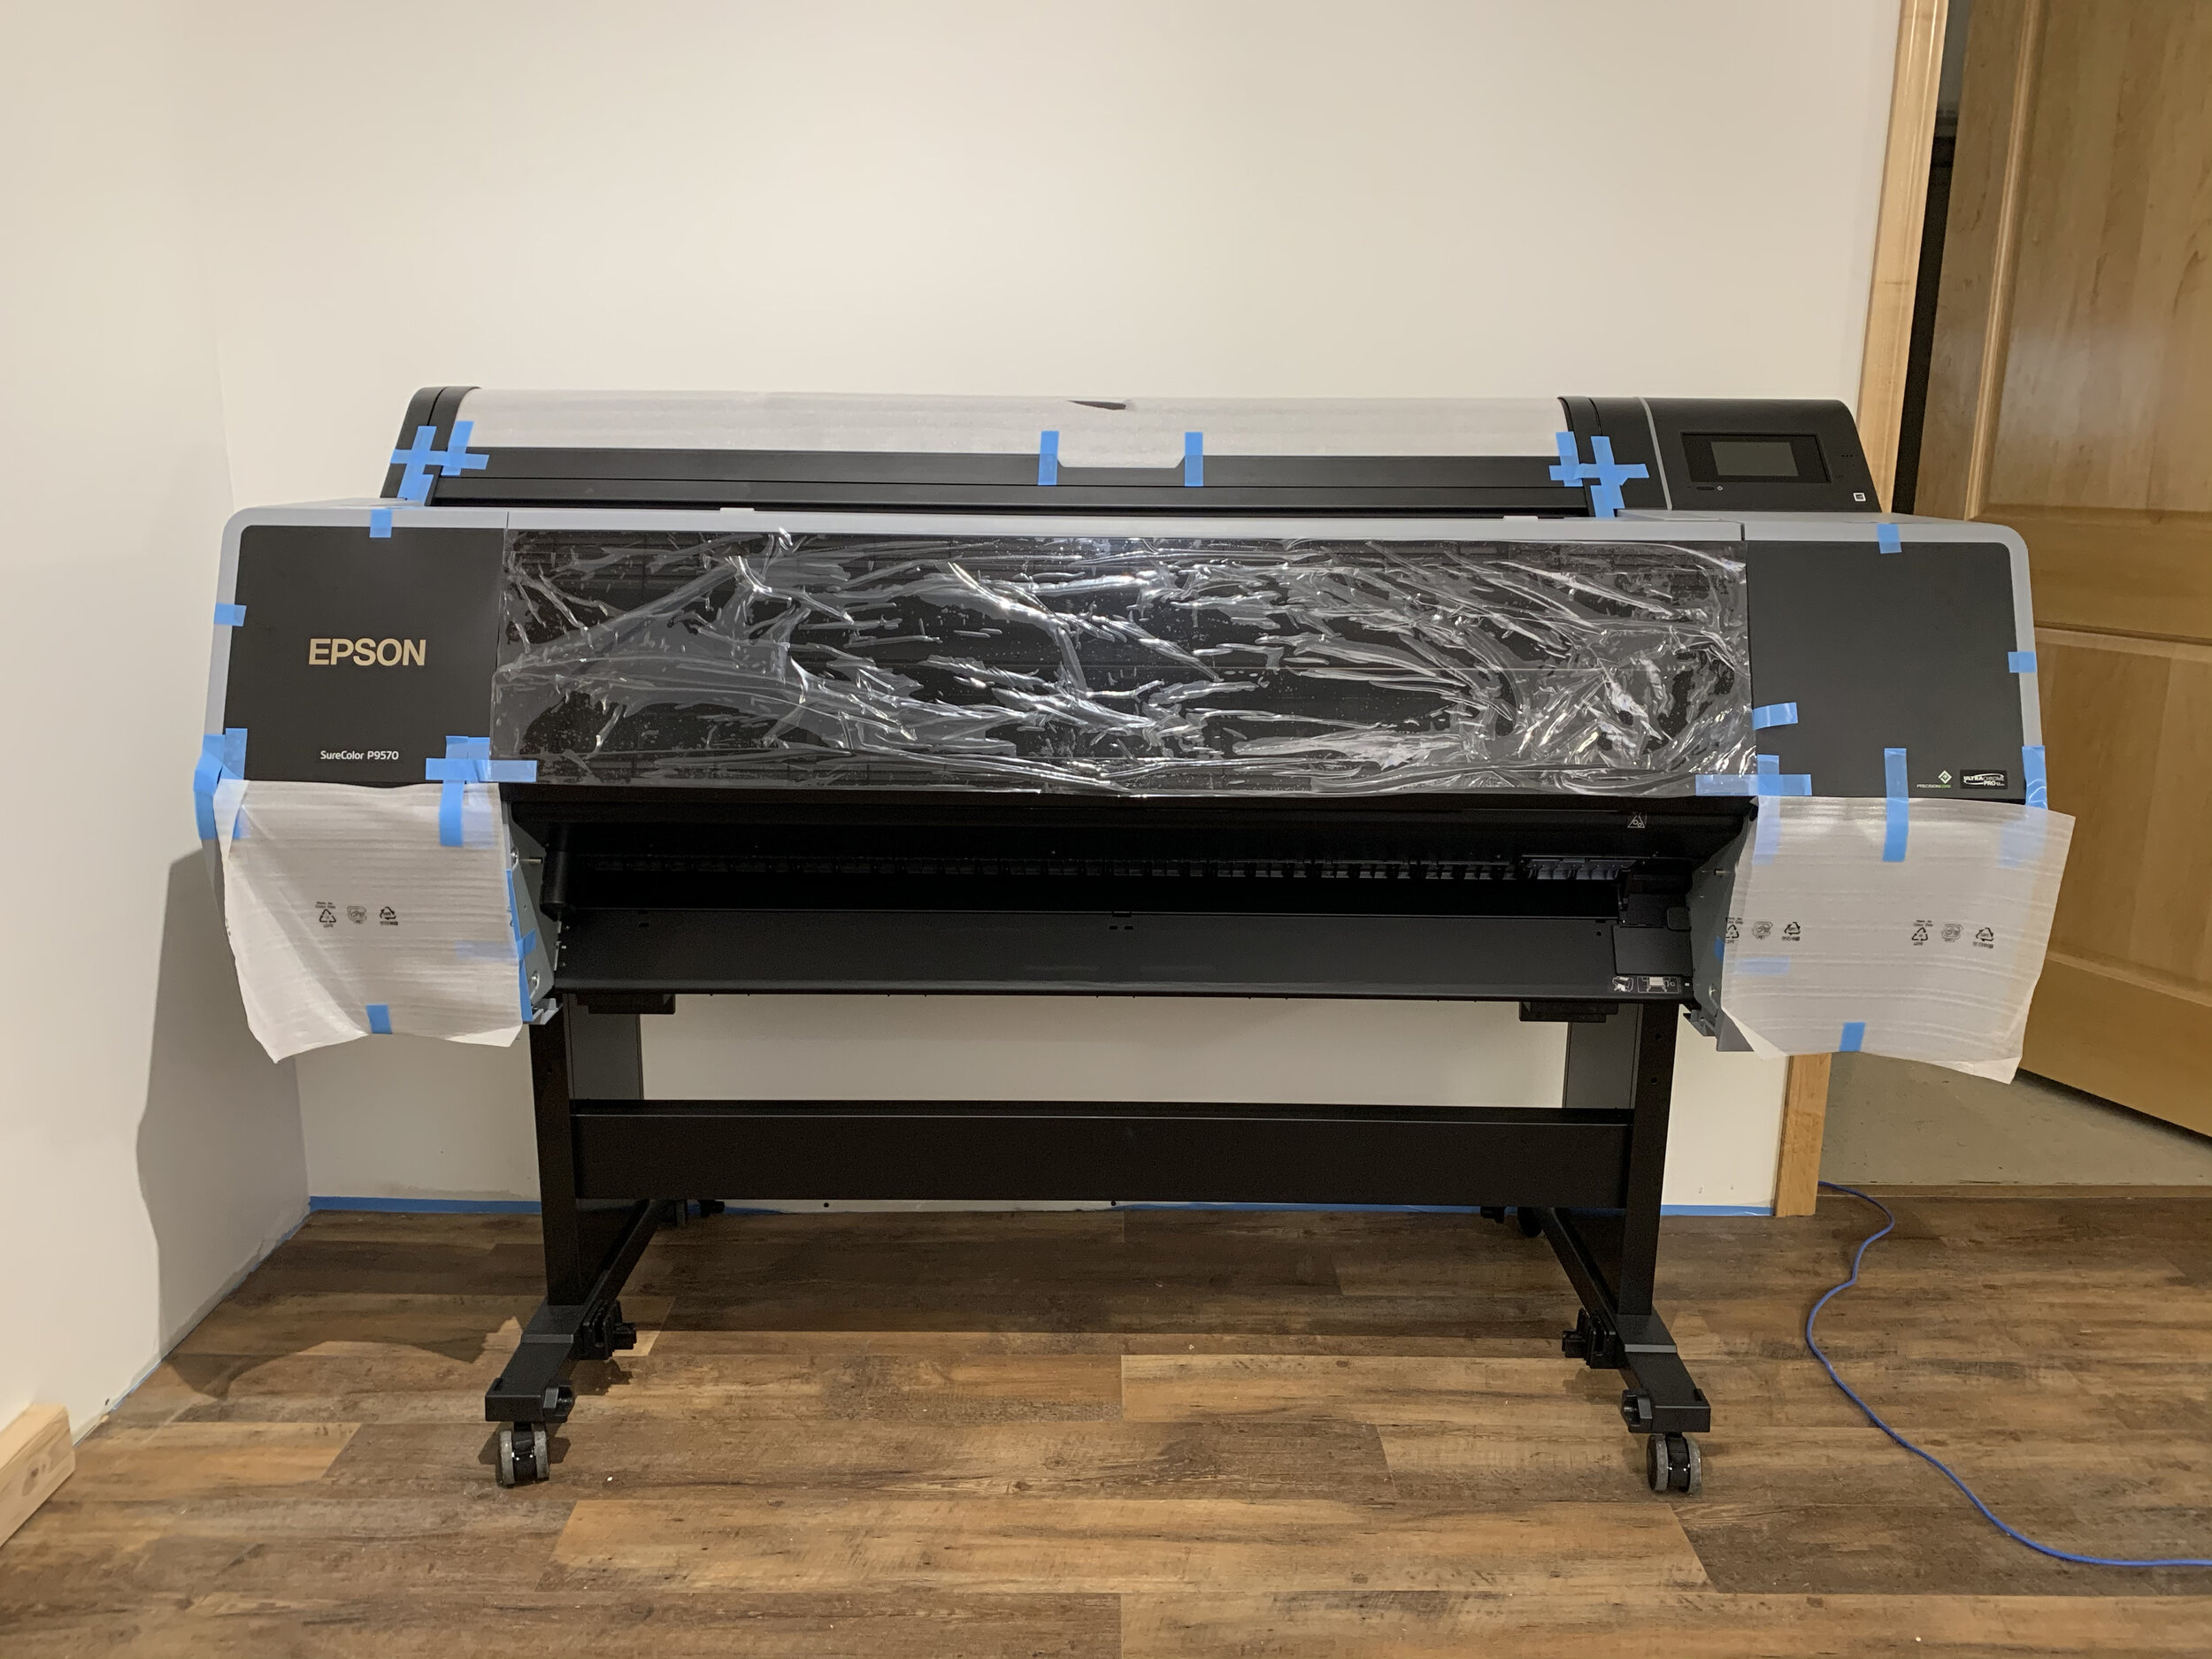
I also wanted to be able to both print my own inkjet prints, print for others, and proof prints for clients for commercial work in the darkroom, so I purchased and installed a new Epson p9570, which has been churning out gorgeous prints ever since.
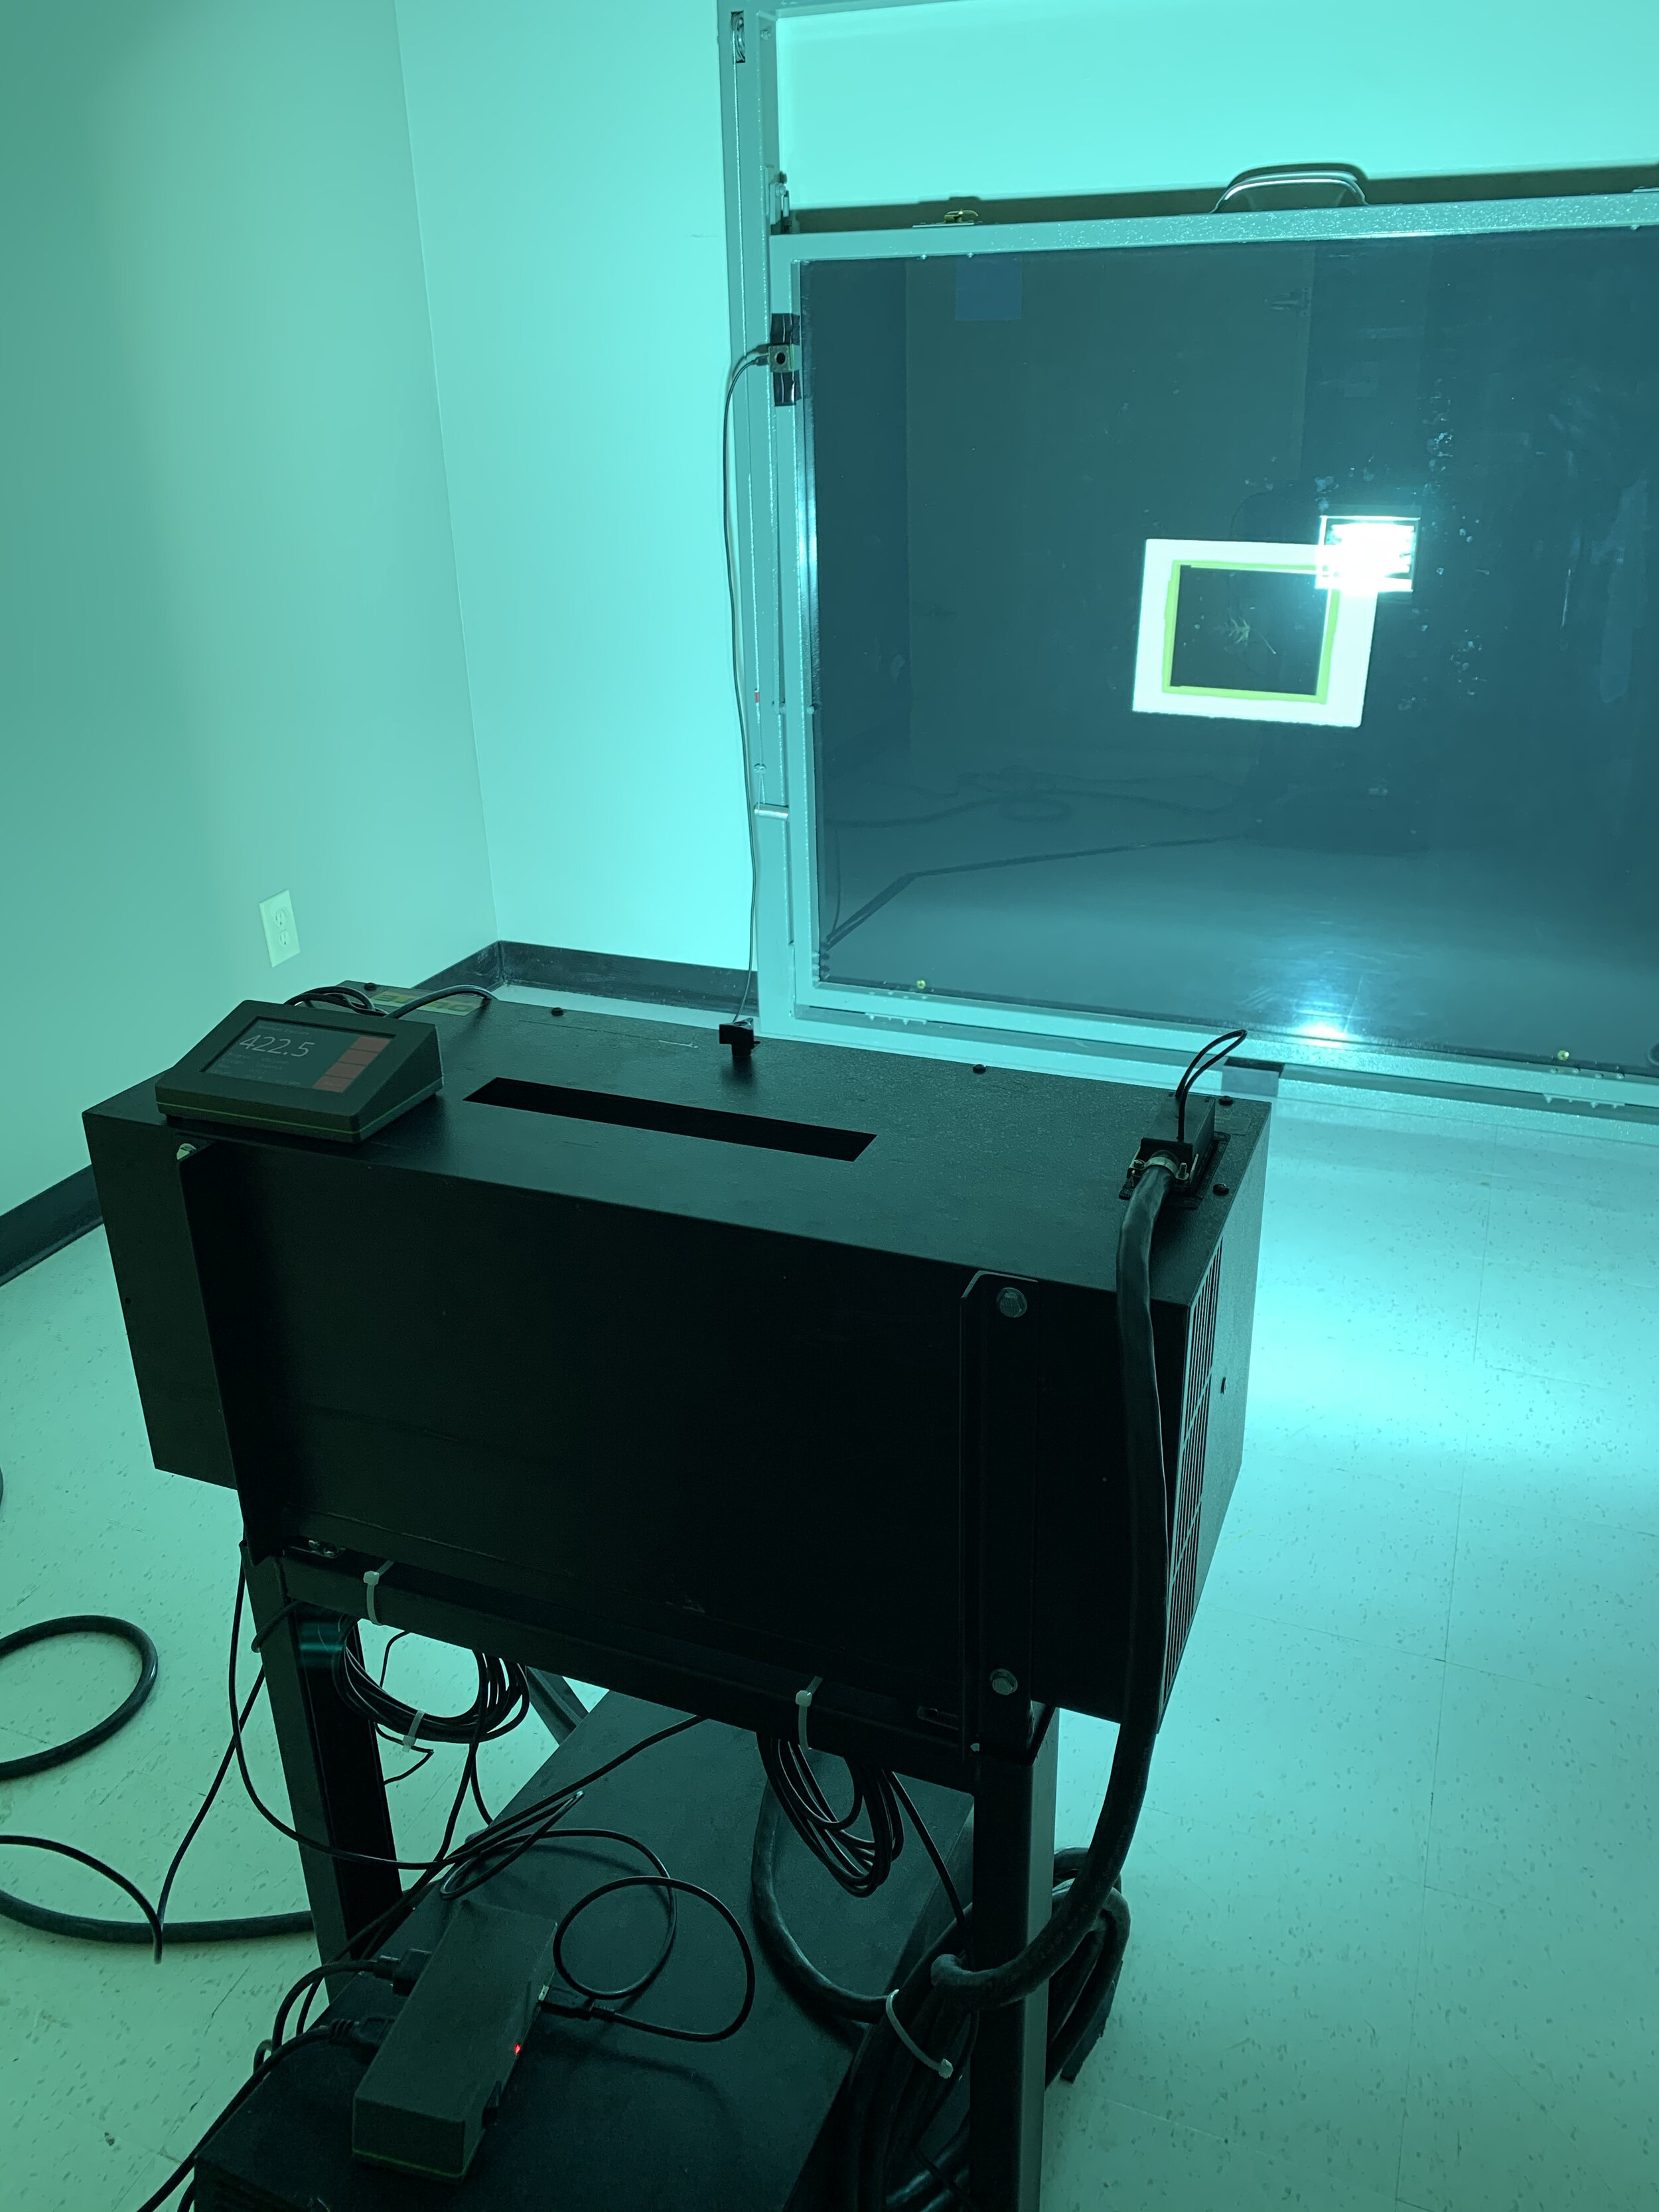
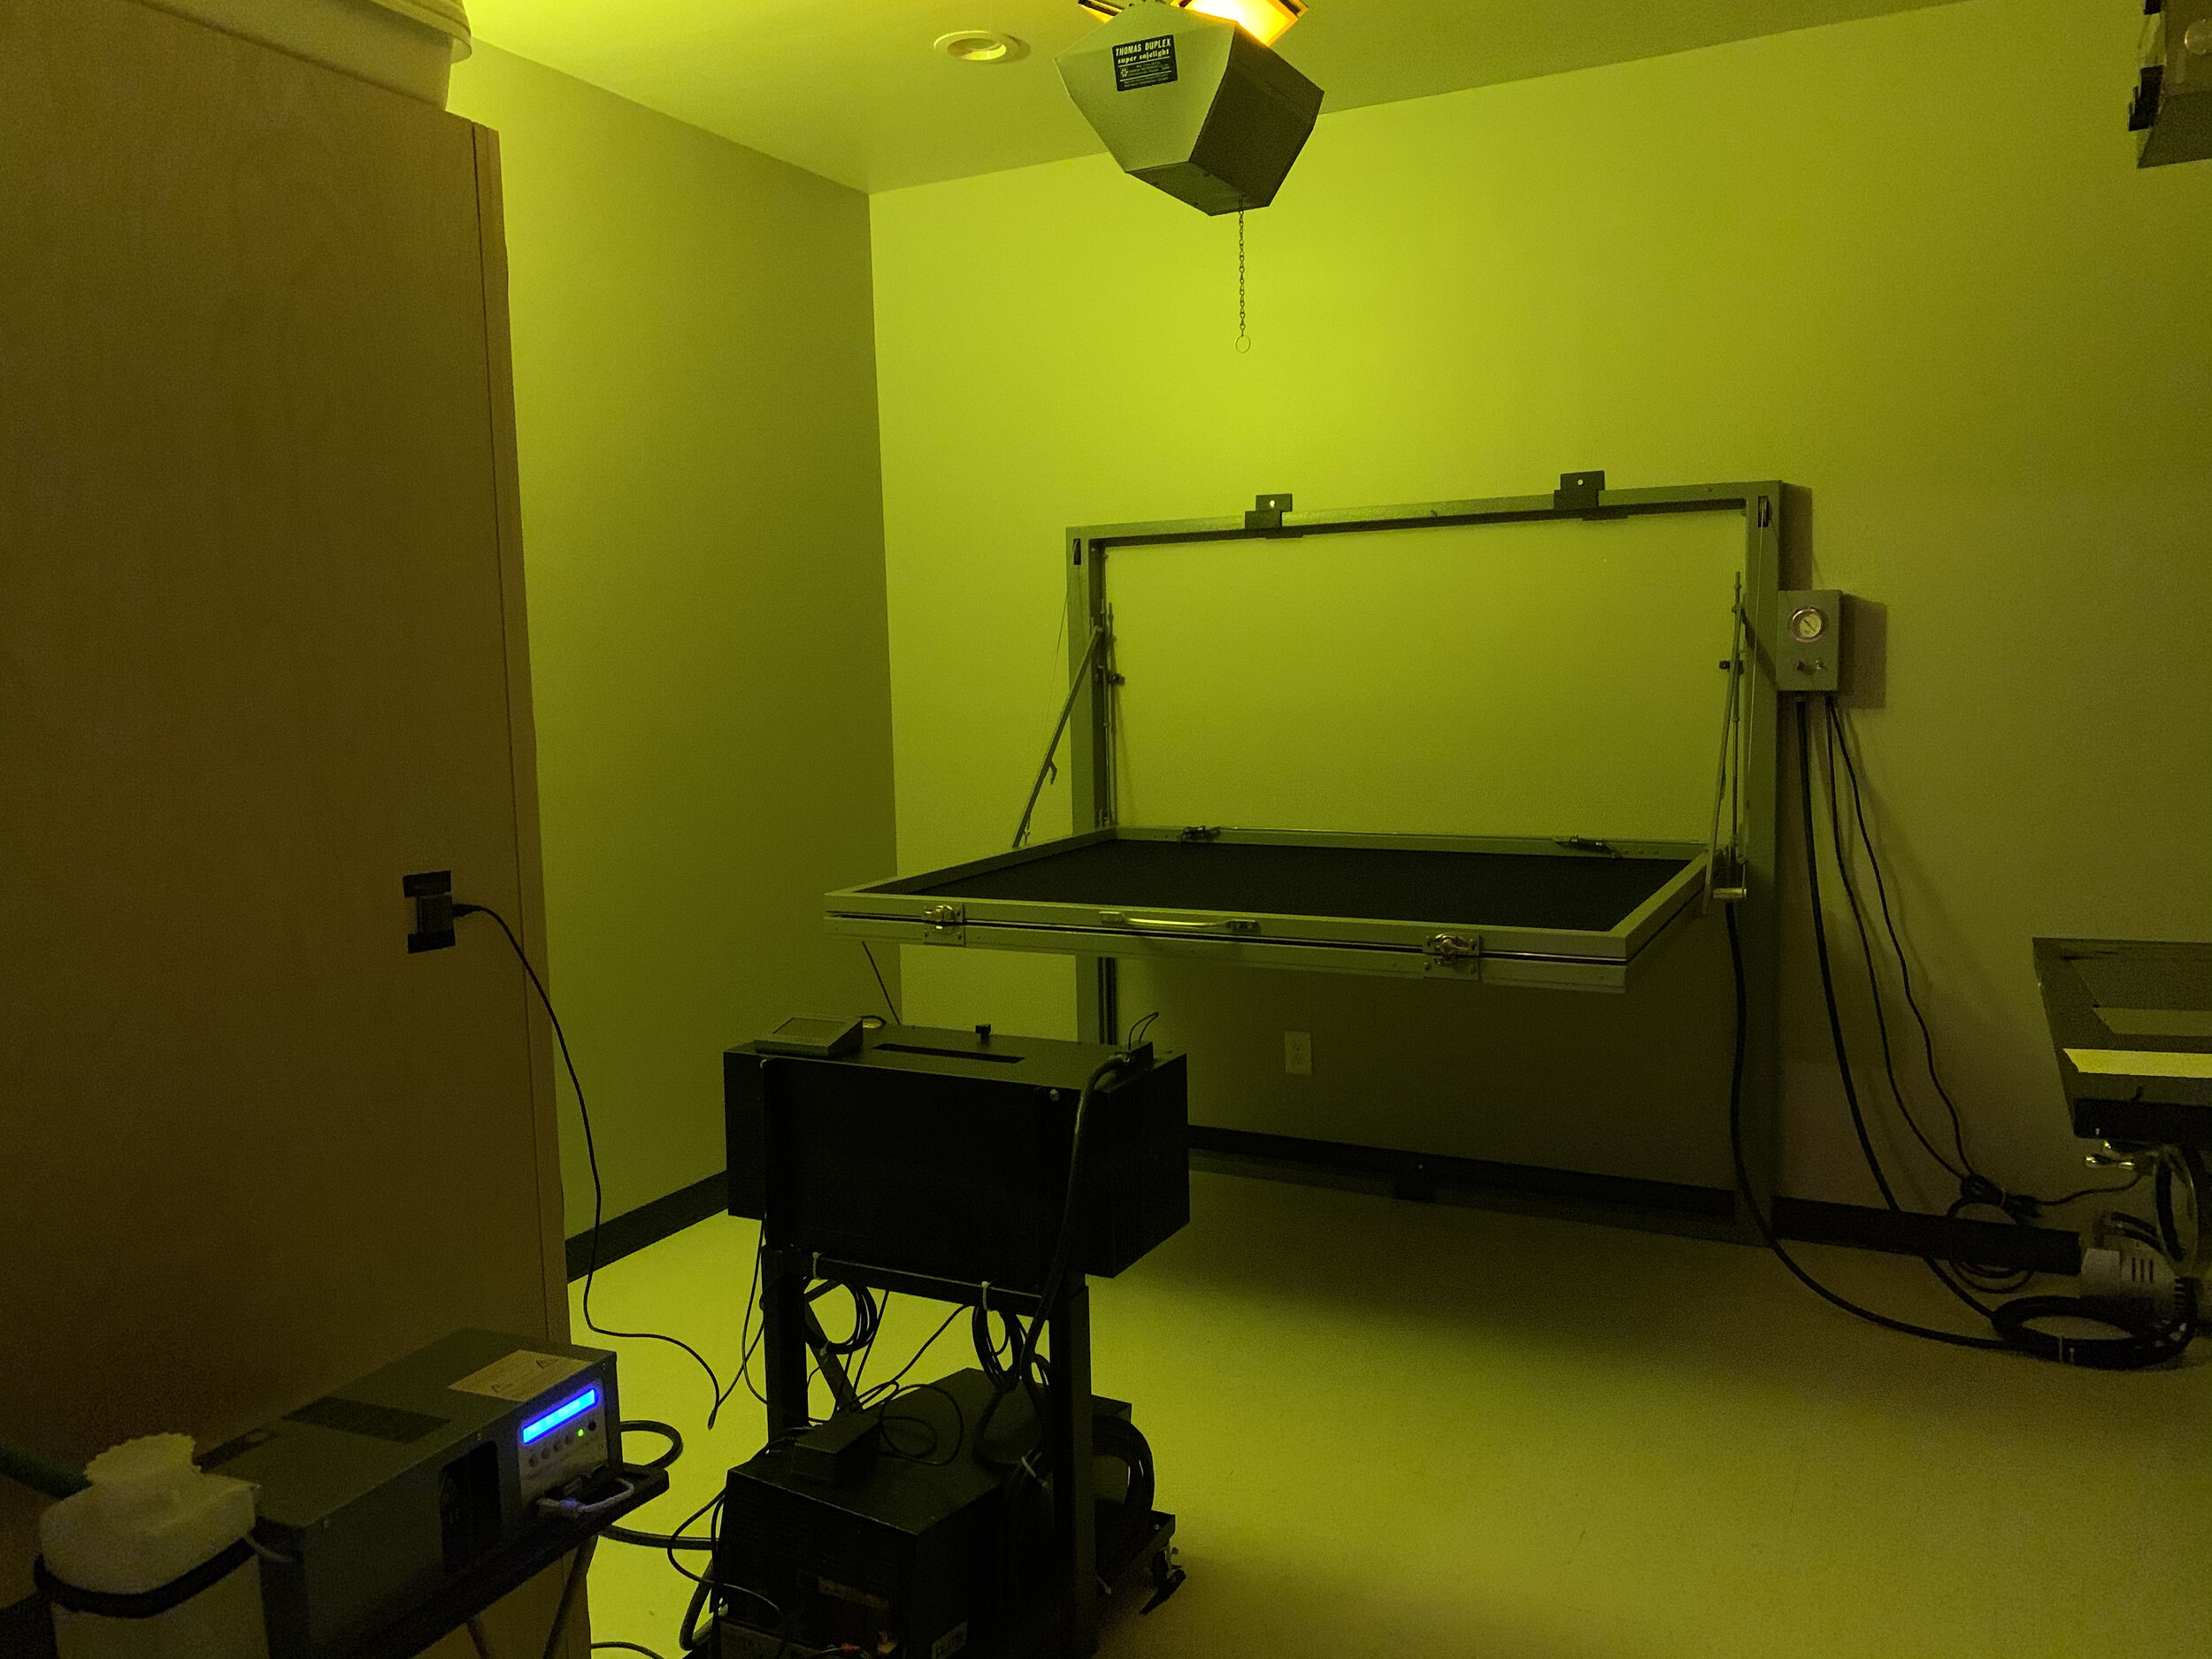
The last piece of the puzzle was the vacuum table for the exposure unit. I purchased the unit from a company who specializes in commercial screen printing equipment and would be wall mounted for space savings. I wanted to have the ability to print (at least) 32x40” image sizes, so the frame needed to hold at least a 40x50” piece of paper. Yet again…it was heavy. After a day of fighting it, we were able to get it secured to the wall and up and running.
When I was apprenticing for Stan Klimek in September of 2020, he so kindly gifted me one of his spare Olite AL53 exposure units.
The UV integrator that came with it (the unit that controls the amount of light projected) was extremely variable, so for accurate calibration, I needed something a little bit more consistent.
A few colleagues highly recommended using Ian Leake’s Light Counter system, which did have a power controller, but this unit was high voltage and had all kinds of other features that didn’t prove to be a cut and dry implementation.
The unit has a shutter, which flips over the UV bulb to start and stop the exposure because most metal halide bulbs have inconsistencies in UV output during their warmup time. On the power supply, there was a switch that controlled the shutter, so once the unit was on, all you had to do was manually flip open the switch to control the shutter.
In order to integrate the LC system, I bought the power controller, split a cable in half and bypassed the switch through Ian Leake’s relay which is controlled by the integrator.
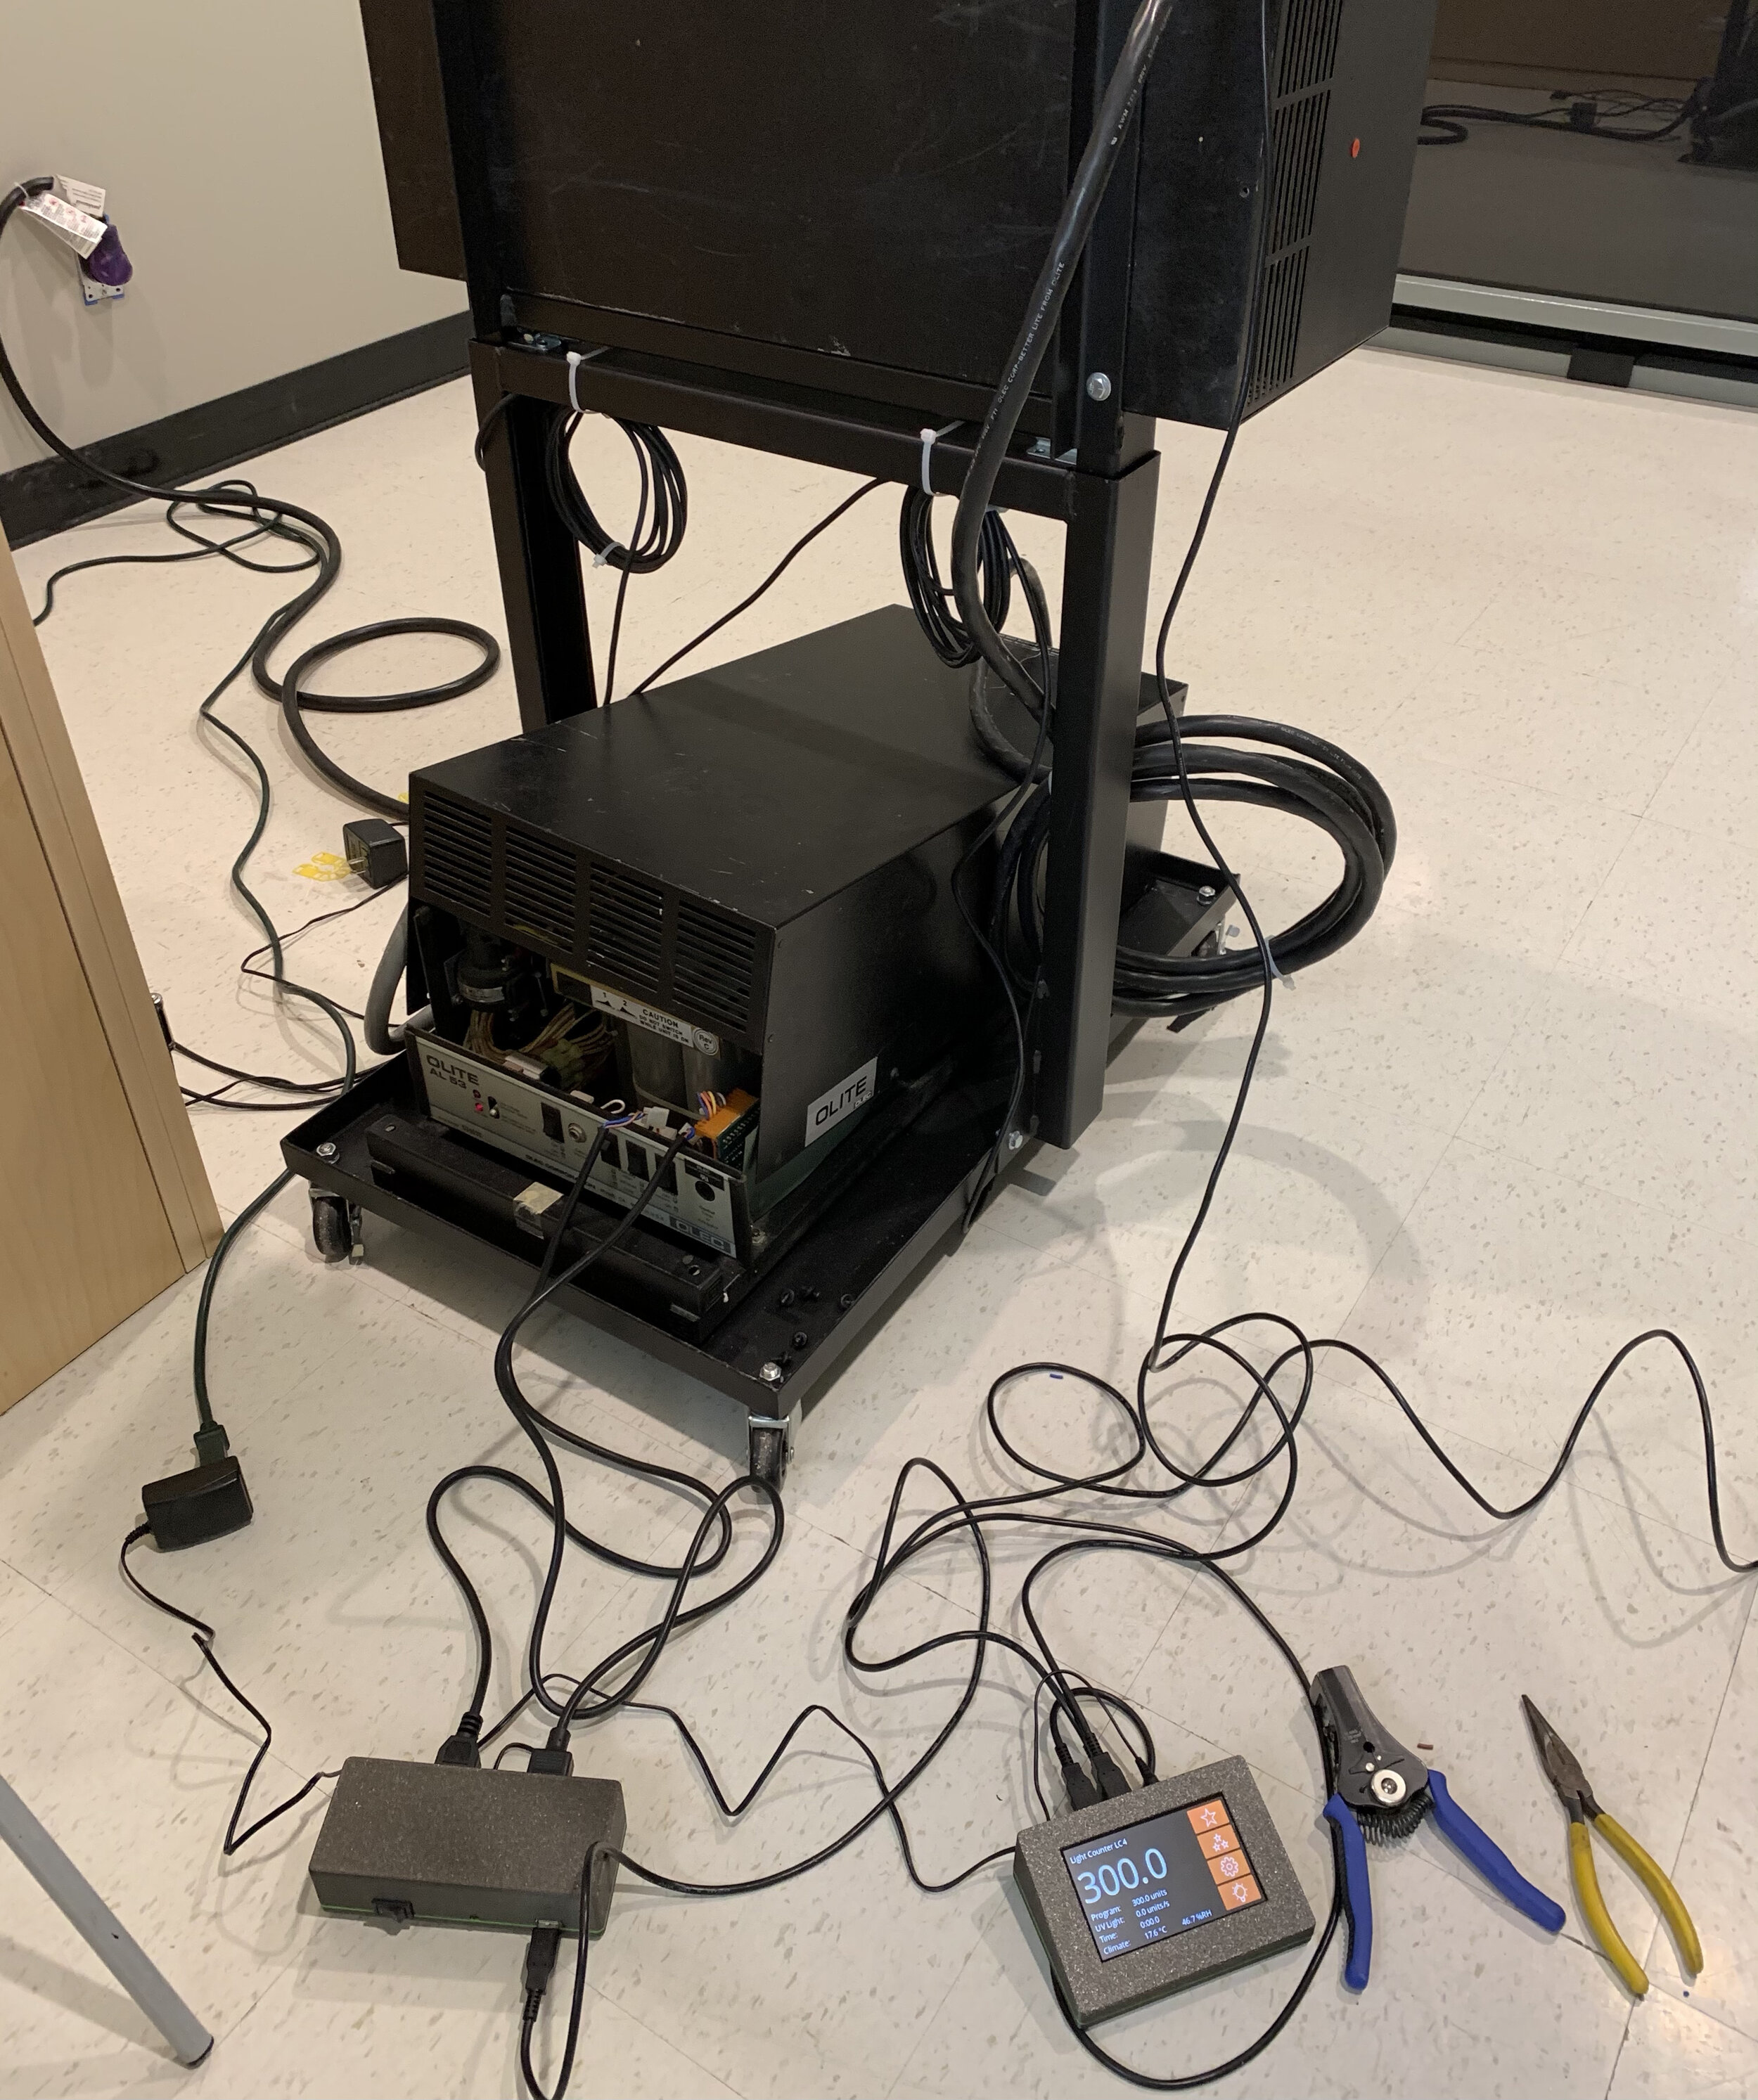
So now, with a simple press of the button to start the exposure on the integrator, the shutter flips open to begin the exposure, and flips closed when the sensor has collected the set amount of UV light.
The Finished Project

After 5 years of planning, designing, dreaming, and a whole lot of hard work, the darkroom is now “finished” as of September of 2020. I’m now fully operational and cranking out platinum prints for myself and other photographers with my new platinum palladium printing service.
Since I have been drum scanning for others, I have realized how exciting it is creatively to work alongside other artists in the creation of their work. Printing, especially darkroom printing, is somewhat of a succession of that and it’s so exciting to bring other photographers’ work to final print. It’s also a pleasant creative break for myself at times as well, since I am a working artist and burnout can easily happen.
This dream definitely wouldn’t have been possible without the support of my wife and my family, and especially my dad who has been so generous with his space and assistance throughout the whole process.
There’s more to come! While I’m running with platinum palladium, I am head first into gum bichromate printing and will soon travel to Spain to study color carbon transfer printing with Calvin Grier. Stay tuned!
I am also constantly (probably begrudgingly to some) posting behind the scenes stories on my Instagram, Facebook, andTwitter accounts. Follow along to check out what it’s like to work in my darkroom: