• Of the Earth - Fine Press Edition
  • Collections
  • About
    • Platinum Palladium Printing
    • Carbon Transfer Printing Services
    • Drum Scanning Service
Menu

Michael Strickland Images

Photographer and Printmaker
  • Books
    • Of the Earth - Fine Press Edition
  • Collections
  • About
  • Services
    • Platinum Palladium Printing
    • Carbon Transfer Printing Services
    • Drum Scanning Service
Chamonix 45F-2, Rodenstock Sironar-S 150mm f/5.6, Lee 85 Filter Holder

Chamonix 45F-2, Rodenstock Sironar-S 150mm f/5.6, Lee 85 Filter Holder

Review: LEE Filters 85 Filters and Holder

August 25, 2021

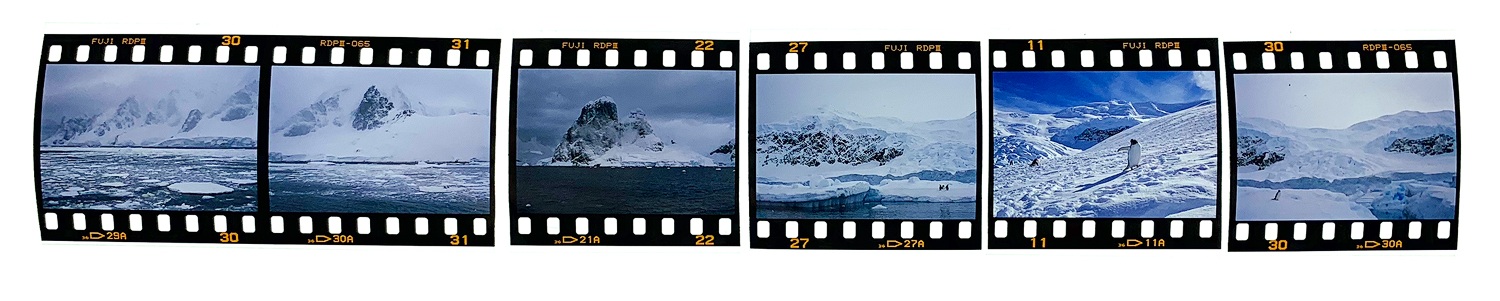
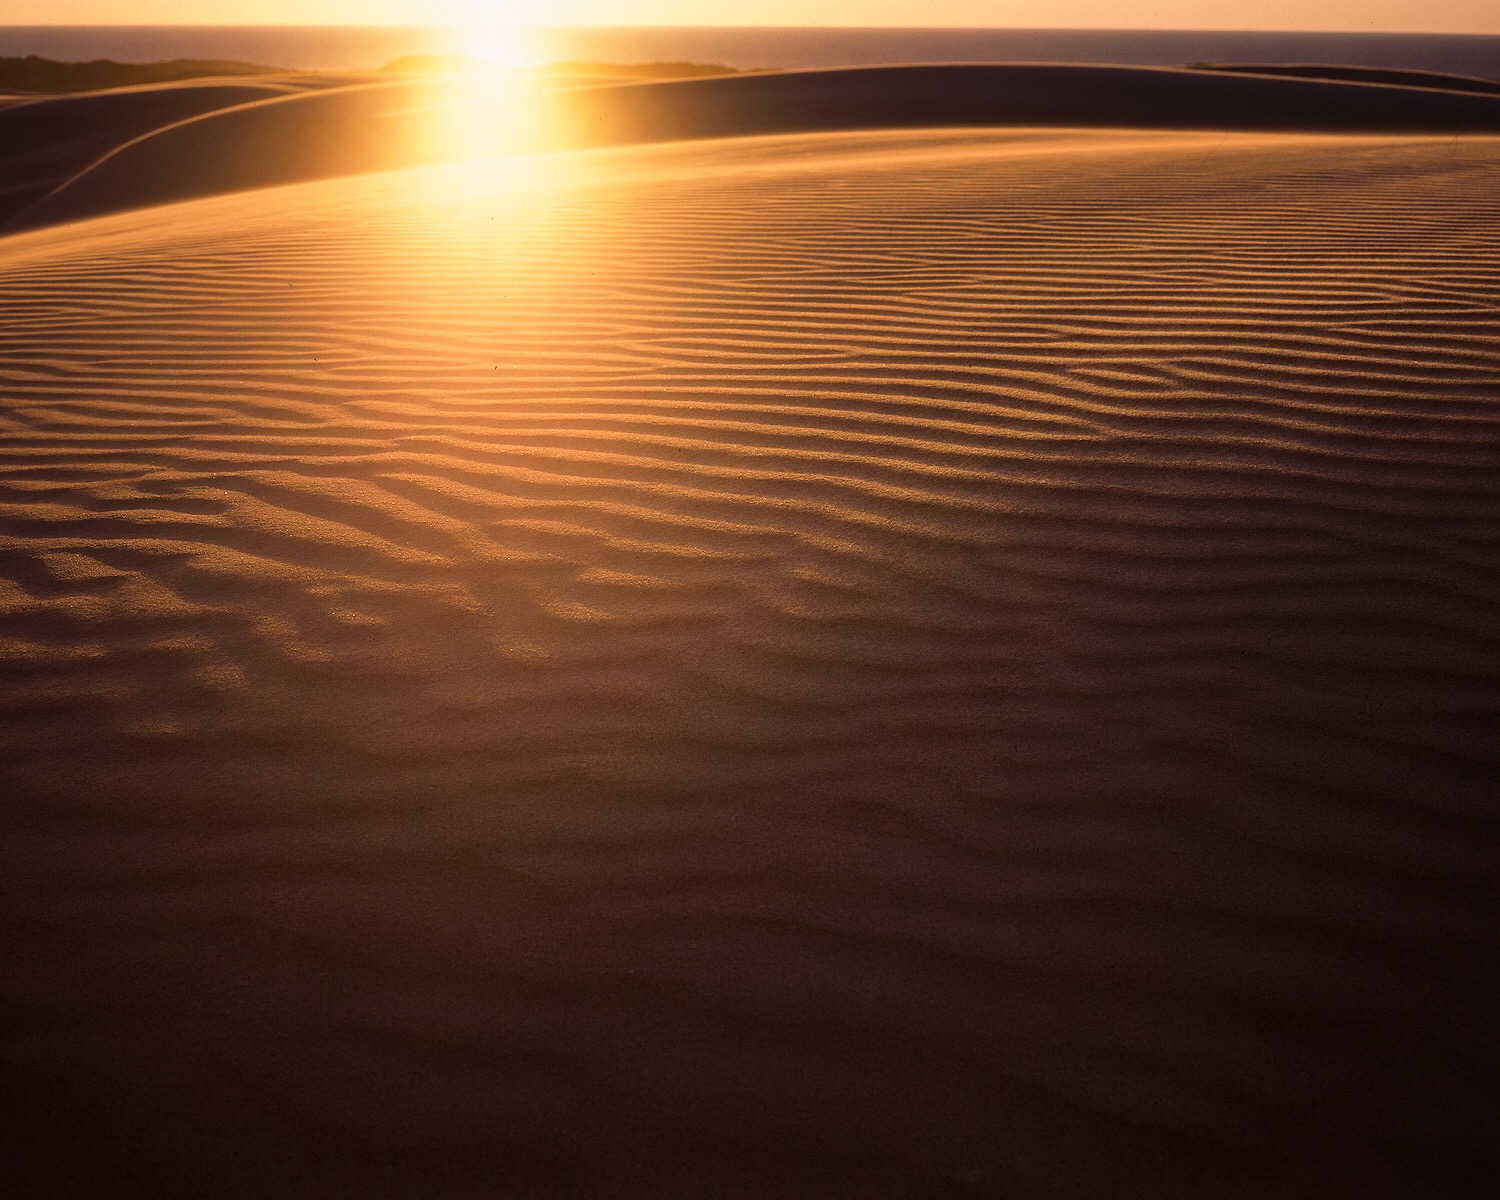
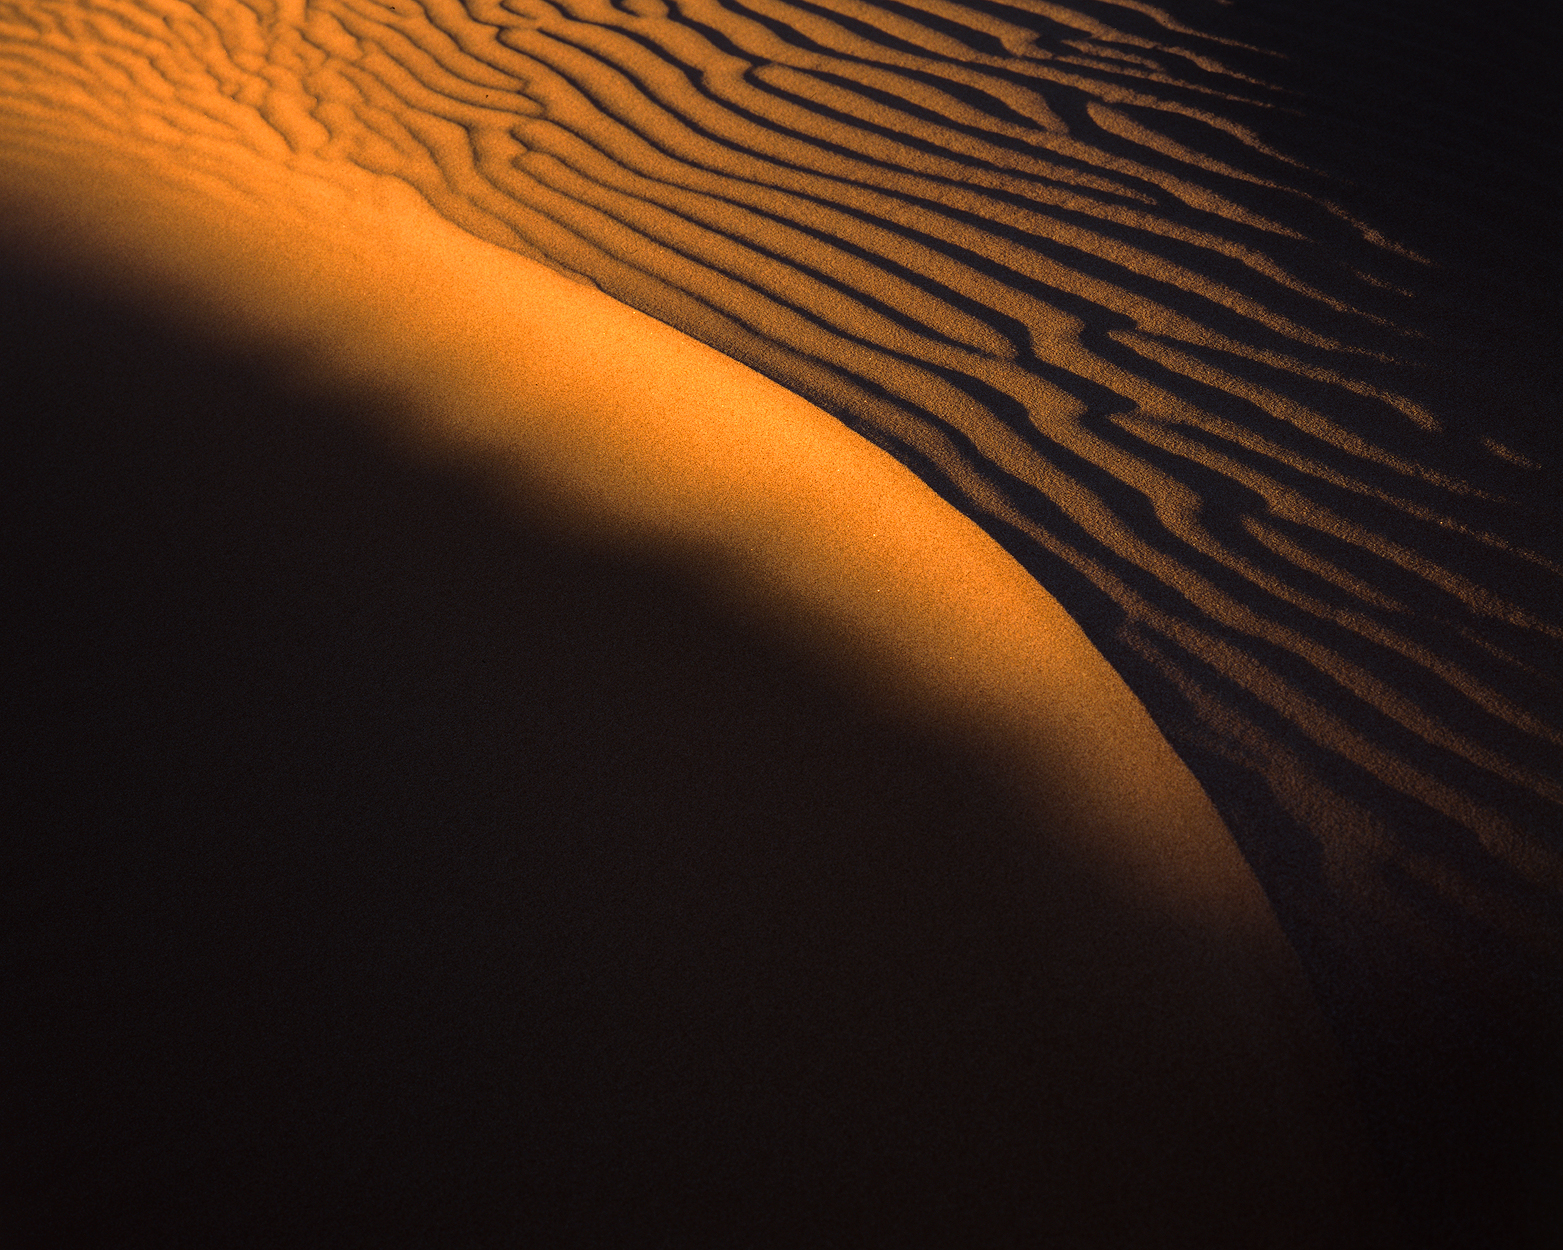
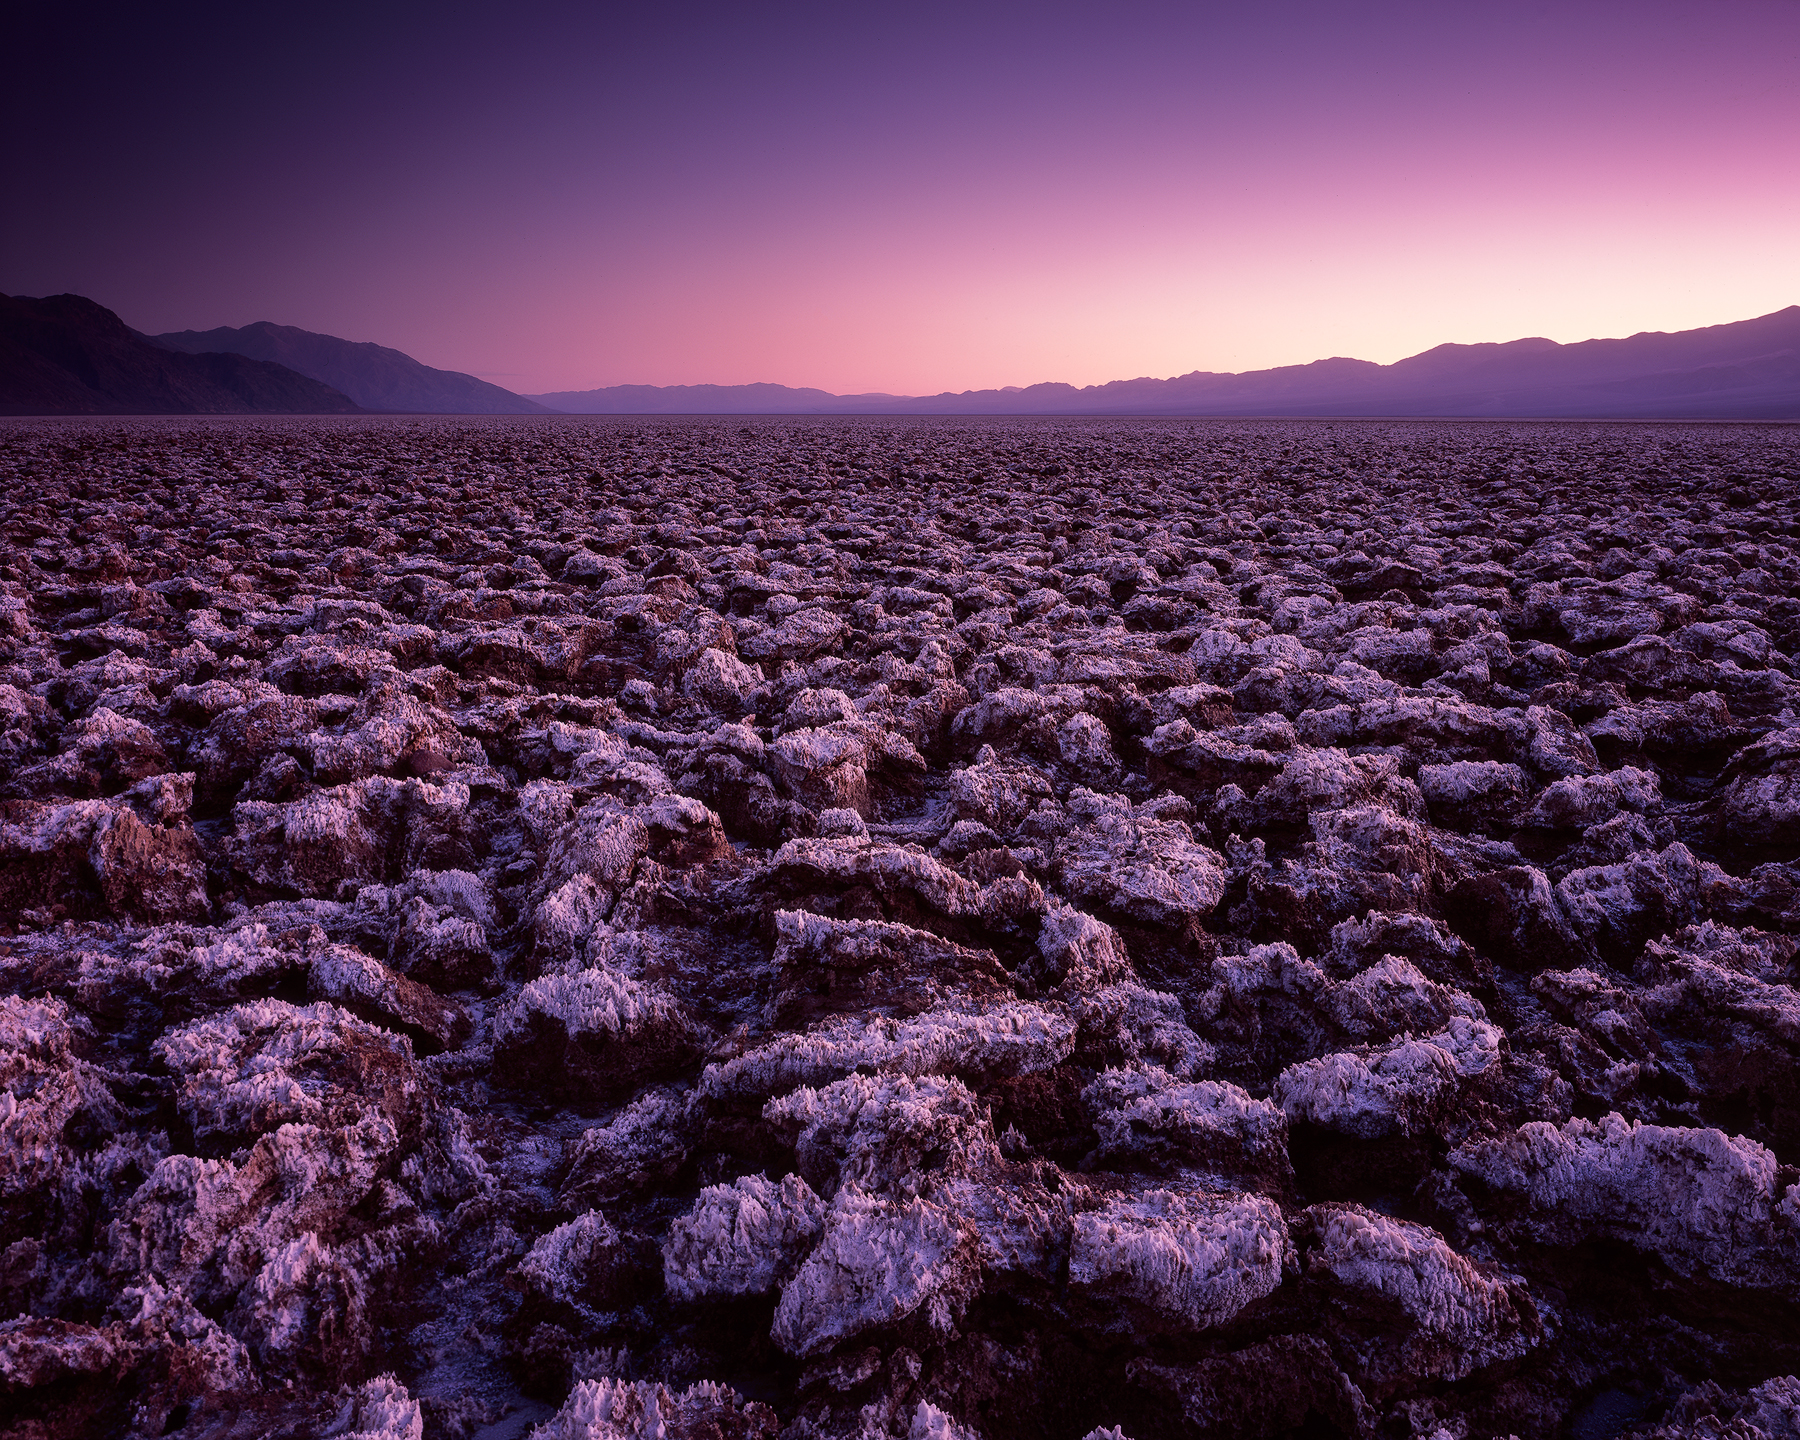
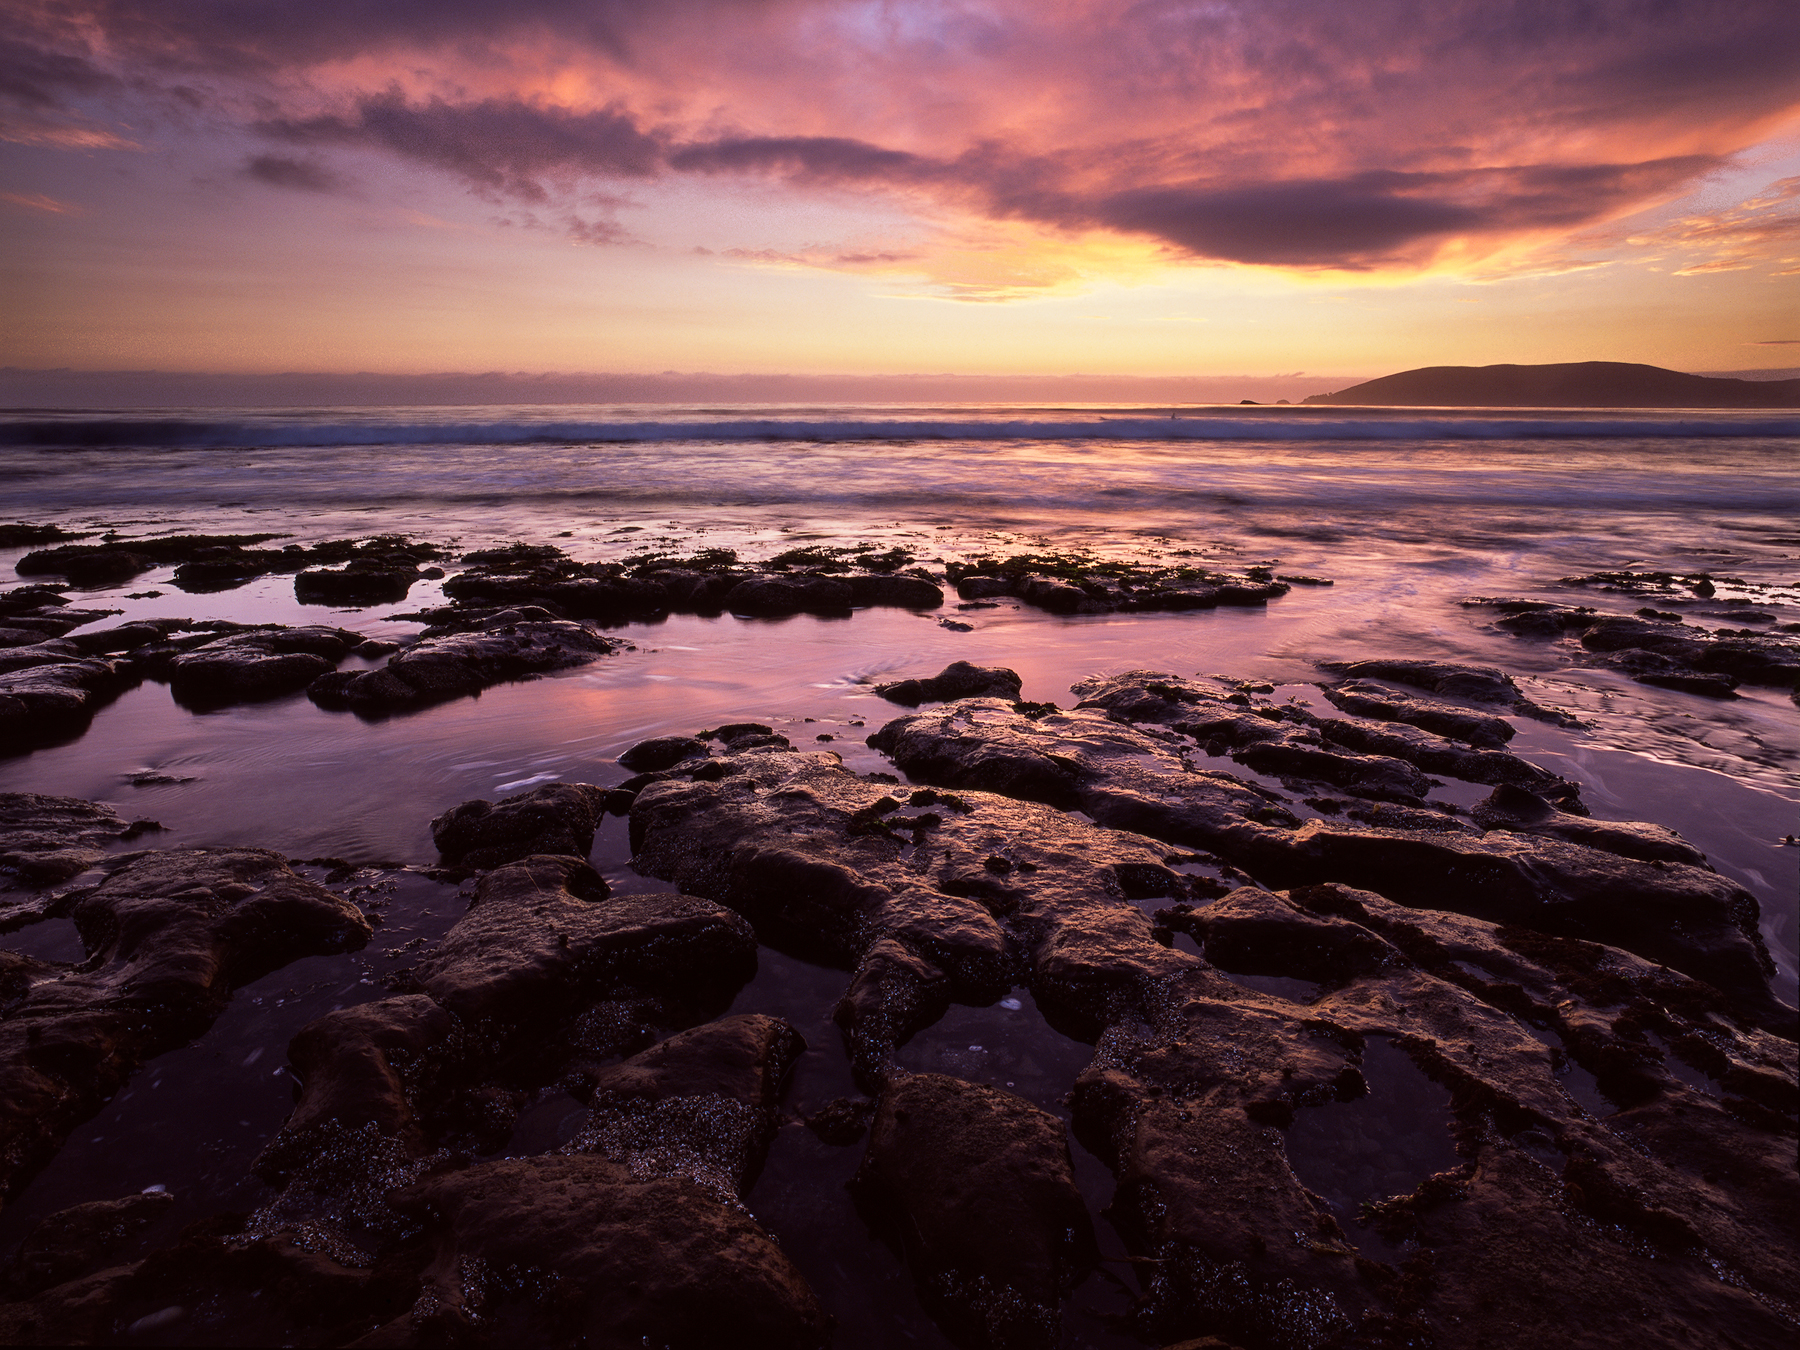
Over the past year, I’ve been diligently working to pair down my equipment to a few usable kits, specifically my large format gear. While I enjoy using faster lenses in the field, particularly with 8x10, I definitely mind the heft. I had essentially 3 lens sets for large format - a 4x5 set, a close-to-the-car 8x10 set, and a lighter weight 8x10 set. While i’ve kept the majority of the big 8x10 lenses, I’ve narrowed a few down to a very usable lightweight two-kit lens set, with a couple of focal lengths overlapping between my 4x5 and 8x10, which is even better.

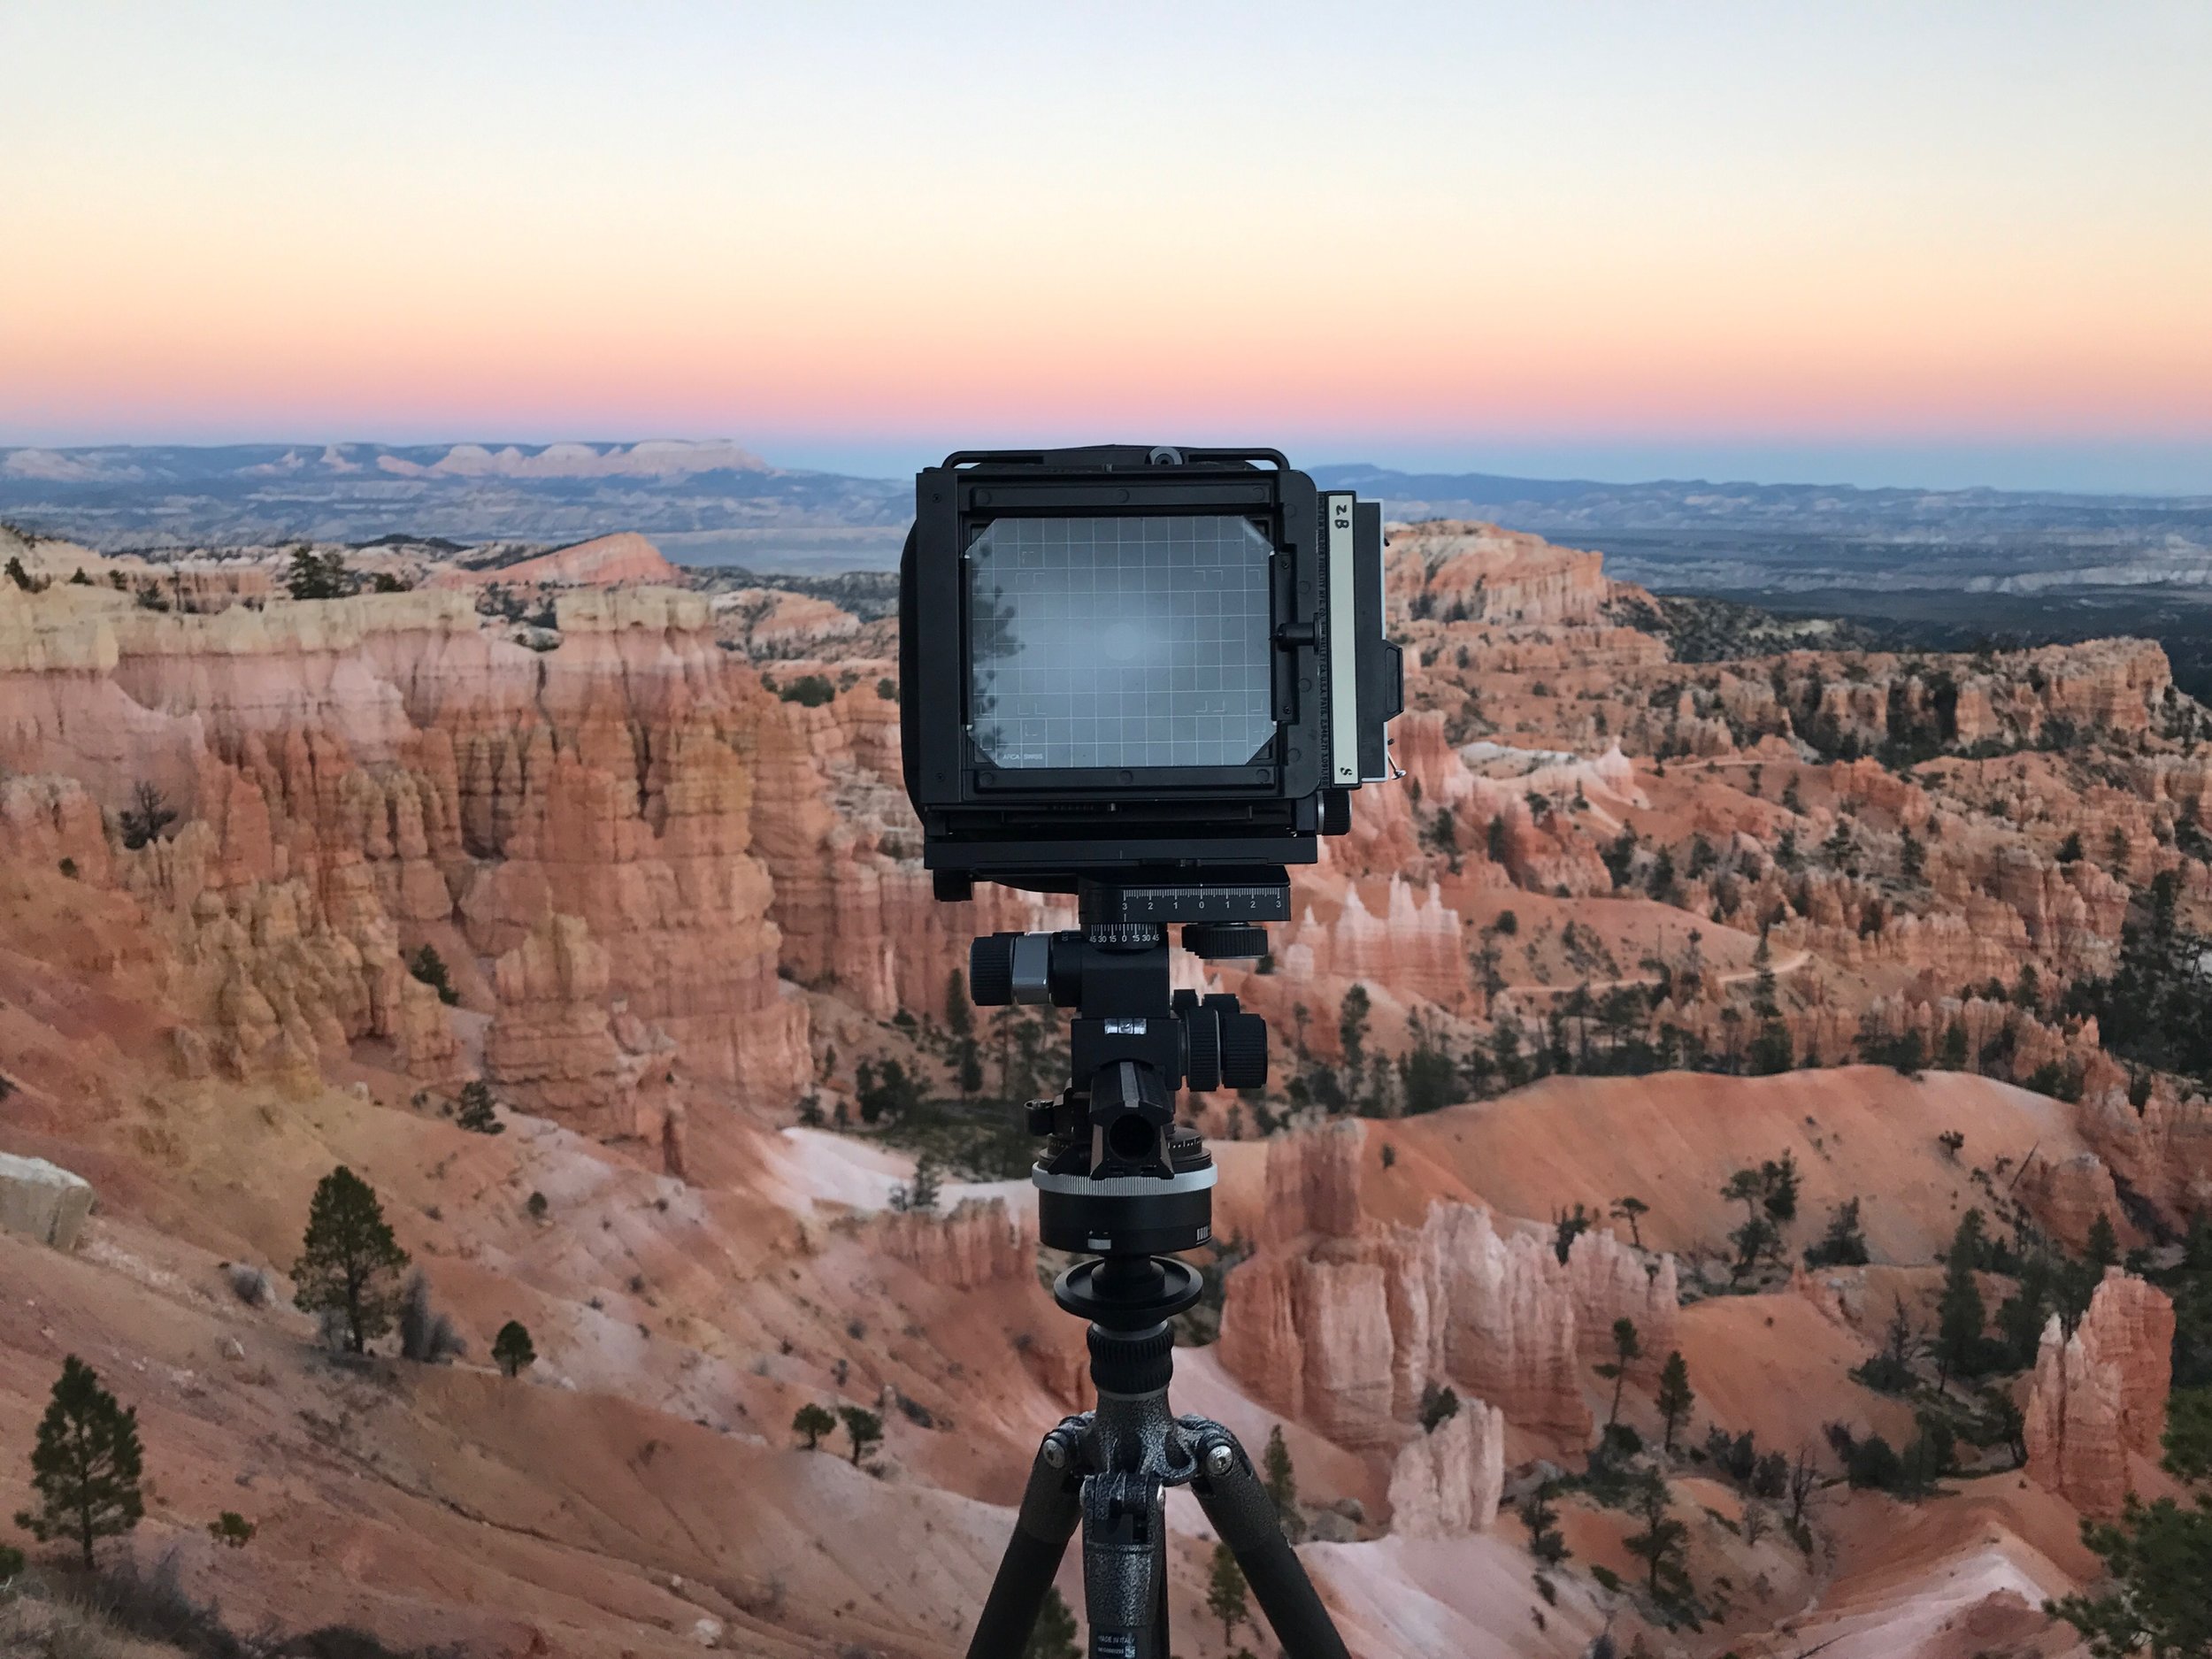
Pairing down from my Arca-Swiss cameras (which I still adore and enjoy) I have mainly switched to using wooden field cameras from Chamonix. For my 4x5, I’ve been using the 45F-2 and for the 8x10, the Alpinist X. Both significantly cut down the weight of my pack, and also trimmed away the footprint those rail cameras take up in the backpack.

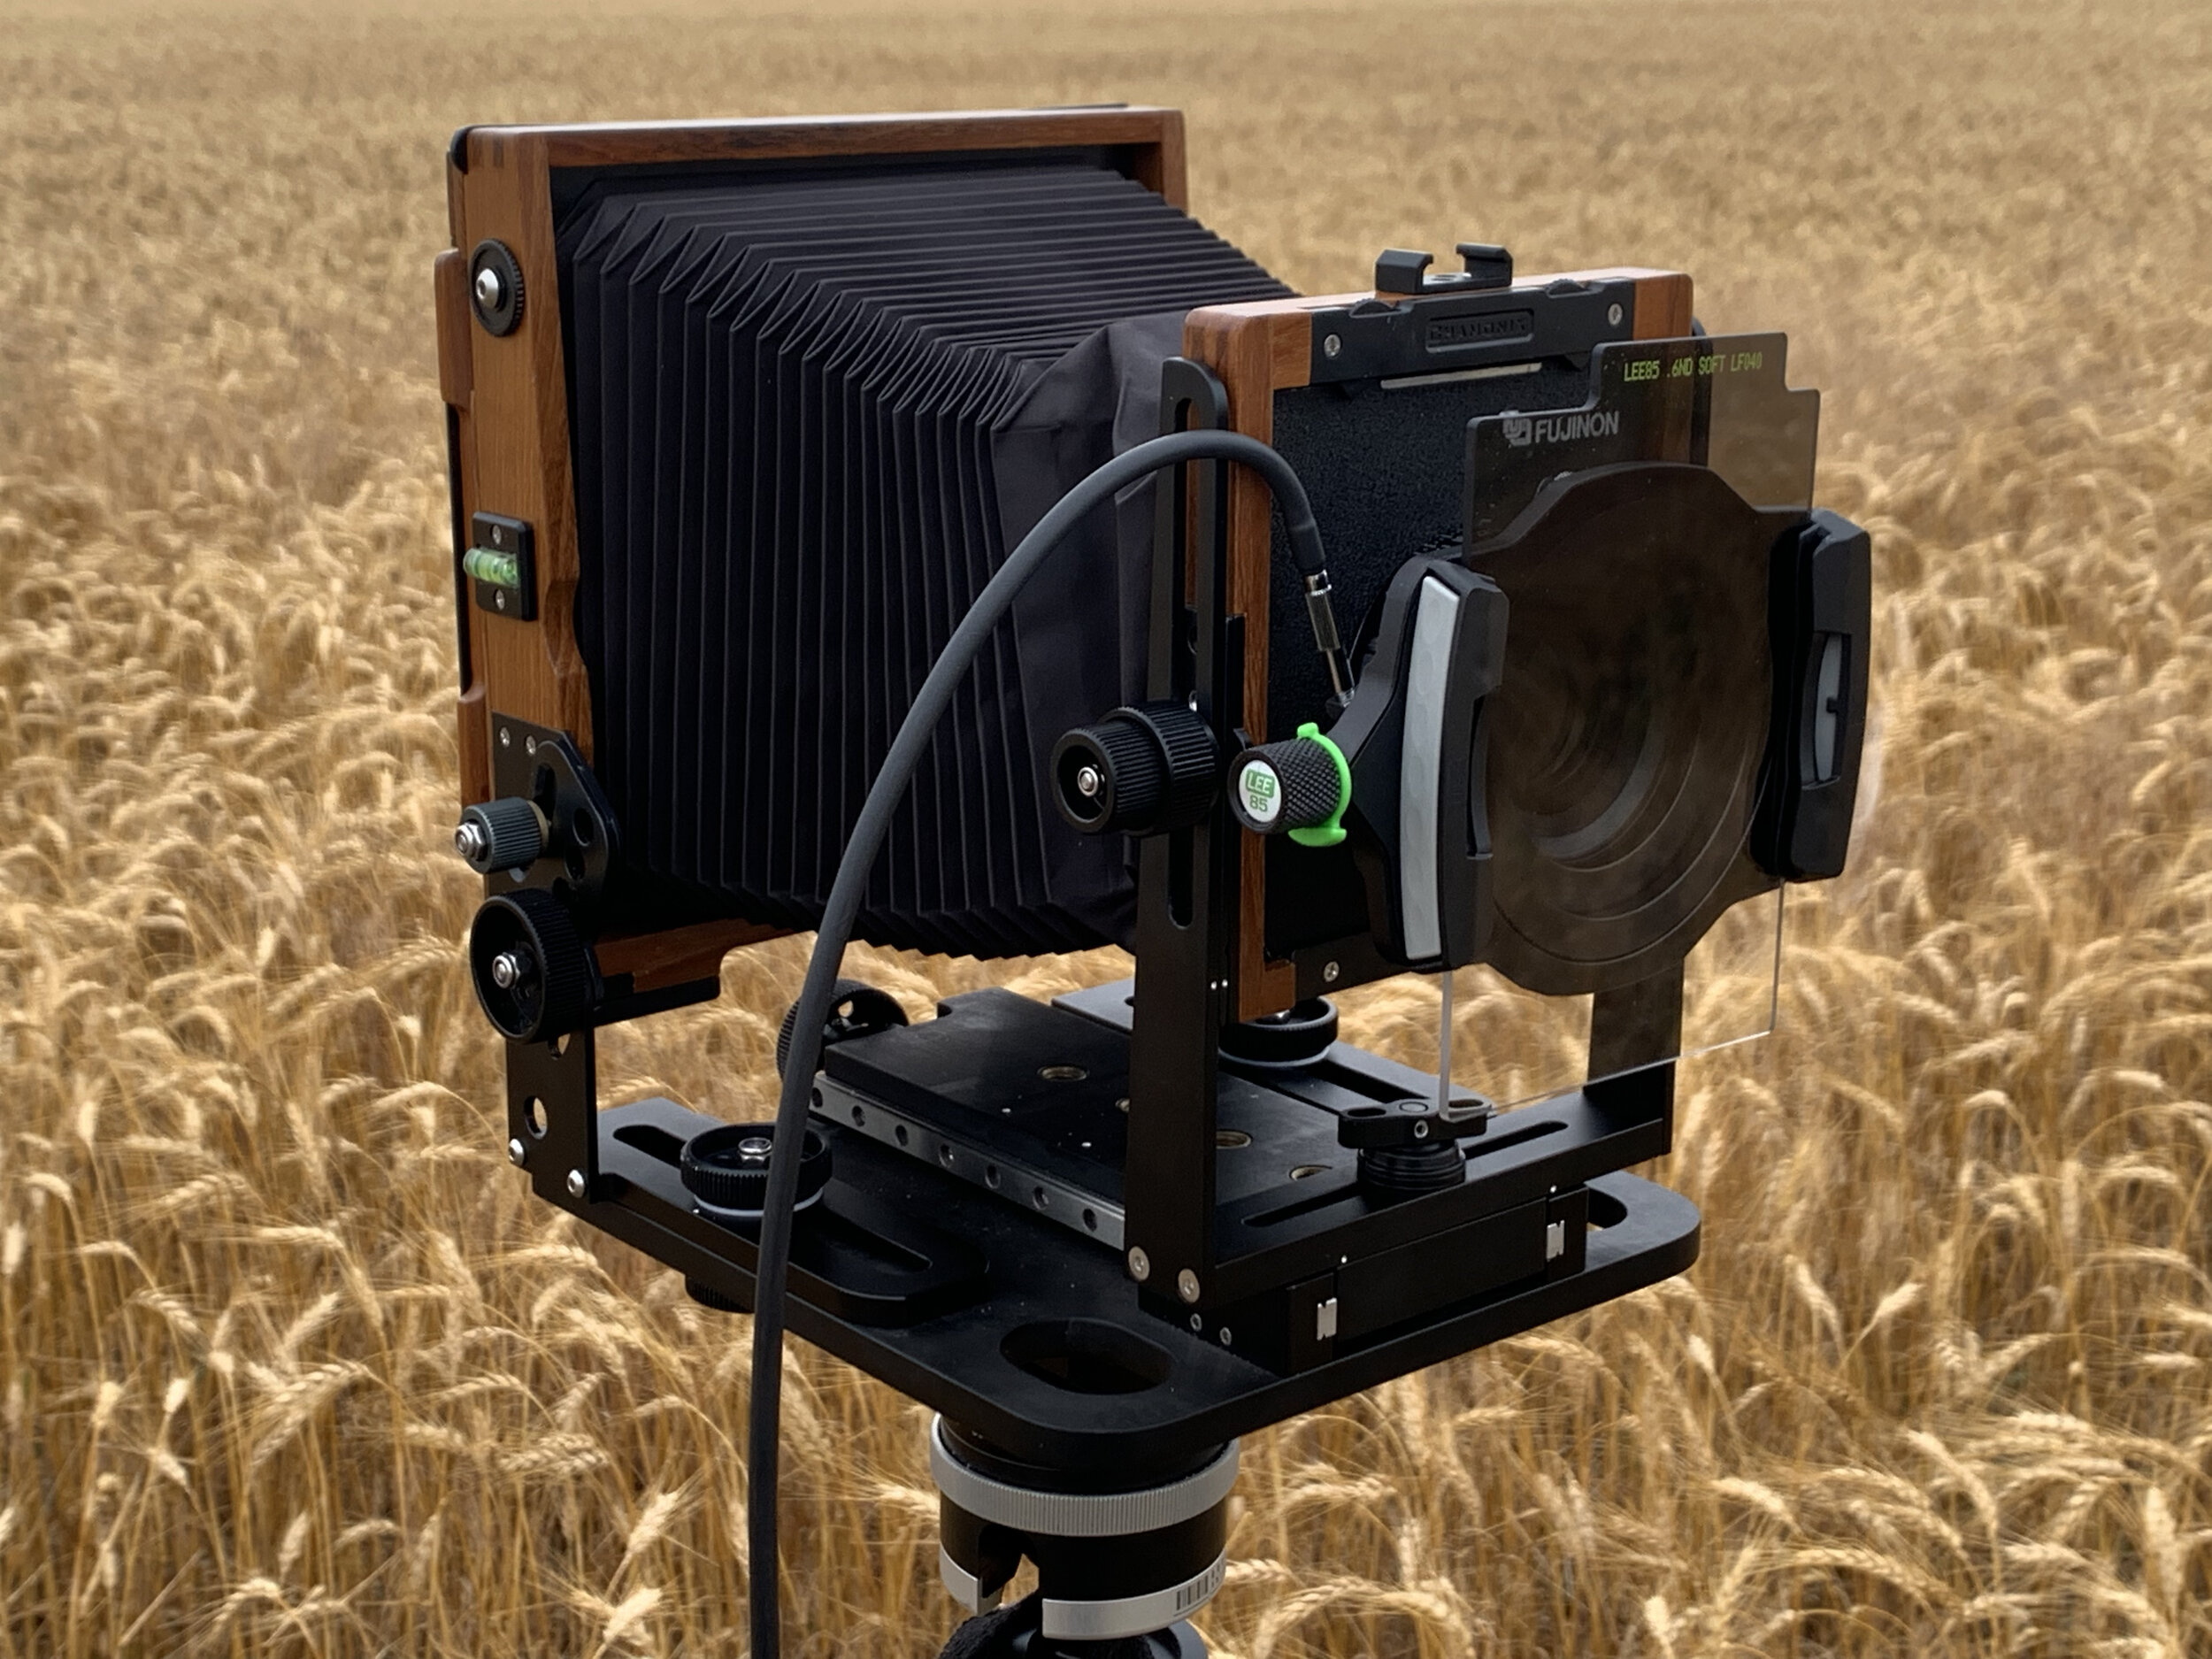
While pairing down my field lenses and cameras, I also targeted another major hiccup in my backpack - my filter kit. For a long while, I was fairly particular when it came to my filters and gravitated towards glass graduated ND’s. They were honestly very, very nice filters, but I picked up my filter pouch one day and realized that it weighed almost as much as my 4x5! My 100mm holder, 4 GND’s and a polarizer (and a few tools I keep in my filter pouch…more later) weighed in at a whopping 2.1 pounds. Comparatively speaking, most of my 4x5 lenses weigh in about 0.5 lb, and I generally carry 4.

I did a bit of research and came up with the Lee Seven5 kit, bought it, and loved it. Its smaller form factor was very advantageous. Rather than 100x150mm filters, it fit 75x100 filters, which also meant smaller filter rings, polarizer, etc. Also, the filters were resin. While I was a little reluctant to go back to resin after using glass for so long, I committed and have been quite pleased since. The main reason I disliked resin in the past, were its tendency to scratch and I had concerns of its clarity, but after doing some visual tests and some film tests, I figured…glass breaks, resin scratches - a mere tradeoff. The kit had a few limitations with my setups, particularly as I got into medium format, but it really checked a lot of boxes for me and I really enjoyed the lighter setup. It weighed in at about 0.5 lb for the holder and 4 filters (not including a polarizer, which I rarely use anyways) and the pouch was about half the size of my current filter kit. Winner, winner, right?

Unfortunately, a few months later, I went to purchase another filter for the kit and realized that it had been discontinued by Lee and replaced with the 85 kit. Now that I have the 85 Deluxe Kit in my hands, I can provide a little bit more of a thorough review on both systems and their main differences. Below are the pros/cons that carry through both systems.

Pros:

  • Lightweight holder / filters

    • While some are deterred by plastic, high quality plastic is not necessarily a bad thing. These holders are extremely well built, lightweight, and work like a charm.

    • Some photographers also balk at the idea of resin filters versus glass filters. Why put plastic in front of the thousands of dollars glass in your lens? Well, firstly, I have not ever experienced any color shift with these filters, even when I tested it against a white wall and a digital camera. That being said, considering I’m a film photographer and my film tends to shift color anyways, I’m not overly concerned about a tiny bit of color shift from a filter, even if I did see any.

  • Quality

    • Lee has always had a reputation for quality, and their new line of filters doesn’t skip a beat. Both the Seven5 and 85 filters are of the highest quality I could desire from a filter company.

    • Like I mentioned previously, despite the filters being resin, they are of the highest quality of resin and I have experienced absolutely zero color shift from them.

  • Size

    • They are SUPER compact! I carried around the unnecessary bulk of 100mm filters for far too long. While in some ways, I preferred the size of the Seven5 filters, the 85mm opens the doors to be able to use it with a few more systems and makes it a little more versatile when buying filters, considering they’re roughly the same size as the Cokin P series.

51dCNf3f1ZL._AC_SL1200_.jpg
  • Tabs on the filters (!!!!)

    • This was a brilliant move in my opinion, and my favorite part about the entire system. Lee so cleverly decided to add tabs to the top of every GND filter so you had a landing place to grab without smudging the filter. Also, since the tabs protrude above the slots in the filter case, you can actually see which filter is which, rather than having to pull every one of them out until you find the one you want.

Cons:

  • Really, the only main issue I have with the holder is very minor. The tiny plastic knob that locks the rotation of the holder around the lens attachment ring feels like a weakness in the system, especially with the 85 system. The Seven5 didn’t really have that fault point, and while I don’t think it will fail over time, I do feel like I’ll need to be a little careful with it, which always irks me a little when I’m in the field working.

  • I also feel as if the case that comes with some of their kits is just a little too small on both systems. I like my filter kit to kind of act as a bit of a tool kit as well, to minimize too many different floating parts inside my camera pack. Inside the 85 pouch, I can fit a small multitool, Quick Disk, fabric tape measure for measuring bellows draw, a lens wrench for tightening copal shutters on lens boards, as well as the spare stepping rings and lens attachment rings for the filter kit. Seems a little tight, and I can get it to fit inside the case, but I just wish there was an additional outer zippered pouch where I could put some of the tools.

So what’s the real difference between both kits? Well, not much. I was mildly disappointed that I needed filters an extra 10mm wide. It doesn’t sound like much, but I felt that the 75mm system fit my 4x5 kit so perfectly, was so compact, and just really checked all the boxes I needed for a field filter kit. After getting the 85 system, it wasn’t enough bigger that it made much of a difference in my pack, which was a pleasant discovery. It also allowed me to expand its use for some of my medium format camera systems, such as my Hasselblad 501cm. The Seven5 kit was a bit too small for it, but the 85 works perfectly.

To purchase the Deluxe Kit, follow the link below.

Lee Filters LEE85 Deluxe Kit

In Gear Reviews Tags Lee filters, Lee 85, Large Format Photography, Graduated Neutral Density Filter, Field Camera, Backpacking
Comment
IMG_5623.jpg

My Alternative Process Darkroom and Studio Build

February 12, 2021

As with many small business owners around the world, COVID-19 has wreaked havoc on my livelihood. In early March of 2020, pleasure travel, which was where the majority of my income was derived from, essentially ceased to exist. Since late 2016, I have slowly been building out studio space in a building in the town where my wife and I live, but really hadn’t had much time to devote to it besides finishing up the drum scanning studio. So I decided to devote all my time and energy in 2020 to finishing the construction and design of the space.


Design

Ample space is never much of an issue in the flyover states, and I am fortunate to have quite a bit to work with. The building where my studio is located is about a 7,000 square foot former hardware store that I share with my father. He’s in IT, and has the majority of the building devoted to his needs, but was kind enough to let me use about 1,000 square feet in the back of the building.

I had planned on three areas for my use - the scanning area, which would be climate and dust controlled, a dry area for paper handling, inkjet printing, and print finishing, and a full darkroom designed around alternative process printing.

The darkroom was the biggest hurdle. I had done a fair amount of alternative process printing, and a ton of research, but all with platinum palladium. Since the majority of my work is in color, there are very few darkroom printing options these days.

While the overall design of the darkroom changed through out the building process, this was the preliminary space I designed for work with carbon transfer and other alternative processes.

While the overall design of the darkroom changed through out the building process, this was the preliminary space I designed for work with carbon transfer and other alternative processes.

The sink was one of the more fun design elements. I ended up going to a local stainless steel welding shop to have it custom made to fit the dimensions of the room. The three basins essentially act as large trays, as carbon transfer and gum bichroma…

The sink was one of the more fun design elements. I ended up going to a local stainless steel welding shop to have it custom made to fit the dimensions of the room. The three basins essentially act as large trays, as carbon transfer and gum bichromate printing is all water developed.

I set my focus on designing the darkroom for carbon transfer printing, which can be printed in color. With the guidance of Calvin Grier, a master color carbon printer and now friend of mine, I planned the space around a large stainless steel sink, a wall mounted vacuum table, and a large glass coating table.

The scanning room was mostly easy - it just needed to be big enough for the scanner and some table space and be climate and dust controlled.

The large hallway / room connecting the space between the darkroom and scanning room was originally designed to just be a space to hang my work, but as construction began, I realized it could be much more useful, and would eventually become a dry working space for print finishing. We still designed the room to utilize track lighting for displaying framed prints, and it eventually would become one of my most used spaces.


Construction

IMG_1624.jpg IMG_1625.jpg IMG_1626.jpg IMG_2390.JPG IMG_2391.JPG IMG_2392.JPG IMG_2393.JPG IMG_3048.JPG IMG_3064.JPG

In late 2016, we gutted the entire 7,000 square feet. The building had been somewhat neglected by several renters, and sat empty for years prior. The walls were bright red, the electrical was a mess, there was a creepy, oddly placed shower in a makeshift bathroom, the roof leaked, and the infestation of mice was…disturbing.

Over the course of about 6 months, my dad and I made a floor plan and started putting up some walls and the space really started to come together.

The planned darkroom was an old office with a dropped ceiling and an awful orange/tan filthy plaid carpet. We gutted everything down to the studs in the dry side and scraped the walls in the wet side, raised the ceiling, put in new lighting, electrical, and flooring.

IMG_4058.jpg IMG_4061.jpg IMG_4062.jpg IMG_4063.jpg IMG_4264.JPG IMG_4578.jpg IMG_4693.jpg IMG_4709.JPG IMG_4719.jpg IMG_5368.jpg IMG_5370.jpg IMG_5371.jpg IMG_6017.jpg IMG_6172.jpg IMG_6399.jpg

We raised the ceiling outside the darkroom in the dry working space to 10 feet and put in a strip of track lighting. At the time we were planning for that space, I really didn’t have much of a use for it, so I figured that it would be a good place to hang finished pieces, but it quickly became filled with useful equipment.


Putting it all Together

IMG_4587.jpg IMG_4589.jpg IMG_4590.jpg IMG_4600.jpg IMG_4634.jpg IMG_4635.jpg IMG_4644.jpg

The scanning room was our first priority to finish, as I had Hudson Grafik coming in to service, refurbish, and setup the drum scanner.

There was no heat in the building, as the gas had been shut off years prior, so getting sheetrock mud to dry in an efficient amount of time was also a nightmare. What was supposed to take a matter of a few days to finish the room ended up taking a week, and when the service tech showed up for the Tango, we were in the process of moving in a few pieces of furniture and watching the paint dry.

IMG_4401.jpg IMG_4403.jpg IMG_4446.jpg IMG_3891.jpg 61946083589__2C90CE0F-A2FB-48D9-B0F9-7A3D8594AA07.jpg IMG_4319.jpg IMG_4681.JPG IMG_4896.jpg IMG_4903.jpg IMG_4919.jpg IMG_4971.jpg IMG_5798.jpg

The scanning room was completed back in 2017 and the majority of the rest of the project had been left unfinished until March of 2020, when I started working on the space again. While all the major construction and design was relatively finished, assembling everything and getting the last pieces of equipment needed to be done. One of the biggest hurtles was getting the sink designed and installed. The entire dimensions ended up being about 12.5 feet by 4 feet and was made from stainless steel. No local stainless shop would even touch it and a dedicated “darkroom sink” was far too expensive to have custom made, so I went to a stainless steel shop in Wichita, KS called Starflite Custom Manufacturing, who quickly and affordably made the sink for me. The problem then was getting it delivered…or rather, delivering it myself. The sink with the stand weighed around 700 lbs and was loaded onto our trailer with a forklift (and 4 guys to stabilize it.) So getting it off, through all the doors and into the darkroom was a challenge. With 6 of us, we managed to get it in place after about an hour and a half with no missing fingers or damaged egos.

I installed a water mixing valve from Hass Manufacturing, and plumbed in the three drains, two faucets, two spray hoses, and a few other points of water along the sides of the sink for print washers, mixed water access, hot water access, and cold water access.

A local cabinet maker, who had just refinished my wife and I’s kitchen, made me a line of cabinets and a countertop for a bit of a working space and some in-darkroom storage.

I also had a local welder and friend, Louie Lemmert, make me a metal frame for a coating table that I had powder coated and would be used for pouring emulsions, coating paper for platinum prints, etc. The tabletop is a 5/8” piece of 48x60” annealed glass that was machine leveled for flatness and overall level.

I also wanted to be able to both print my own inkjet prints, print for others, and proof prints for clients for commercial work in the darkroom, so I purchased and installed a new Epson p9570, which has been churning out gorgeous prints ever since.

The last piece of the puzzle was the vacuum table for the exposure unit. I purchased the unit from a company who specializes in commercial screen printing equipment and would be wall mounted for space savings. I wanted to have the ability to print (at least) 32x40” image sizes, so the frame needed to hold at least a 40x50” piece of paper. Yet again…it was heavy. After a day of fighting it, we were able to get it secured to the wall and up and running.

When I was apprenticing for Stan Klimek in September of 2020, he so kindly gifted me one of his spare Olite AL53 exposure units.

The UV integrator that came with it (the unit that controls the amount of light projected) was extremely variable, so for accurate calibration, I needed something a little bit more consistent.

A few colleagues highly recommended using Ian Leake’s Light Counter system, which did have a power controller, but this unit was high voltage and had all kinds of other features that didn’t prove to be a cut and dry implementation.

The unit has a shutter, which flips over the UV bulb to start and stop the exposure because most metal halide bulbs have inconsistencies in UV output during their warmup time. On the power supply, there was a switch that controlled the shutter, so once the unit was on, all you had to do was manually flip open the switch to control the shutter.

In order to integrate the LC system, I bought the power controller, split a cable in half and bypassed the switch through Ian Leake’s relay which is controlled by the integrator.

IMG_6199.jpg

So now, with a simple press of the button to start the exposure on the integrator, the shutter flips open to begin the exposure, and flips closed when the sensor has collected the set amount of UV light.


The Finished Project

63390129460__D296A98A-CA78-4EDA-830B-5F9BEA11BA16.jpg IMG_6241.jpg IMG_6242.jpg IMG_6253.jpg IMG_6257.jpg IMG_6258.jpg IMG_6259.jpg IMG_6260.jpg IMG_6261.jpg

After 5 years of planning, designing, dreaming, and a whole lot of hard work, the darkroom is now “finished” as of September of 2020. I’m now fully operational and cranking out platinum prints for myself and other photographers with my new platinum palladium printing service.

Since I have been drum scanning for others, I have realized how exciting it is creatively to work alongside other artists in the creation of their work. Printing, especially darkroom printing, is somewhat of a succession of that and it’s so exciting to bring other photographers’ work to final print. It’s also a pleasant creative break for myself at times as well, since I am a working artist and burnout can easily happen.

This dream definitely wouldn’t have been possible without the support of my wife and my family, and especially my dad who has been so generous with his space and assistance throughout the whole process.

There’s more to come! While I’m running with platinum palladium, I am head first into gum bichromate printing and will soon travel to Spain to study color carbon transfer printing with Calvin Grier. Stay tuned!

I am also constantly (probably begrudgingly to some) posting behind the scenes stories on my Instagram, Facebook, andTwitter accounts. Follow along to check out what it’s like to work in my darkroom:

In News, Film, Behind the Camera, Printing Tags alternative process, platinum palladium, drum scanning, darkroom
10 Comments
Kodak X-Ray.jpg

Flying With Film: My Experiences & How to Navigate the TSA

January 29, 2020

So, What’s all the Hubbub?

The big news in the film world lately is the TSA in the United States have initiated a project to install high powered CT-type scanners for carry-on bags in security checkpoints around the US. What’s so scary about these scanners for film photographers is that these new scanners will fog, damage, and destroy ALL film speeds and emulsions. Previously, scanners for carry-on luggage were low-powered X-Ray machines that would not damage film. For film speeds lower than ISO 800, you could just leave the film in the camera and in your bag to be x-rayed.

Here is what Kodak Alaris recently shared on their social media accounts regarding the new scanners:

CT Scanning X-Ray Technology and Film

As many of you know, the United States Transportation Security Administration (TSA) has recently been installing Computed Tomography (CT) scanners for carry-on luggage in US airports. In the coming months these scanners will be operational at 145 airports in the US. CT scanning technology has been used for checked luggage for many years, and Kodak Alaris and Eastman Kodak have warned photographers not to check their film, but rather to carry it on and request it be hand-checked by TSA agents at Security.

To better assess the risk to film from the new carry on scanners we brought a small quantity of Portra 400/135 to John F Kennedy Airport in NYC. With the help of TSA representatives the film was put through the new carry on CT scanners from 1-10 times. The film was then evaluated at Eastman Kodak Research facilities. The initial results are not good. Just 1 scan shows significant film fogging, leading to smoky blacks and loss of shadow detail. This will be more significant for higher speed films. Although it’s possible that a roll of 100 speed film would show less degradation, we strongly recommend against putting any unexposed or exposed but unprocessed film through a CT Scanner.

We reached out to the TSA to ask what options there might be to warn passengers. We originally asked if it would be possible to add signage at airports that utilize CT scanning technology. We are developing warning stickers that can be placed on your film. These will be available in a label format so they can be printed on your in-home or in-office printer. Just attach the label to the plastic bag as described in the TSA description below.

The TSA did tell us that all TSA screeners are trained to hand check roll and movie film as well as single-use cameras. Sheet film in boxes may require more diligence on the part of the photographer.

From the TSA:

Most x-ray machines used to screen carry-on bags should not damage undeveloped film under ASA\ISO 800. There are a limited number of screening checkpoints that use x-ray equipment that may damage undeveloped film. These airports will have signage in front of the x-ray stating that the x-ray may damage undeveloped film.

If you are traveling with the following types of film, please pack it in a clear plastic bag, remove it from your carry-on bag at the checkpoint, and ask for a hand inspection:

• Film with an ASA\ISO 800 or higher
• Highly sensitive x-ray or scientific films
• Film that is or will be underexposed
• Film that you intend to “push process”
• Sheet film
• Large format film
• Medical film
• Scientific film
• Motion picture film
• Professional grade film
• Film of any speed that is subjected to x-ray screening more than five times

In most cases, the x-ray equipment used for screening checked baggage will damage undeveloped film; therefore, please place undeveloped film in carry-on bags.

For more information please download the film Storage and Care Information sheet from our website: https://imaging.kodakalaris.com/…/f…/wysiwyg/pro/CIS_E30.pdf

For more information on TSA use of CT technology, please:
https://www.tsa.gov/computed-tomography

For more information on TSA screening procedures, please visit https://urldefense.com/…/www.tsa.gov__;!!NtZYYMejrjoc!zT1yW… .

These US airports currently use CT scanning technology:

Hartsfield-Jackson Atlanta International Airport (ATL)
Baltimore-Washington International Airport (BWI)
Chicago O’Hare International Airport (ORD)
Cincinnati/Northern Kentucky International Airport (CVG)
Detroit Metropolitan Wayne County Airport (DTW)
Houston Hobby Airport (HOU)
Indianapolis International Airport (IND)
John F. Kennedy International Airport (JFK)
Logan International Airport (BOS)
Los Angeles International Airport (LAX)
Miami International Airport (MIA)
Oakland International Airport (OAK)
Phoenix Sky Harbor International Airport (PHX)
Ronald Reagan Washington National Airport (DCA)
St. Louis Lambert International Airport (STL)
Tampa International Airport (TPA)
Washington-Dulles International Airport (IAD)

My Experiences

I travel with film extensively worldwide and I have rarely had any problems, nor do I see many problems in the future, especially if you can easily communicate with the security personnel. Until a few months ago on my way back from Antarctica, I was making my way through customs in DFW, which is my usual hub. I noticed the x-ray machines looked different at the checkpoint, and asked one of the agents if they were the new CT scanners and whether or not it would damage film. He looked at me with glazed-over look in his eye and said, “I don’t know, but they installed these in the last couple of weeks.” So, I figured it would be better safe than sorry and removed all of my film from my bag to be hand inspected. I was completely unprepared for doing this, and had film scattered everywhere, but I got it all out for hand inspection (or so I thought.)

When I was with the TSA agent who was doing the hand check, I was pressing her for info on the process for hand checking film, especially boxes of sheet film. In my mind, the most suspicious person in the checkpoint line would be the guy saying, “Hey, please hand check all of these boxes of film. They can’t be x-rayed. Oh, and…you can’t open the boxes to inspect the contents of the box. Yes, I know the factory seal has been broken, but don’t worry about that, it’s just exposed film. Have a nice day!”

The TSA agent informed me that they would not have to open the contents of any of the film boxes UNLESS the swab test they perform comes back unclear. For rolls, it’s easy. They just swab the rolls or the outside of the box, and you go on your merry way.

So, last week, I put it to the test. I took my 4x5 up to Whitehorse, Yukon up in Canada, and hand checked my film along the entire way. I put my film in a Shimoda Designs Medium Accessory Case and wrote “FILM: DO NOT X-RAY” on the outside of the bag with a sharpie - just to be safe. I put all my film inside of it, and made it easily accessible when I was in the security line. I simply asked the agent assisting passengers pre-x-ray to hand check some film, he grabbed a bin and another agent, and they walked the case around the outside of the x-ray machine.

IMG_9473.jpg

When I got through the metal detector, an agent was waiting on me with my film. I simply explained that it was large format sheet film, both exposed and unexposed, and the boxes could not be opened otherwise the film would be ruined. I did this 6 times over the course of a week of travel, and all times but one did I not even get a second question. One time in Vancouver, an agent was a bit uncertain when I told him he couldn’t open the box, but I had him grab a manager and explained it to both of them, and then all was well. Just smile, be kind, and say please and thank you.

I also want to note a few things:

  • I have global entry and TSA Precheck, so I generally go through a special, expedited line. I don’t know if this helps my case or not.

  • I flew with UNLOADED 4x5 holders so I could just simply x-ray the entire camera case. I feel that loaded holders would be much more difficult to explain to an agent than a box of film.

  • I suggest discussing your hand-check request IMMEDIATELY before you go through security screening. This will minimize the time you’re away from your precious film. They’ll take it around back, and generally wait for you to be present for inspection, but I had one guy start without me before I was able to explain to him that the film boxes couldn’t be opened. Fortunately, I had taped the boxes shut, so he wasn’t able to open them. Got lucky on that one, but lesson learned.

So I mentioned earlier that I thought I had unpacked all of my film from my carry-on bag before it went through the x-ray. Well…

IMG_3955.JPG

Fortunately, there’s one frame on that roll that I think is salvageable. A hard lesson to learn, but I’m glad it wasn’t my whole batch.

I hope this helps those of you jetsetters who are wanting to fly with film! If you have any questions, comments, or concerns, just be sure to leave them in the comment box below. Thanks, and good luck!

In Film Tags film, film photography, flying with film, TSA, travel photography
8 Comments
Salt Stream at Twilight, Chamonix 4x5, Rodenstock 75mm f/6.8, 2m exposure @ f/32 on Fuji Provia 100F  - March, 2019

Salt Stream at Twilight, Chamonix 4x5, Rodenstock 75mm f/6.8, 2m exposure @ f/32 on Fuji Provia 100F - March, 2019

Trip Report: Death Valley National Park, March 2019

August 8, 2019

In March of 2019, I spent a little over a week in Death Valley National Park, both scouting for personal work, as well as teaching a workshop there with Muench Workshops. I explored a few areas of the park I had never visited, and revisited some old locations. With such a wet winter, there was quite a bit of water in areas of the park I had never seen previously. I spent around three days driving and hiking around the park before the workshop started, which took us out to the Eureka Dunes.

Read More
In Trip Report Tags death valley, muench workshops, photo workshop, 4x5, 4x5 film
Comment
A 1/4 mile wide tabular iceberg, floating north of the South Shetland Islands, Antarctica. | Photographed with a Nikon F5, Nikon 70-200 f/4, Kodak E100 and drum scanned on a Heidelberg Tango

A 1/4 mile wide tabular iceberg, floating north of the South Shetland Islands, Antarctica. | Photographed with a Nikon F5, Nikon 70-200 f/4, Kodak E100 and drum scanned on a Heidelberg Tango

Drum Scanned - A Review of 35mm Kodak E100

January 16, 2019

To those who follow my work closely, you may know that I consider myself a large format photographer. I will photograph with a medium format camera, particularly when I’m trying to save weight on a backpacking trip or save time when I’m teaching a photography workshop, but 35mm has been somewhat shunned in my arsenal, being a format I deemed too small to be used effectively for my work.

In late 2017, Kodak Alaris announced they were going to rerelease a redesigned version of their old Ektachrome film stock as E100 in 35mm. When I heard this news, I was absolutely thrilled. Lately, film stocks are being discontinued left and right, from particular sizes, to the entire stocks altogether. With Kodak releasing a NEW film stock, I feel like there was a bit of light at the end of the tunnel - especially for transparency film. While I was disappointed it would not be announced in medium or large format film, I decided to give it a shot in 35mm.

Read More
In Drum Scanning, Gear Reviews Tags kodak, E100, 35mm, drum scanning, film review, ektachrome, antarctica
Comment
IMG_2523.jpg

A Digital Landscape Photographer's Introduction to Film

January 8, 2019

I am constantly asked questions about how I started and how to start shooting film. So, here we go! This guide is intended to be a story of my introduction to film as a landscape photographer, provide some tips, introductions and guidance, but in no means is it intended to be a foolproof method of shooting film. That’s a path that’s unique for everyone, so be prepared for failures and having some trial and error. That’s part of the process!

Read More
In Photographic Technique, Film Tags film, film cameras, digital photography for film, digital photography, film for beginners, new to film
8 Comments
A drum with a sheet of 8x10 Fuji Velvia 50 about to be loaded on my Heidelberg Tango drum scanner.

A drum with a sheet of 8x10 Fuji Velvia 50 about to be loaded on my Heidelberg Tango drum scanner.

Drum Scanning - What exactly is it?

July 13, 2018

In September of 2017, I managed to come across two used Heidelberg Tango drum scanners. One of which was fully functional, the other unit being for parts only. These behemoth's, weighing in at about 550 pounds each, were located in Arizona. In its prime, this model of drum scanner was, and still is, one of the top quality available, fetching a high five figure price tag. So what the heck is it?

Read More
In Drum Scanning Tags drum scanning, velvia 50, heidelberg tango, large format photography, film photography, medium format photography
12 Comments

Water and Stone: The Shaping of the West

March 2, 2017

Project Description:

This project examines the geology, flora, and large landscapes of the American West that have been shaped by the Colorado River watershed. Over centuries, rivers have shaped this landscape into seemingly endless canyons that each have their own unique qualities and characteristics. From the rarely seen black canyons, shaped by the Gunnison River to the red Navajo Sandstone, shaped by the Green, Virgin, San Juan, and the mighty Colorado itself, these forever-changing shapes are what makes the Southwest such a wonder of the world. Over the years photographing this epic landscape, my hopes are to show some of the more intimate stories of the west.

Read More
In News Tags project, conservation, colorado river, american rivers, grand canyon association, 4x5 film, 8x10 film, large format
Comment
My Arca-Swiss F-Field Metric 4x5 with Micrometric Orbix

My Arca-Swiss F-Field Metric 4x5 with Micrometric Orbix

Purchasing Guide: 4x5 Large Format Gear

February 23, 2017

Almost daily, I wake up to an email, comment, or private message saying, "I want to start shooting large format, but I don't know where to start. What should I do and what should I buy?" Awesome! That's great news! After responding to each and every one of you (thank you for being so kind to ask me), I have decided to put together a list of recommended equipment for those of you who want to start shooting large format. Remember, the used market is your friend when trying to find equipment. There's a few good Facebook buy/sell/trade groups for film equipment, the Large Format Photography Forum can be a good source, but generally, I've had good luck on eBay. 

Disclaimers:

*This is by no means a perfect solution and if you don't want to listen to me, by all means - don't. Everyone should has their own opinion and style and this is just what I have learned over the years. If I was starting fresh again, this is my guide.

**This is also guided towards 4x5 equipment, because of three reasons. 1) I guarantee you that you will make mistakes in this journey. A lot of them. You want those mistakes to be as inexpensive as possible. 4x5 is 4 times smaller by area than 8x10, thus making everything generally about 4 times less expensive. 2) Learning movements is a process and depth of field is always a challenge on large format. With 4x5, you have less of a challenge, which will lead to a more productive learning experience. 3) Everything is generally lighter and overall a less punishable experience than larger formats. Learning to compose on a ground glass can be tricky. 8x10 (and larger) is very rewarding, but I suggest you get your feet wet before diving in.

Read More
In Gear Reviews, Film Tags gear, f-stop gear, arca swiss, camera support, camera, lenses, purchasing guide, 4x5, large format
2 Comments
"Chaos and Creation"

"Chaos and Creation"

New Release - "Chaos and Creation"

December 22, 2016

Navigating the washes of Zion National Park's eastern side is a peaceful experience. Compared to the hustle and bustle of the rest of the park, wandering through unmarked trails and into unmarked canyons is solitude at its finest. On my second day in Zion, I found this stand of gamble oaks surrounded by a group of young red maple trees and set up the panoramic camera for a shot. The reflected light from a canyon wall directly behind me was incredibly strong and I waited for it to nearly subside before exposing this scene, bringing out much more noticeable hues of blue and purple throughout the scene, accentuated by the bright red maple leaves. 

Get Your Print TOday
In New Release Tags new release, panorama, linhof 617 technorama sIII, zion national park, fine art photography
Comment
"Resplendent Meadow" - Flint Hills, Kansas

"Resplendent Meadow" - Flint Hills, Kansas

New Release - "Resplendent Meadow"

October 26, 2016

One of my first trips after returning home to Kansas was spending a few days sleeping and exploring the open ranges of the Flint Hills in eastern Kansas. On the first evening, I returned to a familiar location, where I had exposed a few of my first sheets of 4x5 film and decided to give it another chance on 8x10. Flint and limestone deposits scatter the hills of the prairie and in early summer, after the annual spring prairie burns, they are exposed as the grasses begin to regrow around them. A summer thunderstorm moved north of the area and I had originally thought the light was going to be completely shut down by the cloud cover, but about 15 minutes before sunset, a brief window of golden light opened up for a matter of minutes. It was enough time for me to expose two sheets of film, one of which was subjected to a bit a bit of a light leak. I guess I could consider myself lucky that I pulled this one off. 

Purchase Your Copy Today

Technical Specifications:

  • Camera: Arca Swiss F-Line Metric 8x10
  • Lens: Schneider Super-Symmar XL 150mm f/5.6
  • Exposure: 4" @ f/45
  • Film: Fuji Provia 100
  • Filter: 2 Stop Hard GND + 81B Warming
  • Tripod Head: Arca Swiss C1 Cube
  • Pack: F-Stop Shinn
In New Release Tags new release, flint hills, kansas landscape photography, large format photography, 8x10
Comment
The Arca Swiss Cube C1 - A precision geared tripod head, capable of handling heavy camera loads.

The Arca Swiss Cube C1 - A precision geared tripod head, capable of handling heavy camera loads.

Gear Review: Arca-Swiss Cube C1

October 6, 2016

The Arca-Swiss Cube C1, otherwise known as "The Cube" is a top of the line geared tripod head that I have had the pleasure of using now for the past two years. This head is capable of handling loads up to 85 lbs with ease. There are moments where I will cantilever my Arca Swiss 8x10 with a heavy lens, looking down at the ground and the Cube does not drift and can can be precisely tilted and pitched as if the load wasn't there. 

Read More
In Gear Reviews Tags arca swiss, cube c1, the cube, gear reviews, tripod head, camera support
3 Comments

Photographer's Anonymous - The Tale of a Bad Support System

September 30, 2016

Tripods and tripod heads are two of those things that many photographers don't give too much of a second thought. They exist, purely to support the "important" part of the kit - the camera. Photographers will spend thousands upon thousands of dollars on the highest-end camera they can find, only to put it atop an unstable $100 tripod and head setup. Now, this multi-thousand dollar camera they so dearly flaunt to all their friends produces muddy, blurry images. While these now-frustrated-photographers may blame it on a poorly designed image stabilization features in their multi-thousand dollar camera, a poorly designed, cheaply made tripod and head setup is most likely at fault.  

Is this you? Well you're not alone. There are thousands of photographers I see just like you. If you know me personally or follow me closely on social media, you will know I am a sucker for fantastic gear. I'm the first to admit it - I have gear acquisition syndrome (from here on known as GAS). I have been this way my entire life, about every endeavor I have attempted to devote my life to - way back to my elementary Pokemon days. Some look down upon GAS I may have, and say I should take care of it, but if it has taught me one thing in life, it's that you get what you pay for.

Buy once - buy right. 

Take this following narrative for example:

You are enthused about the idea of buying a camera and taking fantastic photographs - great! You run to your nearest mega-mart and plop yourself down into the electronics department where a dozen shiny cameras are glistening in the bright fluorescent lights. An overly-enthusiastic sales clerk greets you and sells you on the latest consumer DSLR body and kit lens - not the most inexpensive model, but one step above it. It's on sale! He offers you a starter kit, which includes a small shoulder bag, a few slow-speed SD cards, and an aluminum tripod. You take this excellent deal and carry your happy-new-photographer-self home. 
As you begin experimenting with your new camera, you fall in love with photography. You buy another lens - this time it's a zoom long lens to accompany your zoom kit lens. You still haven't touched your tripod. You are attempting to master every aspect of photography, from food, portrait to puppy photography. Then you decide to go on an early morning hike with a few of your friends and bring your camera along. That morning you all witness the most magical sunrise of your life. You would love to photograph it, but remember someone telling you that if you increase your ISO too much, you'll start to see grainy images, but everything you've learned about photography so far tells you that you need to slow down your shutter speed in this low light - that's when you remember your tripod! You screw it into the bottom of your camera, extend the legs (one of them falls out while you're extending it, but you quickly reassemble it), find the perfect composition, and start clicking away with exposures as long as 2 seconds. You really feel like you're getting the hang of this whole photography thing, and are especially now interested in landscape photography. 
When you get home, you upload all of your 1000 masterpieces you just created and not a single one of them is sharp. In fact, as the sunrise progressed, your composition even changed. As you click through image after image, it's almost watching a time lapse, but the horizon slowly begins to drift to the right. Frustrated, you blame it on yourself and press on. You continue working with this rickety excuse of a tripod that could barely support a floor lamp until one day it just magically falls apart. You wander onto the depths of the internet to your favorite online camera supplier and find a list of $100 tripods that even include a head and purchase the best seller in this price range. 
When it arrives a few days later, you analyze it and determine it to be 100 times sturdier than your previous tripod. You put the tripod through its paces and find that it's keeping images much more stable than your last tripod. Both the head and the tripod seem to simultaneously break about 6 months later, so you buy another set. When that one breaks about 6 months into its life again, you determine it's time to upgrade and get a slightly better tripod. Your head is still fine, so you spend $250 on a tripod now. You feel like you've gotten the creme de la creme of tripods now. A few local people start to hire you and purchase a few of your small canvas prints of the local landscape and you begin to take photography seriously as a career. 
Your family decides they want to go on a spring break road trip to the southwest and from all the images you've idolized taken at the Grand Canyon, you are ecstatic. You decide you want to learn from a "real" landscape photographer, so you find a local pro and book a workshop with him. What you didn't realize about the Grand Canyon in March was that it sits at 7000 feet elevation and gets snow - a lot of snow. You barley make it into the park and this perfect stranger greets you and gives you the rundown for the 5 am wakeup call. The next morning is beyond frigid - the snow storm had cleared and the temperatures were around 0 degrees Fahrenheit with a high relative humidity....and windy as you couldn't believe. You came prepared with plenty of clothes and you're dedicated to this art of landscape photography, so you stick it out and create a few images, but your gear doesn't hold up so well. Your $250 tripod freezes up and you can't collapse the legs, plus the aluminum feels about 15 degrees below the air temperature and the head that came in your last tripod package barely moves either. The wind batters your tripod and you realize you're only getting sharp images 1 out of every 10 exposures. You fight the gear for about an hour past sunrise until you both decide to call it a day and go eat breakfast. Over breakfast, this stranger that you've now bonded in the sub-arctic temperatures with explains to you that if you're serious about landscape photography, there's no substitute for a good support system.
After you get home, your peers are stoked about the images you made out at the Grand Canyon and even buy a couple small canvas prints. You decide the head has to go, so you upgrade to a $150 ball head and it is a dream to use. It breaks a year later and the company didn't have a decent repair service, so you were forced to buy another. You decide you're over the cheap gear and you really want to take photography seriously, so you upgrade to a professional level tripod and head and you still own it, years later. 

Sound familiar? Well that was my story (more or less), as I'm sure it's similar to a lot of those who will read this. All in all, I spent nearly $2000 over the course of about 2 years on tripods and heads that continuously could not be trusted. The tripod and ball head I now use retails for about $1,100. 

Now, I'm not saying everyone should go out and spend a thousand dollars on a tripod setup for their first camera they own. Everyone will have that floor lamp of a tripod at some point in their long history of their passion for photography. What I caution to you is to upgrade intelligently. There is a reason your $100 tripod broke. There is a reason it freezes up in sub-zero temperatures. My general rule of thumb is that your support system should cost no less than 20% of the gear sitting on top of it. For example, a modern "inexpensive" pro-level DSLR and 24-70 lens will run you about $3,000, so spend $600 on your tripod and head, if not more. 

You wouldn't put discount tires on a Lamborghini, so why have $100 sitting below your medium format digital camera? 

Below, I have compiled a list of my favorite gear, spanning the full price range for those of you interested to know what I would (and do) use. 

Tripods:

  • Manfrotto MT055XPRO3 Aluminum Tripod - $250.00
    • Best bang for your buck for the leap from that floor lamp of a tripod.
  • Manfrotto MT055CXPRO4 Carbon Fiber Tripod  - $500.00
    • For when you first realize that aluminum gets really cold, really quickly.
  • Gitzo GT3542L Mountaineer Series 3 Carbon Fiber Tripod - $995.00
    • "The one tripod that rules them all." - If I had to own one single tripod, this would be it. Although I have a love-hate (mostly hate) relationship with any center column, it is removable in a super-cool way. 
  • Gitzo GT1545T Series 1 Traveler Carbon Fiber Tripod - $740.00
    • I own this and I love it - I use it for backpacking and when I travel anywhere on a plane.
  • Gitzo Series 3 Systematic Carbon Fiber Tripod - $925.00
    • "The other tripod that rules them all if you don't like center columns - like me." 
  • Gitzo Series 5 Systematic Carbon Fiber Tripod (Giant) - $1,600.00
    • Great for getting shots from a ladder (it happens, trust me) and great for supporting a super heavy load like my 8x10

Ball Heads:

  • Manfrotto MHXPRO-BHQ6 XPRO Ball Head with Top Lock Quick-Release System - $200.00
    • Don't buy anything less expensive than this. This should be your first head. 
  • Gitzo GH3382QD Series 3 Center Ball Head - $450.00
    • If you want to stick with the same manufacturer of your tripod, you can buy this in a package with it
  • Arca-Swiss Monoball P1 S Ball Head with Classic Quick Release - $460.00
    • I really enjoy this "inverted" ball head. It allows for more control due to the head rotating around the ball.
  • Arca-Swiss Monoball P0 Ball Head with Classic Quick Release - $391.00
    • My backpacking / travel ball head of choice. You can't beat it.

Geared Heads:

  • Arca-Swiss C1 Cube - $1,650.00
    • If you shoot a heavy large format (or any camera) I can't stress to you enough how incredible this head is. I own it, and I'd buy it three more times if I had to. Read my review, here.
  • Arca-Swiss D4 - $1,250.00
    • I use this for my smaller cameras like my 4x5 and Linhof 6x17. Still packs a punch and the microadjustments are crucial to precision compositions and camera control.


For information on purchasing Arca-Swiss equipment, I highly suggest contacting the USA representative, Rod Klukas by visiting his website or shooting him an email at rod.klukas@arca-swiss.com. He can assist you with purchasing any piece of Arca-Swiss equipment you could desire and lead you in the right direction, offering you years of insight and help you find the perfect setup for you. 

In Gear Reviews Tags gear reviews, gear, manfrotto, gitzo, arca swiss
Comment
Late Morning on the Konza - 16x20 Framed Silver Gelatin Print

Late Morning on the Konza - 16x20 Framed Silver Gelatin Print

Visions of the Flint Hills - Gallery Exhibition

September 21, 2016

I'm fortunate to announce that I will be a part of the Visions of the Flint Hills exhibition at the Buttonwood Art Space in Kansas City, MO. This show will run from October 7th through November 25th and I will have two pieces in the exhibit. I'm incredibly excited to have the opportunity have my work from the Flint Hills of Kansas be represented in the show. There is an opening the evening of October 7th from 6-9, which I will be attending and I hope to see some of you there!

"VISIONS OF THE FLINT HILLS BENEFIT AND SALE is a juried exhibition featuring art of this vanishing prairie. All artworks depict or are derived from the Flint Hills area of Kansas.  The exhibit will run from October 7 through November 25, 2016, in Buttonwood Art Space, 3013 Main Street, Kansas City, Missouri, 64108.

For eight years Buttonwood Art Space has supported the Flint Hills area of Kansas and its unique place in our greater regional ecosystem through this annual art benefit.  Visions of the Flint Hills Art Benefit and Sale is a juried exhibit featuring art of the Flint Hills. Sweeping paintings of sky and native prairie grass dominate the show, but sculpture pieces, fiber worksand photos are also featured.   The art is on exhibit October and November, in Buttonwood Art Space. 

Flames on the Flint Hills - 15x45 Framed Chromogenic C-Print

Flames on the Flint Hills - 15x45 Framed Chromogenic C-Print

Proceeds from the event will benefit a non-profit organization, Friends of the Konza Prairie, a 501(c)3 organization which is involved in supporting the Konza Prairie, an 8,600 acre research and educational preserve south of Manhattan, Kansas. The Flint Hills are the continent’s largest remaining tract of Tallgrass native prairie which is also one of America’s unique places.  It harbors a wealth of adventure, beauty, and history. The region’s sweeping horizons and carpets of wildflowers captivate artists and enchant visitors."

In News Tags Exhibition, Gallery Opening, Kansas Photography, Flint Hills, Large Format Photography, Film Photography
Comment
OceanoDunes_MStrickland

Dynamic Range - Do We Really Need It?

July 13, 2016

In modern digital photography, every new camera model announces its increased dynamic range, or ability to capture a broad range of light. All camera manufacturers are fighting to exceed their last model and their competitor's model, growing what seems to be an endless data sheet into a camera that can see in the dark, in all spectrums of light, can capture 10 gigapixels of data, and is essentially noise free...oh, and can also successfully fly into an erupting volcano. While I am all for the advancement of technology, part of me cringes when I see these specifications on all new camera bodies. What's missing in so many modern photographers is the ability to see and capture quality light. Mind you, I am writing this in the perspective of a landscape photographer. The advent of modern digital cameras have their place in other photographic mediums and strongly believe are important for the industry, so take what I say with a grain of salt.

Read More
In Photographic Technique, Film Tags quality of light, dynamic range, digital camera, film camera, film photography, fuji velvia 50, photographic technique
2 Comments

New Release "Prairie Brilliance"

July 12, 2016

The Flint Hills of Kansas is a beautiful place, both in its landscape and its details. Entire hillsides are dotted in limestone and flint deposits and can stretch for miles. These are evidence of an ancient seabed, which once stretched through Kansas and have since left gorgeous boulders scattered across the entire landscape. In late spring, after the annual prairie burns, the grasslands come alive with a brilliant shade of green that you have to witness to believe. Sunrise is my favorite time in the Flint Hills. Hearing the prairie awake for the day reminds me of a symphony tuning and preparing to perform a piece. The birds begin to chirp and sing, eventually taking flight, the wind slowly begins to blow, the cattle on the range awake and begin to rustle around until the sun crests the horizon, bringing light to the entire landscape. That's part of the reason the prairie will always be my home.

Bring Home Edition 1/30 of "Prairie Brilliance"
  • Camera: Arca Swiss F-Line Metric 8x10
  • Lens: Nikkor W 300mm f/5.6
  • Exposure: 4" @ f/32
  • Film: Fuji Velvia 50
  • Tripod Head: Arca Swiss C1 Cube
  • Pack: F-Stop Shinn
In New Release Tags flint hills photography, new release, michael strickland images, kansas landscape photography, large format photography, 8x10, arca swiss, gitzo
Comment

New Release "Prairie Fireworks"

July 5, 2016

While spending a few nights out in the Flint Hills of eastern Kansas, I had the wonderful experience of waking up to this beautiful sunrise. Hearing the creak of the old windmill in the slight, early morning breeze, the whisper of the Kansas tallgrass prairie, and the whooping sounds of the common nighthawks is truly experiencing the open prairie and is unlike any other landscape I've ever photographed. It's home to me. This is the Kansas I know and love. 

Make "Prairie Fireworks" Yours!
  • Camera: Arca Swiss F-Line Metric with Micrometric Orbix 8x10
  • Lens: Schneider Symmar-S 240mm f/5.6
  • Exposure: 4 seconds @ f/22
  • Film: Fuji Velvia 50
  • Tripod Head: Arca Swiss Cube C1
In New Release Tags kansas landscape photography, flint hills photography, new release, kansas, large format photography, arca swiss
Comment
Stillness of Life, Yosemite National Park, CA

Stillness of Life, Yosemite National Park, CA

New Release "Stillness of Life" - Yosemite National Park, California

May 2, 2016

This past December marked my first trip to Yosemite National Park in the winter. I had been watching the weather for months, waiting for the right weekend to drop everything and head out. My friend Mark Gvazdinskas (if you haven't done so already, check out his work) and I took off on a Friday afternoon, hoping for the best - the forecast showed up to a few inches of snow in Yosemite Valley. Mark had never been to Yosemite and I'd never spent much time in the valley itself, so it was a bit of a learning experience for the both of us. Temperatures on Friday night dropped well below freezing, and we woke up to a beautiful, clear winter morning - not ideal, but what can you do? A day spent outside is a day well spent. We continued to poke around the valley, photographing a bit, but otherwise just soaking in the beauty of the valley. When it finally started to snow on Sunday, we had to head back home, but not without stopping a few times along the drive home. In the high country of Yosemite, we found a pull-off that looked promising and decided to get out and look around in the forest. There had been a fire a few years before and the undergrowth was thick with young ponderosa pine trees. Ponderosas are one of my favorite trees to photograph, especially in snow. Their naturally red appearance contrasts the white and blue tones of the snow that can create absolutely wonderful scenes, so when I found this grove of ponderosas, I became quite excited. This composition originally sparked my interest due to the range of life present. The two old growth trees stood in a bed of young trees, while the dead looked on in the distance. Immediately, I grabbed my gear and set up the shot on my 8x10 camera. By the time I had found the composition, set up the shot, composed, focused, and exposed a sheet of film, an inch of snow had fallen on my vehicle. Keeping the camera dry and free of ice on the ground glass was incredibly difficult, but the scene turned out exactly as I had imagined. 

This image is available as a limited edition fine art photographic print. If you're interested in purchasing this image, click the button below. If you have any questions, feel free to contact me for more information. 

Purchase "Stillness of Life"
In New Release Tags new release, winter, yosemite national park, 8x10, film photography
2 Comments
Windswept - Oceano Dunes, CA

Windswept - Oceano Dunes, CA

The Oceano Dunes

April 27, 2016

Sand dunes are somewhat of a photographer's paradise - at least for me. After living on the central coast for almost six months, I had never so much as heard about these, let alone ventured out here. After just receiving my Mamiya 7ii a few weeks earlier, I decided there was no better place to give it a test run than out at the dunes, which was practically in my back yard. Late fall in California marks the end of the dry season, and the dunes were feeling it. The wind had been blowing all day, and about two hours before sunset, it subsided leaving the perfect ripples. 

Clear skies are typically looked down upon with landscape photography. The texture in the sky adds interest and the reflected light from a layer of clouds illuminates the land. In the sand dunes, however, photographic opportunities are endless. With severe clear skies, I looked toward the texture in the sand. 

IMG_9398.JPG
IMG_9416.JPG
IMG_9465.JPG
IMG_9118.JPG
IMG_9398.JPG IMG_9416.JPG IMG_9465.JPG IMG_9118.JPG

Over the past year, I have been devoting a fair amount of time studying photographic art. I stumbled upon the work of Edward Weston when visiting Carmel, CA. Flipping through a book entitled "Dune" I realized the work was created less than five miles from my home in the Oceano Dunes. His work inspired this small I created on my Mamiya 7ii, all on transparency film. All are available for purchase, so please contact me if you are interested.

In New Release, Behind the Camera Tags oceano dunes, pismo dunes, sand dunes, central california, big sur california, california landscape photography, michael strickland images
Comment
The Sea of Gold - Montana de Oro State Park, CA

The Sea of Gold - Montana de Oro State Park, CA

Goodbye to the Golden State

April 25, 2016

If you follow me on social media, you will have already heard this by now. My wife Jes and I are leaving this beautiful state of California at the end of this week. The past year and a half that we've spent here have been filled with unbelievable moments and the people we've grown to know and love here will be friends for life. While this may mark an end to us being here, it creates a new beginning for us. Jes will be pursuing her passion in art, working as art director at a local non-profit art gallery and I will be pursuing my dream of working full time as a fine art landscape photographer. 

Daydreaming - McWay Falls, CA

Daydreaming - McWay Falls, CA

Coming to Peace - Death Valley National Park, CA

Coming to Peace - Death Valley National Park, CA

The support we've had from all of you who have purchased my work, given me praise, or even silently read through my posts are what have led us to this point in our lives - and I thank you. Without you all, this would not have been possible.

With that, I am going to be traveling extensively. I have several projects I'm going to begin working on based out in the Great Plains as soon as I arrive next week. From there, I will be headed into Colorado, the desert southwest, and back to California sometime this coming winter. 

Surfer's Delight - Shell Beach, CA

Surfer's Delight - Shell Beach, CA

California is somewhat of a dream location as a landscape photographer, with diverse landscapes all at your fingertips. Having a full time job, it's a perfect place to be - hit the beach after work for a nice sunset or maybe wander out in the dunes before work. Now that I have the freedom to be wherever I need to be with no time constraints, there's no better option than to be in the center of the country. I plan on coming back to CA at least twice a year, but I look forward to seeing new landscapes and living in the place I consider my photographic home - the Great Plains. 

While this may be goodbye to this place, it's all just the beginning for us. Big things are coming, and a ton of film is about to be exposed. I have much more work I've created while in California that will be released progressively throughout the year and more and more new work will be on its way. Keep a look out on my social media for behind the scenes photos and subscribe to my newsletter for other news.

Your Contribution
In News Tags california landscape photography, california, mcway falls, montana de oro, big sur
Comment
Older Posts →

Categories:

Drum Scanning

Film

Behind The Camera

Gear Reviews

Technique

News

Subscribe to my Newsletter!

Sign up with your email address to receive news, print sales, and updates from the field!

We respect your privacy.

Thank you!

Check out my Instagram feed below and make sure to give me a follow to keep up with photos from behind the scenes!

Exiting the Lemaire Channel, Antarctica  Pentax 67ii, 90mm, Kodak Portra 160, Drum scanned @tangodrumscans
Antarctic Sunset  Pentax 67ii, 200mm, Kodak Portra 400, drum scanned @tangodrumscans
Blue Ice in Paradise Bay, Antarctica  Mamiya 7ii, 43mm, Kodak Ektar, drum scanned by @tangodrumscans
Iceberg Near the Antarctic Sound  These ghostly giants drift silently by the ship, rolling, flipping, carving away at themselves until their inevitable fate at sea.  Pentax 67ii, 75mm, Kodak Ektar, drum scanned @tangodrumscans
Gentoo Rookery With a View, Antarctica  Pentax 67II, 200mm, Kodak Ektar 100, drum scan @tangodrumscans
Twilight Giants, Gerlache Strait, Antarctica  Pentax 67ii, 105mm, Portra 400, pushed 1 stop, drum scanned @tangodrumscans
Three Gentoo Penguins at Neko Harbor, Antarctica  Pentax 67ii, 105mm, Kodak Portra 160, drum scan by @tangodrumscans
Portrait of an Adelie Penguin, Brown Bluff, Antarctica  Pentax 67ii, 200mm, Kodak Portra 160, drum scanned @tangodrumscans
Exiting the Lemaire Channel, Antarctica  Pentax 67ii, 90mm, Kodak Portra 160, Drum scanned @tangodrumscans Antarctic Sunset  Pentax 67ii, 200mm, Kodak Portra 400, drum scanned @tangodrumscans Blue Ice in Paradise Bay, Antarctica  Mamiya 7ii, 43mm, Kodak Ektar, drum scanned by @tangodrumscans Iceberg Near the Antarctic Sound  These ghostly giants drift silently by the ship, rolling, flipping, carving away at themselves until their inevitable fate at sea.  Pentax 67ii, 75mm, Kodak Ektar, drum scanned @tangodrumscans Gentoo Rookery With a View, Antarctica  Pentax 67II, 200mm, Kodak Ektar 100, drum scan @tangodrumscans Twilight Giants, Gerlache Strait, Antarctica  Pentax 67ii, 105mm, Portra 400, pushed 1 stop, drum scanned @tangodrumscans Three Gentoo Penguins at Neko Harbor, Antarctica  Pentax 67ii, 105mm, Kodak Portra 160, drum scan by @tangodrumscans Portrait of an Adelie Penguin, Brown Bluff, Antarctica  Pentax 67ii, 200mm, Kodak Portra 160, drum scanned @tangodrumscans

Help Michael continue pursuing his passion by donating a small amount. Each sheet of film Michael exposes entails countless hours of preparation, which comes at a great expense. If you enjoy seeing his work, feel free to contribute! 

Contribute

Michael Strickland Images © 2025